Vacuum sealing meals can help you greatly reduce your sodium intake. By choosing low-sodium ingredients and portioning your meals, you'll have better control over your salt consumption. Prep meals in advance using fresh fruits, vegetables, and lean proteins, then vacuum seal individual portions. This method preserves flavors and nutrients, reducing the need for added salt. Experiment with herbs, spices, and citrus to enhance taste without sodium. Vacuum sealing also extends shelf life and prevents freezer burn, making it easier to stick to your low-sodium diet. By incorporating these techniques, you'll not only lower your sodium intake but also improve your overall health. There's more to discover about this beneficial approach to healthy eating.
Benefits of Vacuum Sealing
You'll find that vacuum sealing offers a multitude of benefits for meal preparation and storage. This innovative technique can greatly extend the shelf life of your food items, especially when stored in the freezer. By removing air and creating an airtight seal, vacuum sealing effectively prevents freezer burn, ensuring your meals retain their quality and taste for longer periods.
One of the key advantages of vacuum sealing is its ability to facilitate bulk purchasing and storage. You can buy larger quantities of food items, portion them out, and seal them for future use. This not only helps reduce waste but also saves you money in the long run. Additionally, vacuum sealing is an excellent method for preserving the freshness and quality of your food by protecting it from moisture and air exposure.
For cooking enthusiasts, vacuum sealing is particularly useful in sous vide cooking. This technique allows you to maintain the flavor and nutrients of your food while preparing it in a precise and controlled manner.
The efficiency and durability of vacuum sealing make it a practical and convenient solution for meal preparation, storage, and reducing food waste in your kitchen.
Choosing Low-Sodium Ingredients
When it comes to selecting ingredients for your vacuum-sealed meals, opting for low-sodium options is crucial for maintaining a heart-healthy diet. To make the most of your vacuum sealers, start by choosing fresh fruits and vegetables, which are naturally low in sodium and retain their quality well when vacuum sealed.
Lean proteins like poultry, fish, and legumes are excellent choices for your vacuum-sealed meals, as they not only provide essential nutrients but also contribute to lower sodium content.
To enhance the flavor of your vacuum-sealed dishes without relying on salt, experiment with herbs, spices, and citrus juices. These natural flavor boosters can transform your meals while keeping sodium levels in check.
When shopping for ingredients, always check food labels for low-sodium or sodium-free options. This simple habit can greatly reduce your overall sodium intake.
Avoid including processed and canned foods in your vacuum-sealed meals, as they typically contain higher levels of sodium. By focusing on fresh, whole ingredients, you'll create healthier, more nutritious meals that are perfect for vacuum sealing and enjoying later.
With these strategies, you can effectively reduce sodium intake while still savoring delicious, convenient meals.
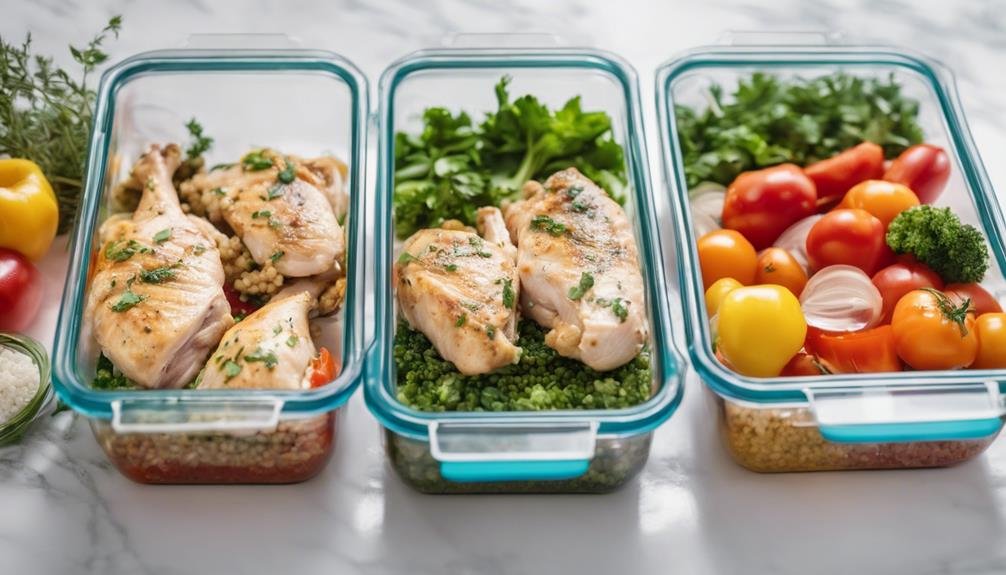
Portion Control Techniques

Mastering portion control techniques is essential when preparing vacuum-sealed meals for managing sodium intake effectively. By utilizing vacuum sealing for portion control, you can take charge of your sodium consumption and promote healthier eating habits.
When preparing your meals, focus on creating individual servings that align with your dietary needs. Vacuum sealing allows you to package these portions separately, ensuring you don't accidentally consume more sodium than intended. This method is particularly useful for those following specific dietary recommendations or trying to reduce their overall sodium intake.
As you prepare your meals, consider using measuring tools to accurately portion out ingredients. This will help you maintain consistency in your sodium intake across different meals.
Once you've portioned your meals, vacuum seal them individually, labeling each with the sodium content if desired.
Meal Prepping Strategies
Building on effective portion control, meal prepping strategies are key to maximizing the benefits of vacuum sealing for sodium reduction. When you plan and prepare meals in advance, you're in control of the ingredients and seasonings used, allowing you to intentionally reduce sodium content. By utilizing fresh, low-sodium ingredients and customizing seasoning levels, you can create tasty dishes that align with your health goals.
The vacuum sealer offers a powerful tool for your meal prepping arsenal. It preserves the flavors and nutrients of your carefully prepared meals, ensuring that you'll enjoy a satisfying dining experience even with reduced sodium levels. This preservation method also extends the shelf life of your meals, making it easier to stick to your healthy eating plan.
Meal prepping with vacuum sealing saves you time and effort during busy days, reducing the temptation to reach for high-sodium convenience foods. By having pre-portioned, low-sodium meals readily available, you're more likely to make healthier choices consistently.
Flavor Enhancement Without Salt
You'll find that vacuum sealing opens up a world of flavor enhancement possibilities without relying on salt. This innovative technique helps retain natural flavors in your food, allowing you to reduce salt content while maintaining taste. By sealing out air, vacuum sealing prevents flavor loss and locks in moisture, intensifying the natural taste of your ingredients.
With vacuum sealing, you can explore various flavor enhancement methods beyond salt. Try seasoning your meals with herbs, spices, and other flavor boosters to create delicious, low-sodium options. The absence of air exposure guarantees that these flavors remain potent, reducing your need for excessive salt.
Here's a table showcasing some flavor enhancement ideas for vacuum sealed meals:
| Herbs | Spices | Other Enhancers |
|---|---|---|
| Basil | Cumin | Lemon zest |
| Thyme | Paprika | Garlic |
| Rosemary | Turmeric | Ginger |
| Oregano | Cinnamon | Balsamic vinegar |
| Dill | Cayenne | Olive oil |
Vacuum Sealing Equipment Guide
To get started with vacuum sealing, you'll need to select the right equipment for your needs. Consider the various options available, including different bag sizes and thicknesses, to suit your specific requirements. Remember, vacuum sealers aren't just for food processing; they're versatile tools that can be used for sealing documents, valuables, and items for travel or outdoor activities.
When selecting your vacuum sealing equipment, keep these key factors in mind:
- Bag compatibility: Confirm that your chosen machine works with the vacuum bag sizes you'll need most frequently.
- Sealing strength: Look for a model that provides a strong, airtight seal to maintain food freshness and prevent waterlogging.
- Additional features: Consider machines with options for different sealing modes or those that can handle both dry and moist foods.
Vacuum sealing efficiently reduces food waste by preserving single serving sizes and maintaining freshness for longer periods. It's also great for preparing pre-seasoned meals and ingredients in advance, saving you time and effort in the kitchen.
Storage and Labeling Tips

Once you've vacuum sealed your meals, it's vital to nail down a proper storage and labeling system to maximize their shelf life and ease of use.
When you label vacuum sealed meals, be sure to include the food type and date on each package. This simple step will help you track freshness and avoid confusion later on. Use clear, concise labeling on your vacuum-sealed bags so you can easily identify contents without opening them.
Ensuring an airtight seal is critical for maintaining food quality. Double-check that your vacuum-sealed bags are properly sealed to prevent moisture and air exposure.
When it comes to storage, keep your meals in a cool, dry place away from direct sunlight. This will help preserve their quality and extend their shelf life.
Reheating Vacuum Sealed Meals
Reheating vacuum sealed meals is a breeze, offering multiple methods to suit your preferences and equipment. Whether you're using hot water, a microwave, or a sous vide machine, you'll find that vacuum sealing helps retain moisture and flavor, making your reheated meals taste just as delicious as when they were first prepared.
When it comes to reheating vacuum sealed meals, consider these three popular methods:
- Hot water immersion: Simply place the sealed bag in a pot of hot water for essential, even heating.
- Microwave: Pierce the bag and heat in short intervals, ensuring even distribution of heat.
- Sous vide: Use a precision cooker to maintain perfect temperature control for best taste and texture.
Whichever method you choose, it's vital to make sure your food reaches the recommended temperature for safe consumption. Sous vide cooking is particularly effective for reheating vacuum sealed meals, providing consistent results every time.
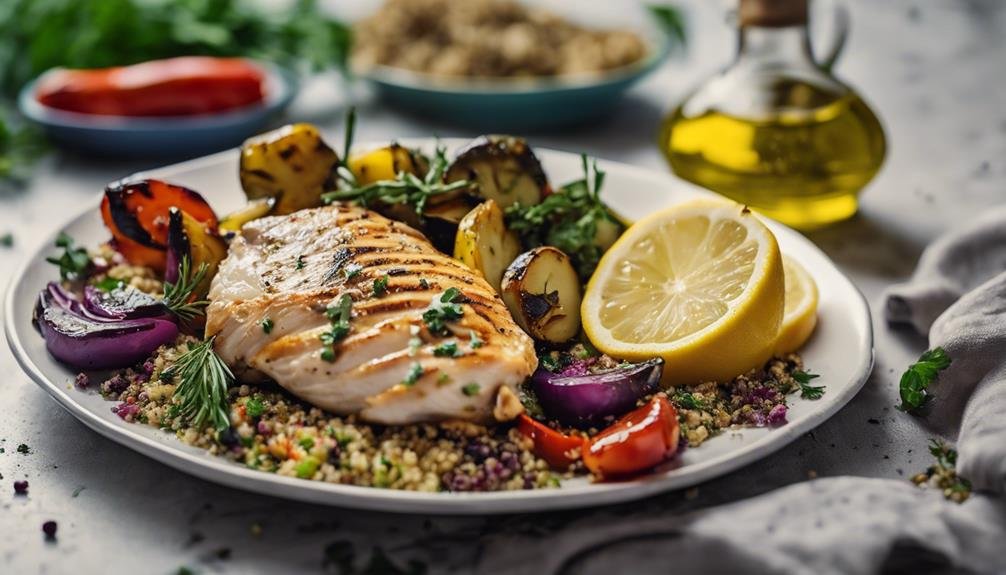
Recipe Ideas for Low-Sodium Meals
When you're looking to cut down on sodium without sacrificing flavor, vacuum-sealed meals offer a world of delicious possibilities. You can prepare a variety of low-sodium meals in advance, ensuring you always have healthy options on hand.
Consider making a hearty turkey noodle soup, packed with lean protein and vegetables, or a colorful vegetable casserole bursting with nutrients. These dishes are perfect for vacuum sealing and can be easily portioned for future consumption.
By vacuum sealing your low-sodium meals, you'll preserve their flavors and nutrients while extending their shelf life. This method allows you to control your sodium intake more effectively, reducing your reliance on high-sodium pre-packaged foods.
To further enhance the longevity of your vacuum-sealed meals, consider adding oxygen absorbers, which will help maintain freshness for even longer periods.
Vacuum sealing low-sodium meals is a practical approach to promoting healthier eating habits. You'll have convenient, ready-to-eat options that align with your dietary goals. By preparing these meals in advance, you're taking a proactive step towards better health without compromising on taste or convenience.
Health Impact of Reduced Sodium
Reducing sodium intake with vacuum-sealed meals can greatly enhance your overall health and well-being. By controlling the amount of salt in your diet through vacuum sealing, you're taking a proactive step towards improving your cardiovascular health and reducing the risk of serious health conditions.
When you lower your sodium intake, you're likely to experience:
- Lower blood pressure, which decreases strain on your heart and blood vessels
- Reduced risk of stroke, as high sodium levels can contribute to blood clot formation
- Improved kidney function, as excessive sodium can put undue stress on these essential organs
Vacuum sealing allows you to prepare meals using fresh ingredients and minimal added salt, giving you greater control over your sodium intake. This method of meal preparation supports a healthier lifestyle by enabling you to make conscious choices about the nutritional content of your food.
Conclusion
You've now got the tools to greatly reduce your sodium intake through vacuum sealing.
Did you know that lowering your daily sodium by just 1,000mg can decrease your blood pressure by 5-6 mm Hg? That's a substantial impact!
By implementing these strategies, you're not only creating convenient meals but also taking a proactive step towards better heart health.
Keep experimenting with flavors and recipes to make your low-sodium journey both delicious and sustainable.