To expedite the vacuum sealing process, begin by sorting and grouping similar items together. Opt for high-quality, BPA-free pre-cut vacuum bags or rolls. Pre-freeze liquids to prevent spills and ensure faster sealing. Use a narrow nozzle attached to a shop vac for sealing large quantities, and consider using clear plastic wrap for added protection. Always double-seal for extra security and remember to label your bags with contents and dates. Maintain your vacuum sealer by regularly cleaning it and checking the gaskets. Store sealed items properly away from sunlight for preservation. Follow these efficient steps for a quicker and smoother vacuum sealing process.
Prepare Your Items
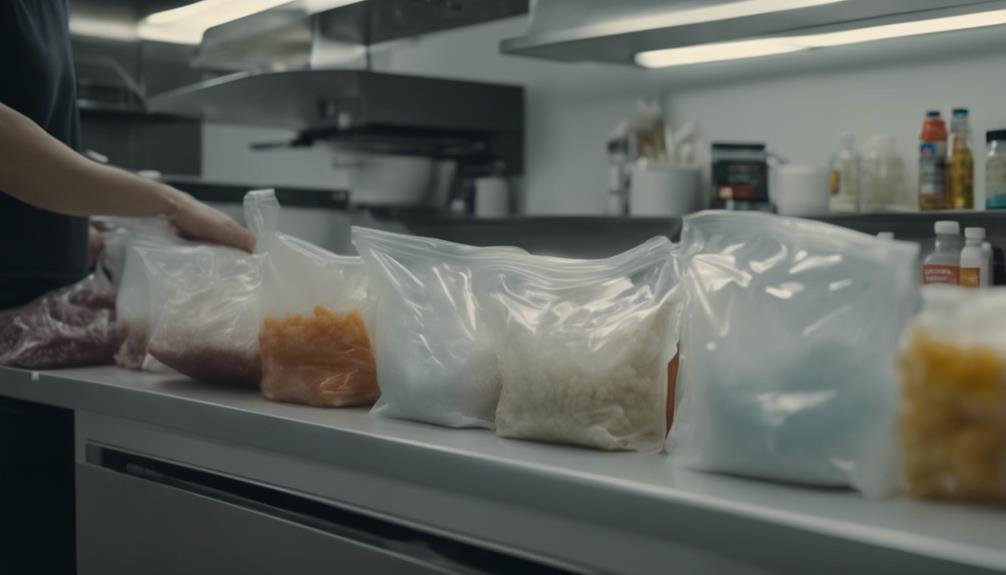
Preparing your items properly can greatly speed up the vacuum sealing process. Start by organizing and grouping the items you plan to seal. This step guarantees you won't be scrambling around, looking for things at the last minute. Keep similar items together to make the process smoother and more efficient.
You should also pre-cut your vacuum bags or use pre-made pouches. This small preparation step can save you a lot of time during the actual sealing process. Make sure the items are dry before you seal them to prevent moisture buildup, which can lead to spoilage and reduce the shelf life of your food.
Using a vacuum sealer with quick sealing and vacuuming functions can further streamline the process. These features speed up the time it takes to create an airtight seal, guaranteeing your items stay fresh for longer periods.
Lastly, don't forget to label your bags or pouches before sealing. This simple task makes identification and retrieval easier when you need the items later on. By following these steps, you'll find that preparing your items properly can make vacuum sealing faster and more efficient, ultimately extending the shelf life of your stored goods.
Choose the Right Bags
Selecting the appropriate vacuum sealing bags is essential for optimizing the efficiency and effectiveness of your sealing process. The right bags can make a significant difference in how quickly and securely you can store your items.
First, opt for high-quality vacuum sealing bags made of durable, BPA-free materials. These types of bags guarantee a strong seal and safe storage for your food. Second, consider using pre-cut bags or rolls that fit your vacuum sealer. This saves you time on cutting and sealing, allowing you to focus more on the actual sealing process.
Here are four key considerations to keep in mind:
- Material Quality: Choose bags made from durable, BPA-free material to secure a strong seal and safe storage.
- Bag Type: Look for pre-cut bags or rolls that fit your sealer to save time on cutting and sealing.
- Surface Texture: Opt for bags with textured or embossed surfaces to help remove air quickly for faster sealing.
- Compatibility: Make sure the bags are compatible with your vacuum sealer to avoid any issues during the sealing process.
Pre-Freeze Liquids
To speed up your vacuum sealing process, pre-freeze liquids like soups, sauces, or stews in flat containers or bags. By pre-freezing liquids, you reduce the risk of spills during vacuum sealing and save time in the overall sealing process. Imagine trying to seal a bag filled with liquid that hasn't been pre-frozen – it's a mess waiting to happen. Pre-freezing these items turns them into manageable, solid forms that are much easier to seal.
Flat freezing liquids allows for quicker and more efficient vacuum sealing compared to sealing liquid-filled containers. When you freeze them flat, you create thin, uniform packages that your vacuum sealer can handle more efficiently. This method also improves organization and storage space in your freezer. No more bulky containers taking up valuable real estate. You'll find it much easier to stack and store your pre-frozen, vacuum-sealed packets.
For meal prepping, pre-freezing liquids is especially useful. You can easily seal and store pre-portioned liquid-based meals, making your meal prep routine smoother and quicker. Vacuum sealing helps keep your food fresh for longer, reducing waste and ensuring you always have a ready-to-go meal on hand.
Utilize a Shop Vac
Harnessing the power of a shop vac can greatly speed up your vacuum sealing process. Shop vacuums are designed for heavy-duty tasks and can quickly remove air from vacuum sealing bags, thanks to their strong suction power. Here's how you can make the most of a shop vac to create a quick and efficient vacuum seal:
- Choose the Right Bag: Make sure you're using vacuum sealing bags that are compatible with your shop vac. These bags should be durable enough to withstand the powerful suction.
- Prep the Shop Vac: Attach the correct nozzle to your shop vac. A narrow nozzle can help focus the suction and ensure a tighter seal.
- Seal One End: Before you start vacuuming, seal one end of the bag properly. This will prevent air from re-entering the bag while you're working.
- Vacuum and Seal: Place the nozzle at the open end of the bag and turn on the shop vac. Once most of the air is removed, quickly seal the end to maintain the vacuum sealed environment.
Using a shop vac for vacuum sealing is especially useful when dealing with large quantities of items. It speeds up the process, guaranteeing your food stays fresh and well-preserved.
Use Clear Plastic Wrap
Wrapping items in clear plastic wrap before vacuum sealing can greatly improve compression and maintain ideal storage conditions. By doing this, you're making sure that bulky items are tightly compressed, which is essential for effective storage. Clear plastic wrap allows these items to expand just enough to fit snugly into the vacuum bag, ensuring they don't take up unnecessary space.
When you use clear plastic wrap with vacuum sealers, you're also preventing air from sneaking into your sealed package. This is a key step for maintaining freshness and ensuring the best storage conditions. The wrap acts as an extra barrier against air, enhancing the efficiency of the vacuum sealing process.
Incorporating clear plastic wrap into your routine can make a noticeable difference in how well your items are stored. It's a simple, yet highly effective method that can speed up the overall process. By keeping items tightly compressed and protected from air, you're maximizing the benefits of your vacuum sealers. So, next time you're preparing items for storage, don't forget to wrap them in clear plastic wrap first. You'll find the results to be well worth the extra step.
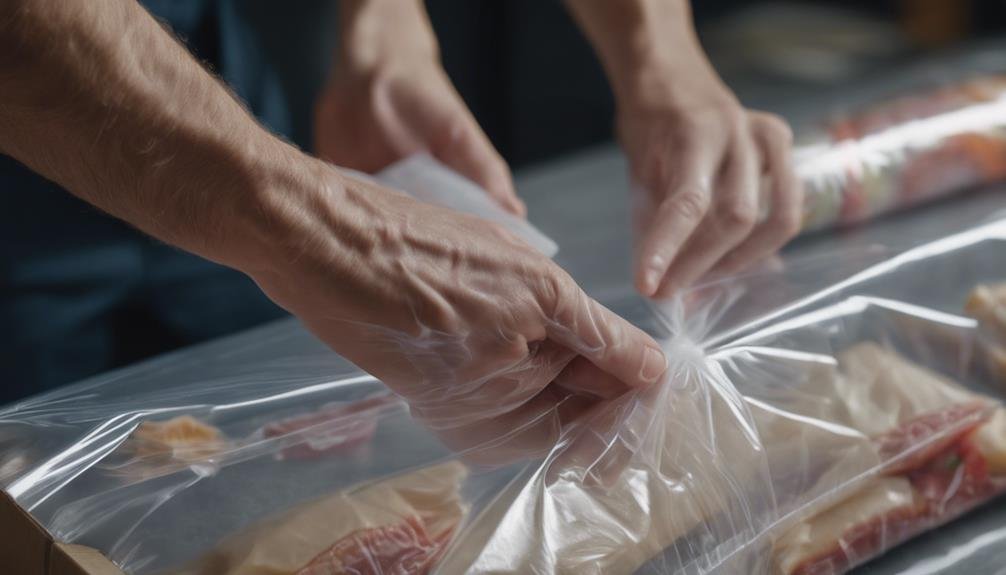
Double-Seal for Security
Double-sealing your vacuum bags provides an extra layer of protection against air leaks and spoilage. It's a straightforward step that guarantees your food stays fresh longer, especially when you're storing items for an extended period. By adding a second seal, you're creating a backup that kicks in if the first seal fails. This not only helps preserve the quality of your food but also prevents freezer burn.
To seal properly, follow these steps:
- Seal the bag as usual: Start by vacuum-sealing the bag, making sure that the first seal is strong and airtight.
- Reposition the bag: Shift the bag slightly, just enough to create space for another seal above the first one.
- Create the second seal: Run the sealing process again, ensuring the new seal is about half an inch above the original.
- Check for leaks: Before storing your bag, double-check both seals to guarantee they are secure and no air can escape.
Label and Organize
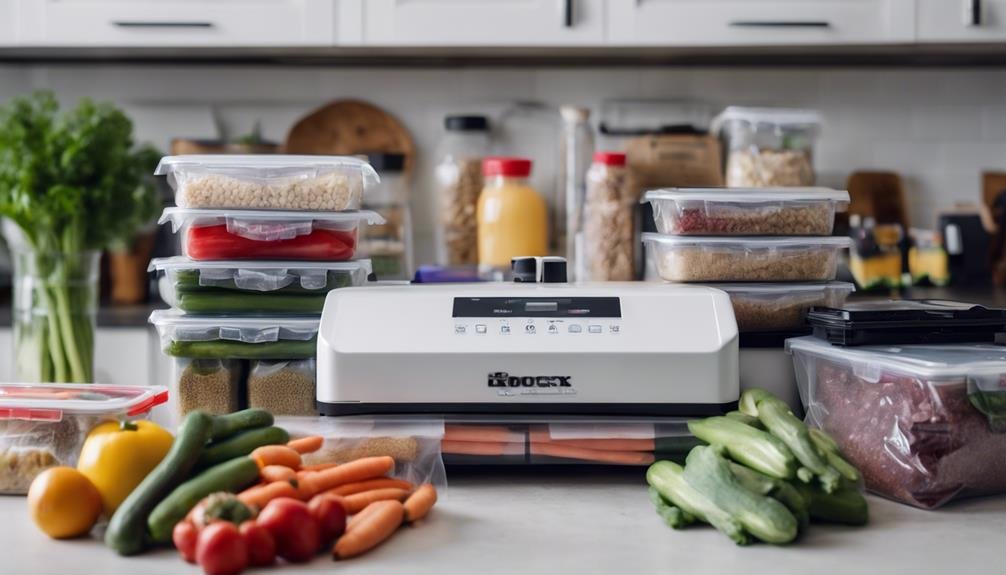
Often, labeling and organizing your vacuum-sealed bags guarantees you can quickly find what you need and prevents food waste. Start by labeling each bag with its contents and the date it was sealed. This simple step assures you'll always know what's inside and how fresh it is. Use a permanent marker or specialized labels that won't smear or fade over time.
To organize sealed bags effectively, consider categorizing them by type or intended use. For instance, group all your vegetables in one section and meats in another. If you're looking for a quicker visual reference, color-coded labels or markers can be a game-changer. This way, you can instantly spot different categories without even reading the labels.
Storing vacuum-sealed bags upright not only saves space but also improves visibility. Use bins or baskets to keep them in place and prevent them from toppling over. Creating a system for rotating your sealed items is essential to prevent waste. Place newer bags at the back and older ones in front, ensuring you use items before they spoil. By following these steps, you'll maintain an organized and efficient vacuum-sealed storage system.
Maintain Your Equipment
Keeping up with your vacuum sealer guarantees it consistently provides strong, airtight seals that keep your food fresh. Regular maintenance is key to ensuring your equipment operates at peak efficiency, hence speeding up the vacuum sealing process and enhancing food preservation. Here are some essential steps you can take:
- Clean regularly: After each use, wipe down your vacuum sealer to remove any food particles or residue. This prevents buildup that could interfere with sealing.
- Check and replace gaskets: The sealing gaskets are vital for creating a tight seal. Inspect them regularly for wear and tear, and replace them as needed to maintain optimal performance.
- Maintain the vacuum pump: Keep the vacuum pump clean and free of debris. This ensures it works efficiently and reduces the risk of malfunctions that could slow down the sealing process.
- Proper storage: Store your vacuum sealer in a clean, dry environment. Dust and dirt can accumulate and affect its performance, so a well-maintained storage area can make a big difference.
Practice Proper Technique

Consistently practicing proper technique can significantly improve the efficiency and effectiveness of your vacuum sealing process. First, make sure your sealing bags are properly aligned. Misalignment can cause air leaks, undermining the vacuum seal. Use the 'pulse' or manual control feature on your Food Saver to adjust suction for delicate items or liquids, like cooked meals. This prevents crushing and spillage.
Pre-cutting bags or rolls to the desired size before sealing saves time and reduces waste. Keeping the sealing area clean and free of debris is essential for maintaining peak suction and efficiency. Familiarize yourself with your vacuum sealer's settings and features to streamline the sealing process and achieve consistent results.
| Practice Tip | Benefit |
|---|---|
| Align bags correctly | Prevents air leaks |
| Use 'pulse' control | Protects delicate items |
| Pre-cut bags/rolls | Saves time and reduces waste |
| Clean sealing area | Ensures peak suction |
| Know your sealer's settings | Achieves consistent results |
Store Sealed Items Properly
Once you've mastered the sealing technique, it's important to store vacuum-sealed items in a cool, dark place to maintain their freshness and quality. Proper storage greatly impacts the shelf life and effectiveness of your vacuum-sealing efforts. Here are some essential tips to make sure your items remain in peak condition:
- Avoid Direct Sunlight: Exposure to sunlight can cause temperature fluctuations and degrade the quality of your sealed items. Always choose a storage spot away from windows and other light sources.
- Use Airtight Containers: Organize your vacuum-sealed items in airtight containers or bins. This extra layer of protection helps prevent accidental exposure to air, ensuring the vacuum seal stays intact.
- Label Everything: Clearly label each bag or container with its contents and the sealing date. This makes it easy to track and rotate your items, ensuring you use older items first and maintain the best storage conditions.
- Regular Inspections: Periodically check your sealed items for any signs of leakage or damage. If you spot any issues, re-seal the items using a paper towel to absorb excess moisture, especially for items of small size.
Conclusion
By incorporating these tips, you'll vacuum seal like a pro. Think of it as mastering a culinary magic trick—efficient and effective. Remember to stay organized, maintain your equipment, and pre-freeze liquids to avoid messy mishaps. With these techniques, you'll be as swift as a wizard with a wand. Happy sealing, and may your food stay as fresh as the Shire's finest harvest!