Let's explore one of the most transformative ways to prepare brisket – the sous vide method. We'll break down what makes this technique so effective at turning a traditionally challenging cut of meat into a consistently tender masterpiece. If you've struggled with dry or tough brisket in the past, you're not alone. Through precise temperature control and extended cooking times, we can achieve results that rival those of seasoned pitmasters. While it might seem technical at first, the process is surprisingly straightforward, and we'll show you exactly how to master it.
History
The origins of sous vide brisket can be traced back to the late 1960s when French and American engineers first developed sous vide cooking techniques. We can thank French chef Georges Pralus for pioneering this method in 1974 when he discovered that cooking foie gras in sealed plastic bags preserved its original appearance and enhanced its texture. This innovative approach not only improved the quality of the dishes but also highlighted the benefits of enhanced cooking performance associated with vacuum sealing.
While traditional brisket cooking methods have existed for centuries, particularly in Jewish and Texas BBQ cultures, it wasn't until the 1970s that we began experimenting with sous vide preparation. The technique gained momentum in the 1980s as restaurants recognized its ability to consistently produce tender, flavorful meat while reducing waste and labor costs.
We've seen sous vide brisket evolve from a professional kitchen technique to a home cooking method in the 2000s, thanks to more affordable and accessible equipment. The rise of food blogs, cooking shows, and social media has helped popularize this cooking style, showing home cooks how to achieve restaurant-quality results. Today, we're witnessing a continued surge in sous vide brisket's popularity as more cooks embrace this precise, scientific approach to preparing one of beef's tougher cuts.
Recipe
Sous Vide Brisket
Mastering the art of sous vide brisket brings restaurant-quality results to your home kitchen. This cooking method transforms a typically challenging cut of meat into a consistently tender and flavorful dish, breaking down the tough muscle fibers while preserving the meat's natural juices and flavors. Utilizing advanced vacuum sealing techniques guarantees that the brisket remains perfectly sealed, enhancing flavor retention and moisture during the cooking process.
The key to perfect sous vide brisket lies in the precise temperature control and extended cooking time. While traditional methods often result in varying degrees of doneness throughout the meat, sous vide guarantees uniform cooking from edge to edge, delivering the same tender, succulent texture with every bite.
Ingredients:
- 3-4 pound beef brisket
- 2 teaspoons salt
- 1 teaspoon black pepper
- 2 tablespoons olive oil
- 3 garlic cloves, minced
- Vacuum-seal bag
- Sous vide immersion circulator
Set your sous vide apparatus to 155°F (68°C). Season the brisket generously with salt and pepper, then rub with minced garlic and olive oil. Seal the brisket in a vacuum-seal bag, removing all air. Submerge in the water bath and cook for 48 hours, ensuring the water level remains constant.
After cooking, remove from the bag and pat dry with paper towels. Heat a cast-iron skillet over high heat and sear the brisket for 1 minute per side until a golden-brown crust forms. Let rest for 10 minutes before slicing against the grain.
For best results, consider chilling the cooked brisket in an ice bath for 30 minutes before searing to prevent overcooking during the final step. Monitor the water level throughout the cooking process, adding more if needed to maintain complete submersion.
If making ahead, the cooked and chilled brisket can be refrigerated for up to 5 days before the final sear, making it an excellent option for meal preparation or entertaining.
Step By Step
Let's walk through the key steps to achieve perfect sous vide brisket, starting with an overnight seasoning that creates a deep flavor base.
We'll guide you through proper vacuum sealing, setting up your water bath at the precise temperature, and maintaining consistent heat throughout the 48-hour cooking process.
Step 1. Season Meat Evenly Overnight
Prior to cooking your brisket, seasoning it overnight allows the flavors to deeply penetrate the meat for best results. Let's start by patting the brisket dry with paper towels to remove any excess moisture, which helps the seasonings adhere better to the surface.
We'll then combine our salt, pepper, and minced garlic in a small bowl to ensure even distribution of flavors.
Next, we'll drizzle olive oil on both sides of the brisket and massage it in thoroughly. This creates a base for our seasoning mixture to stick to the meat.
We'll apply our seasoning blend generously on all sides, including the edges, making sure we don't miss any spots. Press the seasonings firmly into the meat with your hands to help them adhere.
Once we've seasoned the brisket completely, we'll wrap it tightly in plastic wrap or place it in a large, sealed container.
We'll refrigerate it overnight, or for at least 12 hours, allowing the seasonings to work their magic. This resting period gives the salt time to penetrate deeper into the meat, enhancing its natural flavors.
Step 2. Vacuum Seal Brisket Tightly
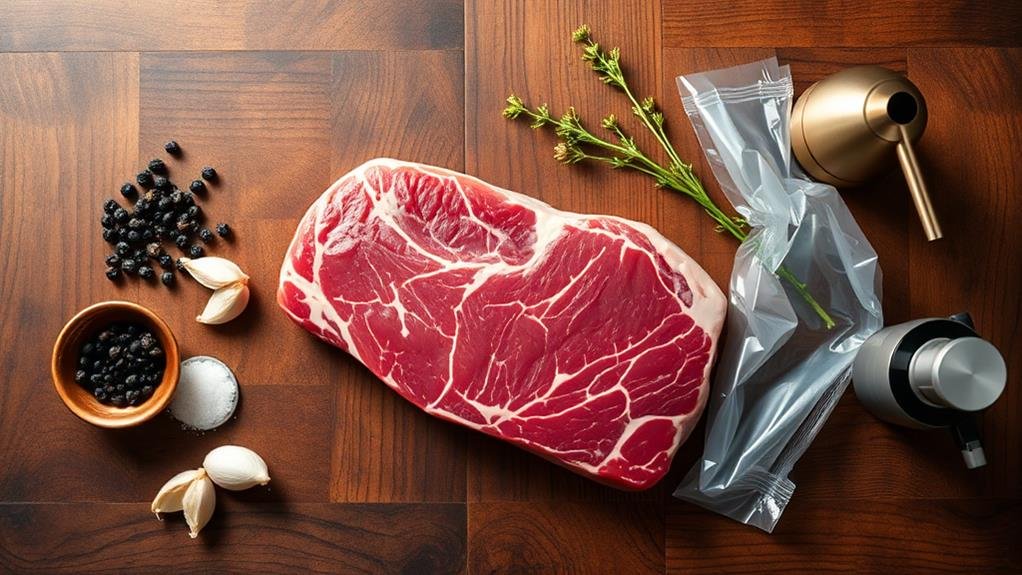
After our overnight marination, we're ready for the next important step in our sous vide brisket preparation. Let's vacuum pack our brisket properly to guarantee even cooking and maximum flavor retention throughout the cooking process.
Start by laying out your vacuum sealer bag on a clean, flat surface. Place the marinated brisket inside, making sure there's enough space around the edges for a secure seal. If your brisket is particularly large, you might need to cut it in half and use two separate bags. We don't want to overcrowd the bag, as this could lead to uneven cooking.
Position the open end of the bag in your vacuum sealer, making sure it's straight and wrinkle-free. Run the vacuum sealer until all air is removed and the bag tightly embraces the meat. Check the seal by gently pulling on it – it should be completely airtight with no gaps or loose spots. If you notice any issues, cut the seal off and try again.
A proper vacuum seal is essential for achieving the perfect sous vide result, as it prevents water from entering and guarantees consistent heat distribution.
Step 3. Set up Water Bath
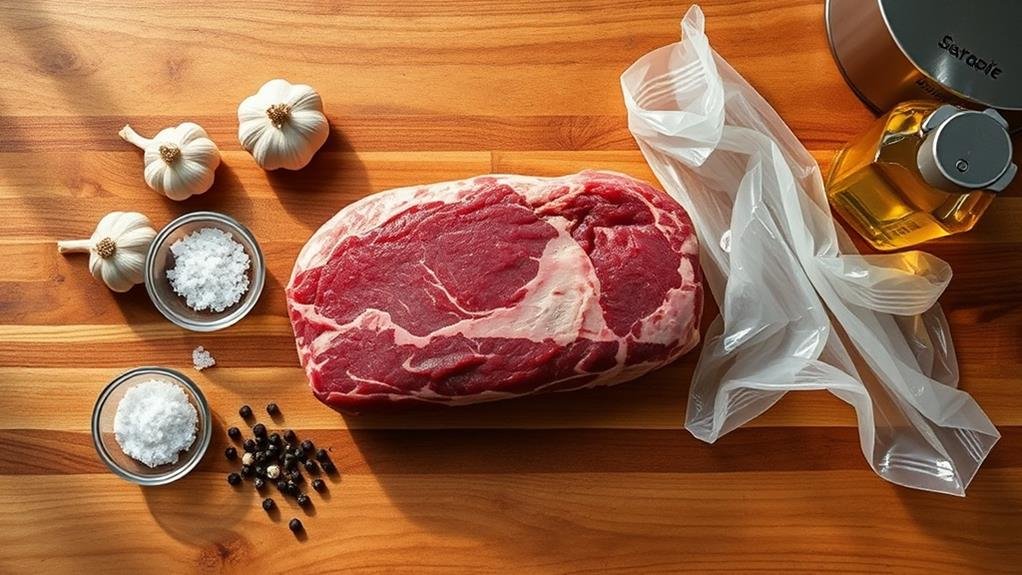
Setting up your sous vide water bath correctly forms the foundation for perfectly cooked brisket. Let's begin by filling a large container or pot with enough water to fully submerge your vacuum-sealed brisket while leaving room for proper water circulation.
We'll want at least 2 inches of space between the water's surface and the container's rim to prevent overflow.
Now, we'll clip our sous vide device securely to the side of the container, ensuring it's positioned vertically and won't tip over during the 48-hour cooking process. Set the temperature to 155°F (68°C) and allow the water to reach this temperature before adding our brisket. While waiting, we recommend covering the container with plastic wrap or aluminum foil to minimize water evaporation.
Once the water reaches the target temperature, we'll slowly lower our vacuum-sealed brisket into the bath. Make sure it's completely submerged and not blocking the circulator's water flow. If the bag floats, we'll need to weigh it down using sous vide weights or a heavy spoon. Check the water level periodically during cooking, adding hot water as needed to maintain the proper level.
Step 4. Monitor Temperature During Cooking

Temperature monitoring's success during the 48-hour sous vide cook makes all the difference between perfectly tender brisket and disappointing results. We'll need to check the water temperature frequently throughout the cooking process to maintain it at a consistent 155°F (68°C).
First, we'll verify our sous vide device's temperature reading with a separate thermometer every 8 hours. If there's any discrepancy, we'll adjust the sous vide unit accordingly.
We should also keep proper water levels, as evaporation over 48 hours can affect temperature consistency. When the water level drops, we'll add pre-heated water to prevent temperature fluctuations.
We'll keep an eye on the vacuum-sealed bag to make sure it remains fully submerged and doesn't float to the surface. If it does float, we'll weigh it down with sous vide weights or a heavy spoon.
We should also inspect for any leaks in the bag, as water seepage will compromise our brisket's texture and flavor. If we notice any issues, we'll transfer the brisket to a new bag immediately, reseal it, and return it to the water bath.
Step 5. Sear and Slice to Serve
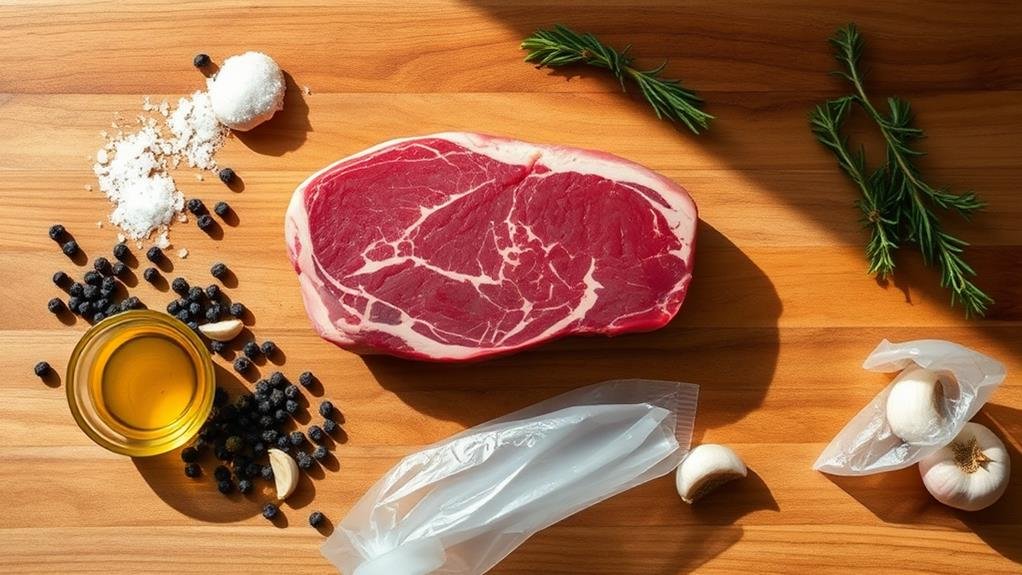
The finishing steps transform your tender sous vide brisket into a mouthwatering masterpiece with a perfect crust. Let's begin by removing the brisket from its bag and patting it completely dry with paper towels – this step is vital for achieving a proper sear.
While we're preparing the meat, we'll heat a cast-iron skillet or heavy-bottomed pan over high heat until it's smoking hot.
Next, we'll place our brisket in the heated pan and sear each side for 60-90 seconds until we achieve a rich, brown crust. We don't want to cook it longer, as we've already perfectly cooked the interior. Once seared, we'll let the meat rest for 10 minutes before slicing.
For the final step, we'll slice the brisket against the grain into quarter-inch pieces. If you're having trouble identifying the grain, look for the lines running through the meat and cut perpendicular to them.
We'll arrange the slices on a serving platter, and if desired, spoon any accumulated juices over the top. Our brisket is now ready to serve at its peak of flavor and texture.
Conclusion
We've delved into the ins and outs of preparing sous vide brisket, a technique that's worth its weight in gold for creating tender, perfectly cooked meat. By following our step-by-step guide, from the overnight seasoning to the final sear, you'll master this modern cooking method. Now it's your turn to immerse yourself and transform a tough cut of beef into a mouthwatering masterpiece.
