We've all heard that sous vide is the secret to perfectly cooked chicken, but let's examine if this modern technique truly lives up to the hype. After years of dealing with dry, overcooked poultry, we've discovered that precise temperature control can transform an ordinary chicken breast into a remarkably tender and juicy experience. It's not just about the cooking method, though – we'll explore how the right seasonings and a final sear work together to create restaurant-quality results at home. If you're tired of hoping your chicken turns out well, there's a more reliable way to achieve consistent excellence.
History
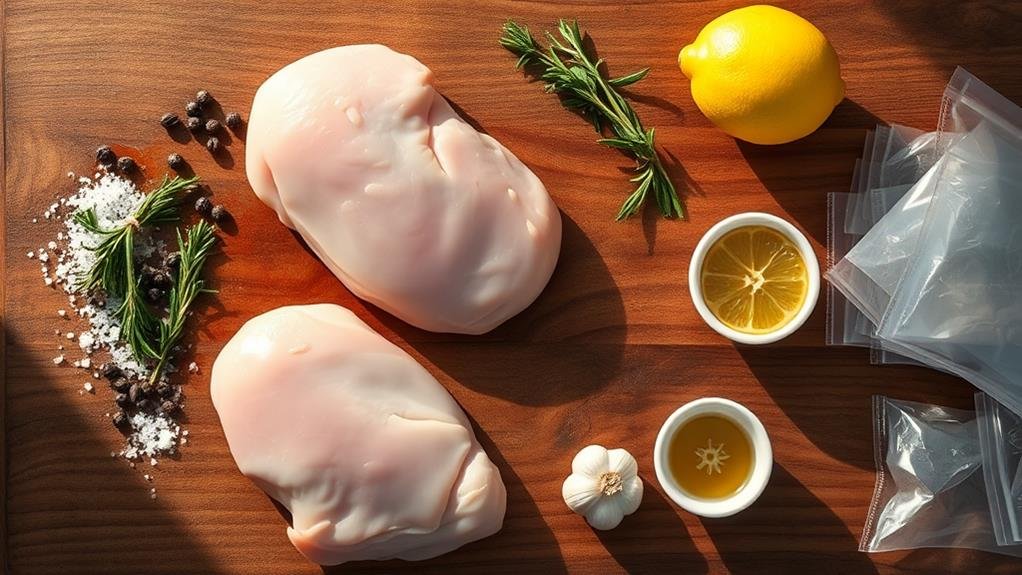
The modern sous vide cooking method traces its roots back to the 1970s, when French chef Georges Pralus discovered that cooking foie gras in vacuum-sealed bags preserved its original appearance and enhanced its texture. This enhanced cooking performance allowed for even and efficient cooking, which Pralus demonstrated when he found that this technique reduced the foie gras's shrinkage from 40% to just 5%, revolutionizing how chefs approached precision cooking.
We can trace the scientific development of sous vide to Bruno Goussault, who pioneered the method's industrial applications in 1971. He established the first formal sous vide training programs and helped standardize the cooking temperatures and times we use today.
By the 1980s, high-end restaurants across Europe had embraced sous vide for its consistency and efficiency.
The technique didn't become accessible to home cooks until the early 2000s when affordable immersion circulators hit the market. Today, we're seeing sous vide chicken and other proteins become increasingly popular in home kitchens, as the equipment has become more user-friendly and cost-effective. The method's ability to produce perfectly cooked chicken breasts has made it particularly appealing to both professional chefs and home cooks.
Recipe
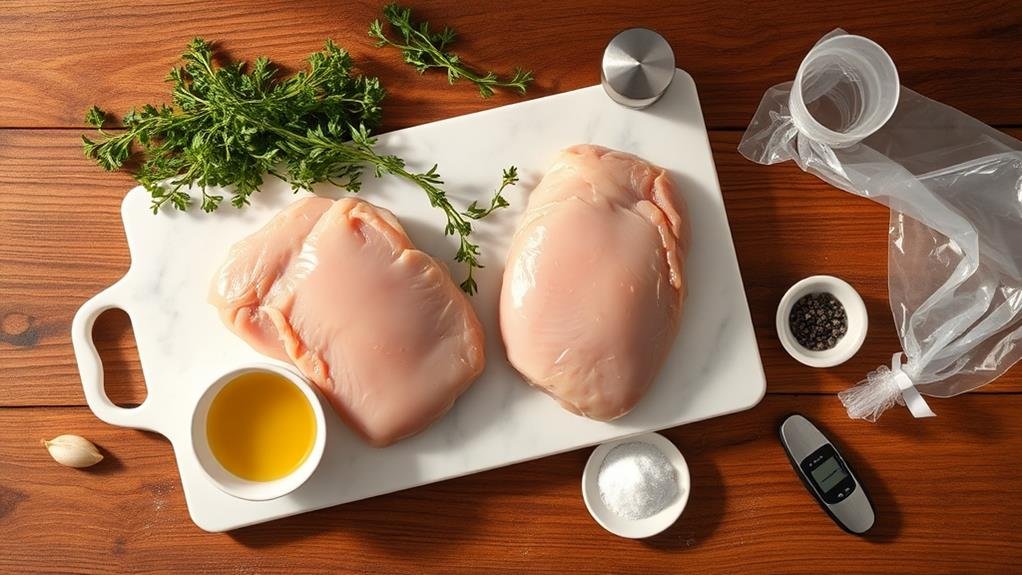
Perfect Sous Vide Chicken
Sous vide cooking transforms ordinary chicken breasts into extraordinarily tender, juicy, and flavorful pieces of meat. This precise cooking method guarantees consistent results every time, making it an ideal choice for both weeknight dinners and special occasions. By vacuum sealing the chicken, you not only enhance the flavors but also prolong shelf life and preserves the quality of the meat, ensuring a delectable meal. This recipe combines the simplicity of sous vide cooking with classic flavors of garlic and fresh herbs. The low-temperature water bath gently cooks the chicken to the ideal doneness while infusing it with aromatics, resulting in a dish that's both elegant and effortless.
Ingredients:
- 2 boneless, skinless chicken breasts
- 2 tablespoons olive oil
- 4 garlic cloves, thinly sliced
- 4 sprigs fresh thyme
- 1 teaspoon salt
- ½ teaspoon black pepper
- 1 tablespoon vegetable oil (for searing)
Fill the sous vide container with water and preheat to 145°F (63°C). Season chicken breasts with salt and pepper. Place chicken in vacuum-seal bags with olive oil, sliced garlic, and thyme sprigs. Seal bags, removing as much air as possible. Submerge in the water bath and cook for 1.5 to 2 hours.
After cooking, remove chicken from bags, pat dry thoroughly with paper towels. Heat vegetable oil in a skillet over high heat and sear chicken for 1-2 minutes per side until golden brown. Let rest for 5 minutes before slicing.
For ideal results, ensure the chicken breasts are of similar thickness for even cooking. If using frozen chicken, increase cooking time by 30 minutes. The vacuum-sealed bags should be completely submerged in water throughout cooking – use weights if necessary. While the chicken is safe to eat immediately after the sous vide process, the final sear adds both flavor and visual appeal. Leftover chicken can be refrigerated for up to 4 days and reheated gently in a water bath.
Step By Step
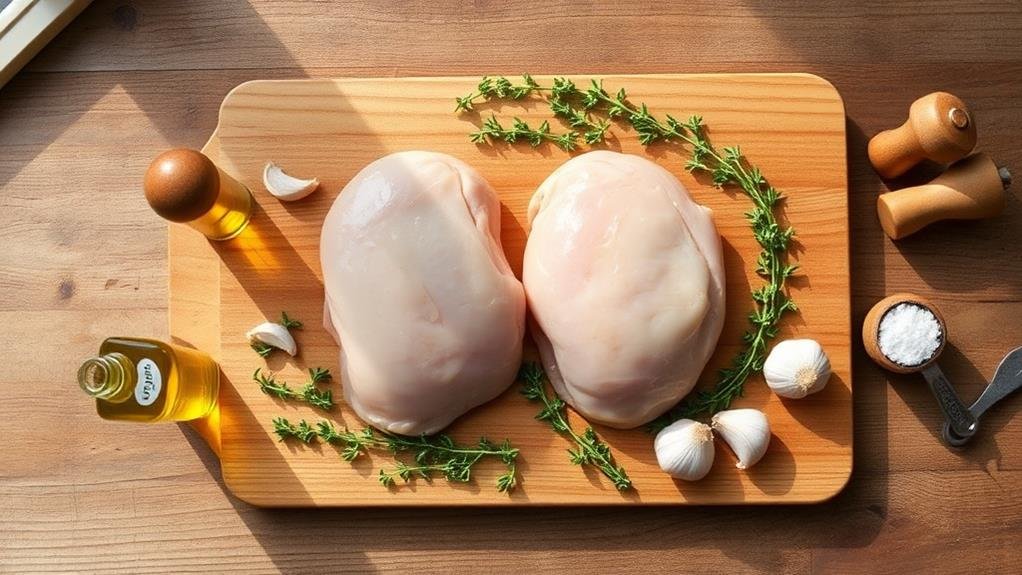
Let's walk through turning simple chicken breasts into a perfectly cooked sous vide masterpiece.
We'll start by generously seasoning our chicken with salt before placing it in the bag with olive oil, fresh garlic, and thyme, then remove all air to create a tight seal.
Step 1. Season Chicken Generously
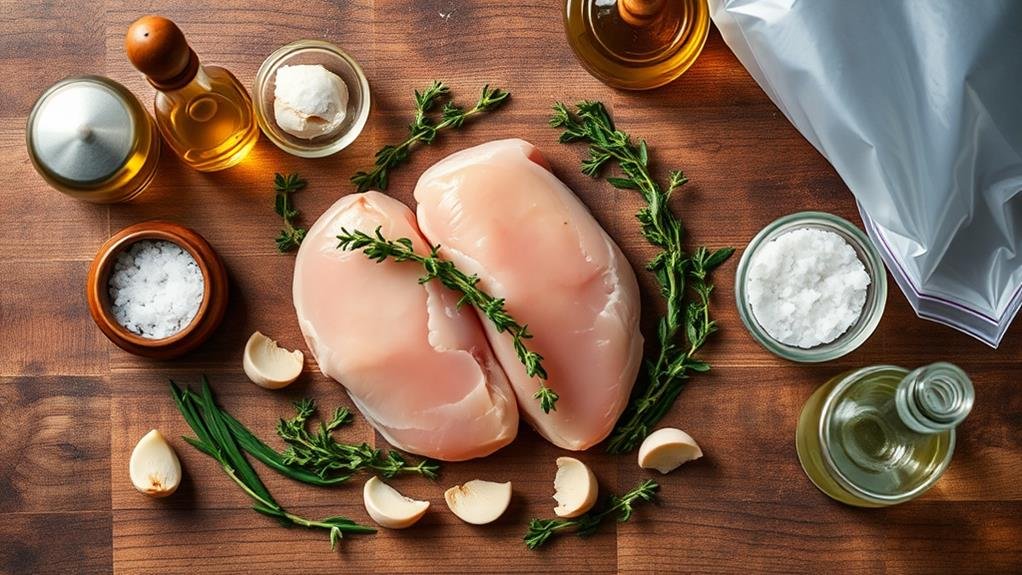
Seasoning your chicken breasts properly forms the foundation of a flavorful sous vide dish. We'll want to be generous with our salt application, as the long, gentle cooking process allows the seasonings to fully penetrate the meat. Before we begin, let's make sure our chicken breasts are completely dry by patting them with paper towels.
When seasoning for sous vide cooking, we need to take into account how the flavors will develop during the extended cooking time. Let's focus on these key points:
- Apply salt evenly on all sides of the chicken breast, using about 1/2 teaspoon per breast
- Crush fresh garlic cloves and distribute them around the meat to infuse their flavor
- Layer fresh thyme sprigs directly on top of the chicken to release their aromatic oils
We don't need to be concerned about over-seasoning since some of the seasonings will remain in the bag after cooking. Remember that we can always adjust the final flavors after the sous vide process. If you're planning to sear the chicken afterward, you might want to add a light sprinkle of salt just before searing to enhance the crust.
Step 2. Add Oil and Aromatics
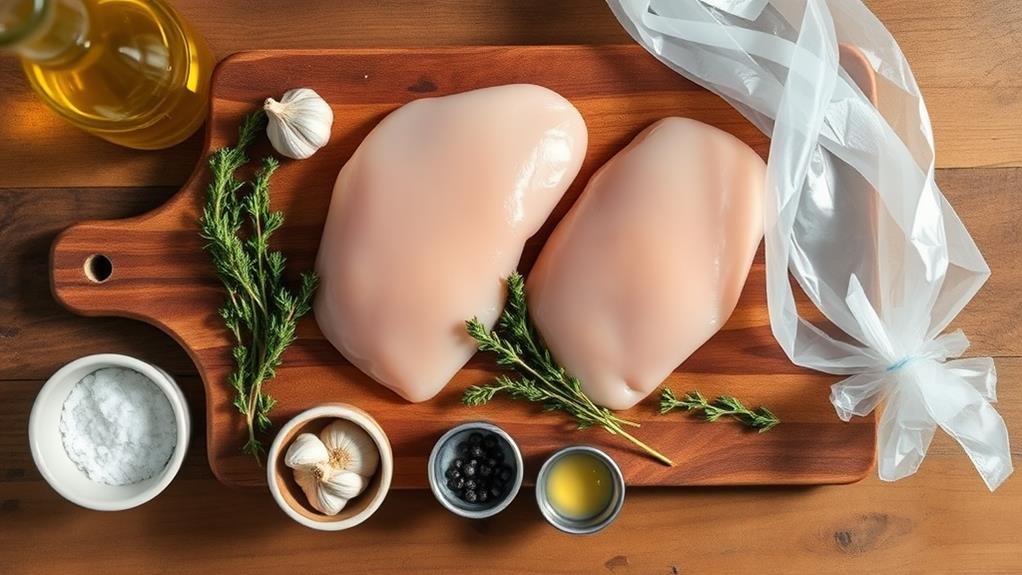
Three essential components combine to create the aromatic foundation of sous vide chicken: olive oil, crushed garlic, and fresh herbs. Let's add these elements to our seasoned chicken breasts in a way that maximizes their impact during the cooking process.
First, we'll drizzle about two tablespoons of olive oil over each chicken breast. The oil helps distribute heat evenly and prevents the seasonings from clumping.
Next, we'll take three garlic cloves per breast and crush them with the flat side of our knife. Crushing releases more flavor than slicing and creates better infusion during cooking. We'll scatter these around the chicken.
For the herbs, we'll lay 2-3 fresh thyme sprigs alongside each breast. If you're using a vacuum sealer, arrange the herbs so they don't bunch up when the air is removed.
If you're using the water displacement method with zip-top bags, keep the aromatics close to the chicken to prevent them from floating away during cooking. We'll want to make sure all ingredients stay in direct contact with the meat throughout the cooking process for best flavor transfer.
Step 3. Seal Bag Removing Air
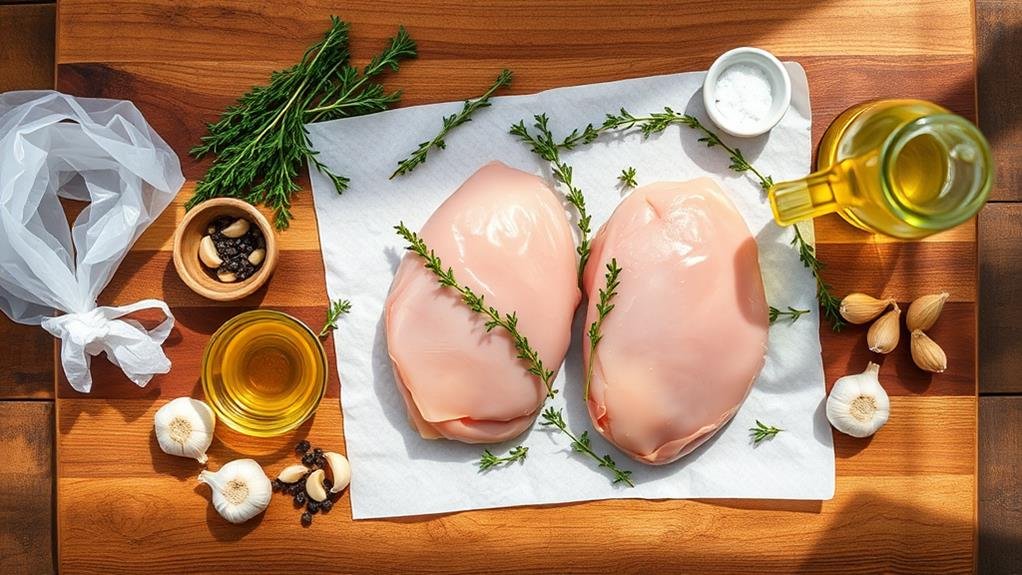
Properly sealing the sous vide bag marks an important step in achieving perfectly cooked chicken. We'll want to guarantee that we remove as much air as possible to prevent the bag from floating and to assure even cooking throughout the chicken breast.
Let's follow these essential steps for proper sealing:
- If using a vacuum sealer, place the seasoned chicken and aromatics in the bag, ensuring they're spread out evenly. Position the open end in the sealer and run it according to your machine's instructions.
- For the water displacement method, place your ingredients in a zip-top bag and slowly lower it into a container of water. As you submerge the bag, the water pressure will expel the air. When the bag is almost fully submerged, seal the top while keeping the contents below water.
- Double-check the seal by gently pulling on it to verify it's completely closed. Look for any air pockets that might've formed and redistribute the contents if needed.
We'll want to avoid any air bubbles around the chicken, as these can create uneven cooking spots and affect the final texture of our dish. If you notice any remaining air pockets, repeat the sealing process.
Step 4. Set Water Bath Temperature
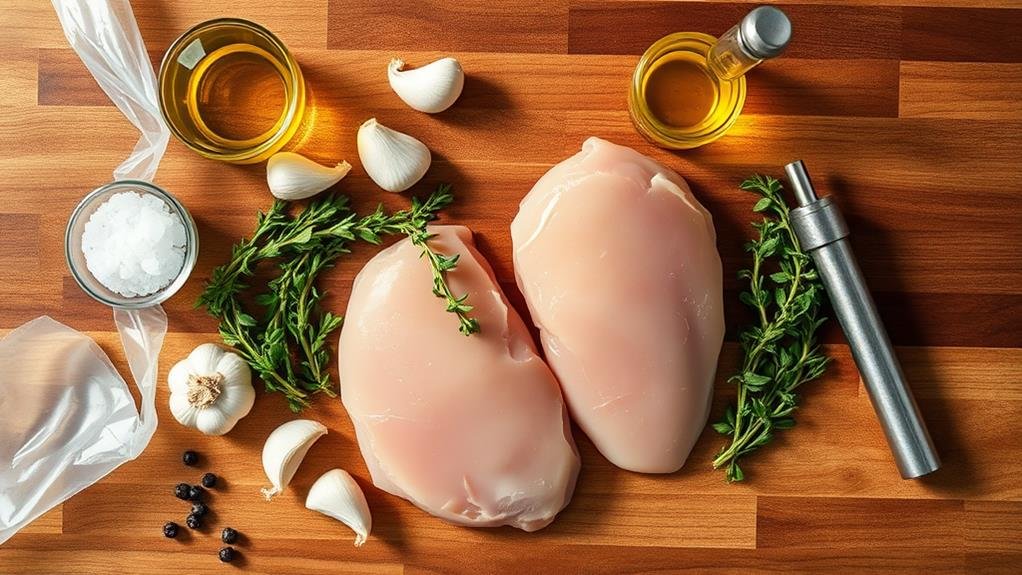
Getting the water bath temperature right is critical for perfectly cooked sous vide chicken. We'll set our immersion circulator to precisely 145°F (63°C), which will give us tender, juicy chicken breasts that are fully cooked and food-safe.
Let's attach the circulator securely to our cooking vessel and fill it with enough water to fully submerge our sealed bags.
Once we've connected our circulator, we'll press the temperature setting button and adjust to 145°F. Don't start the timer until the water reaches the target temperature, which usually takes 10-15 minutes depending on your starting water temperature and vessel size. We can verify the temperature's stable by observing the display for a few minutes – it should hold steady.
If we're cooking multiple chicken breasts, we'll need to confirm our water bath has enough capacity to maintain temperature when we add all the bags. Remember, we can't overcrowd the vessel – there needs to be enough space for water to circulate freely around each bag. If the water level drops below the circulator's minimum line after adding the bags, we'll top it off with more water.
Step 5. Sear for Golden Crust
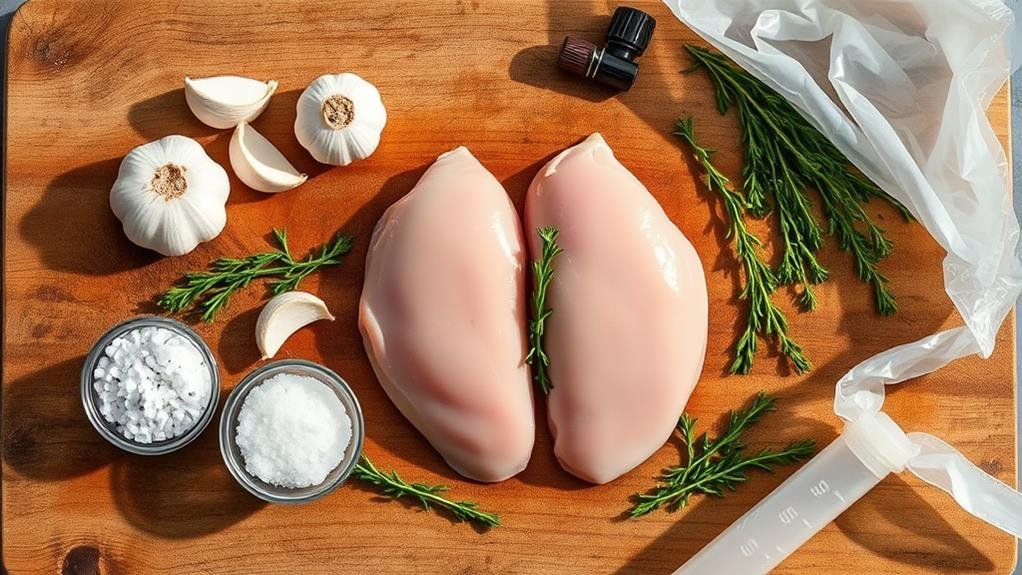
After our chicken has finished its water bath, the final step will transform its exterior into a beautiful golden crust. We'll carefully remove the chicken from its bag and pat it completely dry with paper towels – this is essential for achieving the perfect sear. Remember, any moisture left on the surface will create steam and prevent proper browning.
Let's heat a heavy-bottomed skillet or cast-iron pan over medium-high heat until it's very hot. Add just a thin layer of high-smoke-point oil, such as grapeseed or avocado oil. Now, we're ready to create that delicious crust with these key steps:
- Place the chicken in the hot pan and press down gently with tongs to make sure even contact with the surface
- Sear for 45-60 seconds on each side, until golden brown but not burnt
- Work quickly to avoid overcooking the perfectly done interior
Don't be tempted to move the chicken around while it's searing – letting it stay in place helps develop that sought-after crust. Once we've achieved the desired color on both sides, our sous vide chicken is ready to serve, boasting both a perfectly cooked interior and a beautifully browned exterior.
Conclusion
Sous vide chicken has become our secret weapon in the kitchen, turning ordinary poultry into a masterpiece as tender as butter. We've found that this foolproof method consistently delivers perfectly cooked chicken that's bursting with flavor. Whether we're hosting a dinner party or preparing a weeknight meal, this recipe hasn't let us down yet. Let's transform our chicken game and embrace the precision of sous vide cooking.
