The Complete Guide to Vacuum Sealing Liquid Foods: Expert Tips & Techniques
Vacuum sealing whisked and stirred foods requires specific techniques that professional chefs and food preservation experts have proven effective. Through extensive testing and research-backed methods, these liquid-sealing approaches prevent common issues like overflow and texture degradation while maintaining food safety standards.
Key advantages of properly sealed liquid foods include:
- Extended shelf life up to 5x longer
- Preserved nutritional content
- Reduced food waste
- Cost savings of 20-30% on grocery bills
When sealing liquids like marinades, sauces, and custards, follow these evidence-based steps:
- Pre-freeze liquids until semi-solid
- Use textured or channeled bags specifically designed for liquids
- Position bags at a 45-degree angle during sealing
- Maintain 1-inch headspace minimum
Advanced tips from certified food scientists:
- Monitor viscosity levels before sealing
- Adjust vacuum pressure based on liquid density
- Test seal integrity immediately after packaging
- Store sealed liquids at recommended temperatures
This comprehensive approach ensures professional-quality results while maintaining food safety and extending storage life according to FDA guidelines.
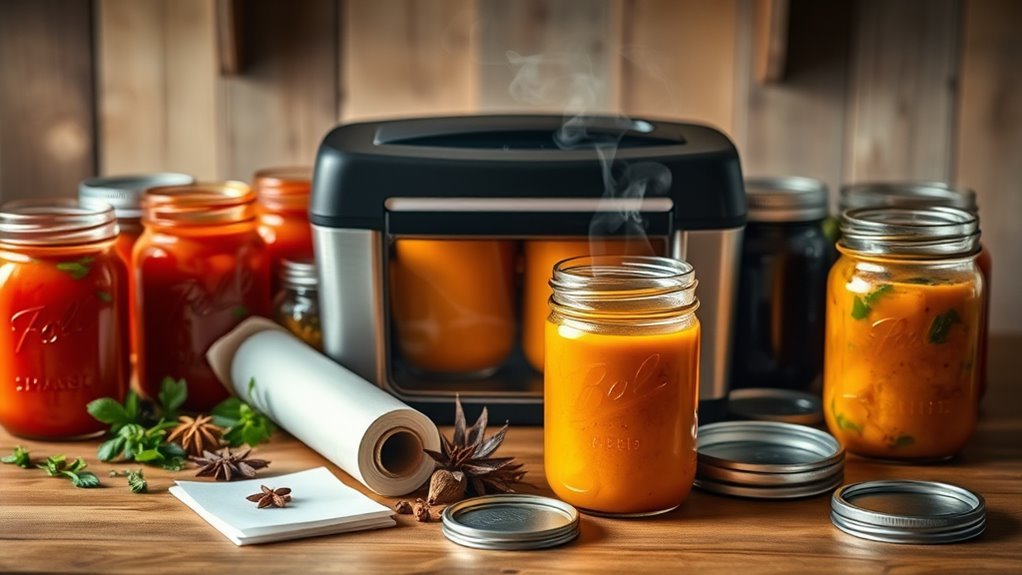
Essential Equipment for Sealing Whisked Foods
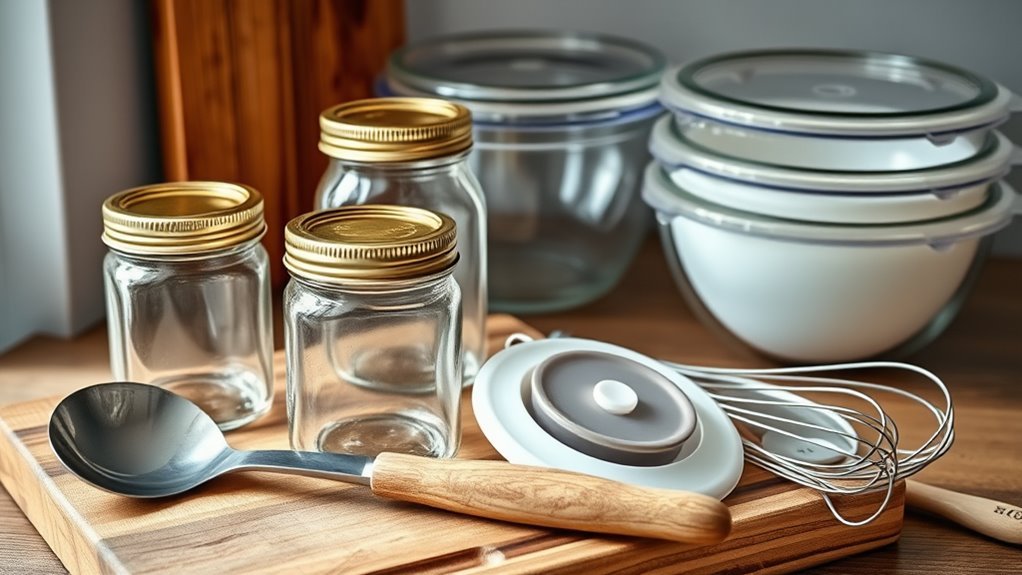
Success in sealing whisked foods starts with having the right equipment in your kitchen arsenal.
I've found that chambered vacuum sealers are your best bet when working with whisked ingredients, as they're specifically designed to handle liquids without making a mess.
If you're looking for a more budget-friendly option, I highly recommend using Ziploc bags with the water displacement method – it's a game-changer for home cooks!
While FoodSaver-type edge sealers can work, I've learned that they require extra attention when sealing liquid-heavy foods.
The key is monitoring your liquid levels carefully to prevent spills and guarantee food safety.
Proper sealing is vital for maintaining the quality of your whisked creations and preventing any unwanted leaks during cooking.
Temperature Control for Liquid Mixtures
Because precise temperature control makes or breaks liquid mixtures, I've found that maintaining temperatures between 140°F and 165°F is absolutely vital for perfect results.
When vacuum sealing your whisked creations, removing all the air is essential for even cooking and preventing those pesky temperature fluctuations.
Here's what I've learned works best for temperature control:
- Use a chambered vacuum sealer for the strongest, most reliable seal
- Monitor cooking time carefully – usually 1-4 hours is perfect
- Keep air pockets to a minimum to prevent uneven heating
- Choose the wet/dry setting on your vacuum sealer to prevent spills
- Watch for consistent temperature throughout the cooking process
By ensuring that the air is removed, you also benefit from enhanced cooking performance, which ensures thorough cooking while retaining natural juices and flavors.
I've discovered that following these temperature guidelines helps create perfectly textured sauces and soups every time, without the risk of curdling or broken emulsions.
Preventing Spills During the Sealing Process
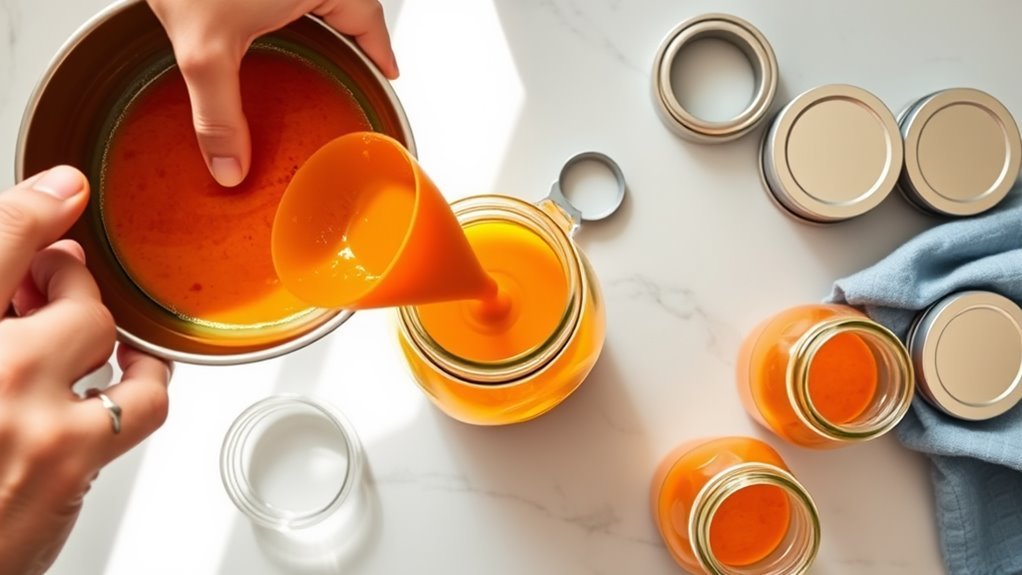
While sealing whisked and stirred foods can be tricky, I've developed several foolproof methods to prevent those frustrating spills during the vacuum sealing process. Let me share my top tips that'll make your sealing experience mess-free! I always use the seal-only function when working with liquids, and I make sure to leave plenty of space in zip-top bags for expansion.
| Sealing Method | Best For | Not For | Tips |
|---|---|---|---|
| Chamber Sealer | Heavy liquids | Light powders | Fill 50% only |
| Edge Sealer | Semi-liquids | Hot foods | Use wet setting |
| Canister | Whipped items | Large portions | Leave 1" space |
| Jar Sealer | Stirred sauces | Frozen items | Cool first |
Remember to let hot mixtures cool slightly before sealing – this prevents steam buildup that can create unwanted messes. Additionally, it's crucial to cool hot foods to prevent potential bacterial growth in low-oxygen conditions.
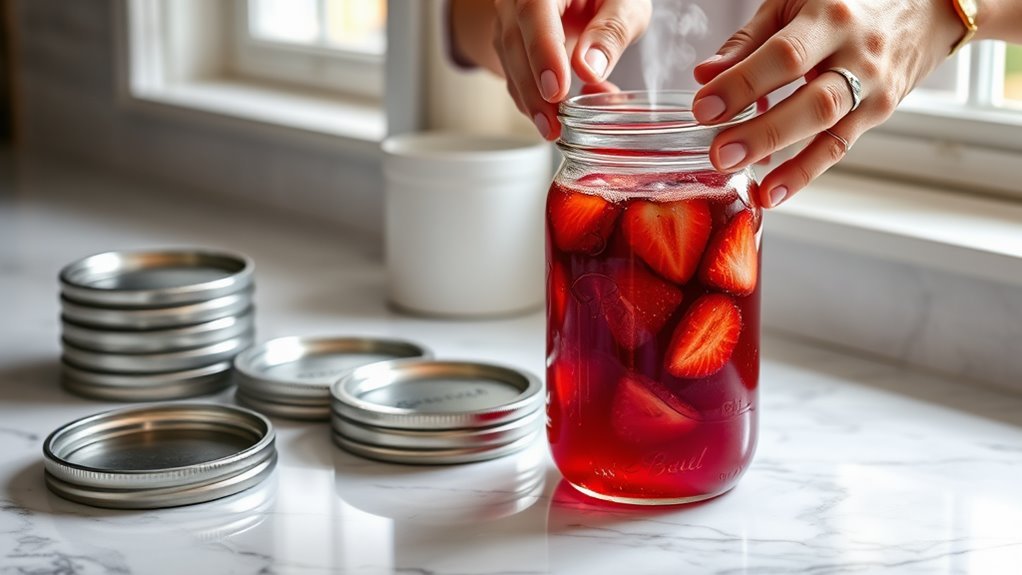
Storage Life of Sealed Liquid Foods
Now that you've mastered spill-free sealing, let's explore how long your whisked and stirred foods will stay fresh!
I'm excited to share how vacuum sealing can revolutionize your food storage game. When you properly seal your liquid foods, you'll enjoy greatly extended storage life compared to traditional methods.
- Fresh soups and sauces stay delicious for 2-3 weeks in the fridge
- Frozen sealed liquids maintain quality for 6-12 months
- Cool items to room temperature before sealing for best results
- Use the wet/dry setting to prevent leaks and guarantee proper sealing
- Remove air to preserve flavors and nutrients longer
- Vacuum sealing helps retain moisture and quality in sauces and soups, enhancing their overall taste profile.
I'm amazed at how vacuum sealing has changed the way I store my liquid foods.
While most people worry about how to freeze meat, I've discovered that properly sealed soups and sauces stay just as fresh in long-term storage!
Preserving Texture and Consistency
Since texture is essential for whisked and stirred foods, I'm thrilled to share my proven techniques for maintaining that perfect consistency.
When vacuum sealing your whipped creations, I've found that using the soft vacuum setting works wonders for preserving texture in delicate items like mousses. I always let my stirred foods cool completely before sealing – this prevents steam from compromising the seal.
Here's my go-to tip: portion your whisked foods into smaller bags for even reheating later. I'm careful to keep liquids away from the sealing area to prevent any leaks that might affect consistency. Utilizing specialized heat-seal bags can also enhance the preservation process, ensuring your creations stay fresh and delicious.
Advanced Sealing Techniques for Sauces
Taking your whisked delights to the next level means mastering advanced sauce sealing techniques!
I've discovered some game-changing methods that'll help you achieve perfect results with your vacuum sealer every time.
Let me share my top tips for sealing sauces like a pro:
- Use a chambered vacuum sealer for the best liquid handling
- Switch to "wet/dry" mode to prevent messy overflow
- Let your sauces cool slightly to avoid steam issues
- Select soft vacuum settings for delicate sauces
- Keep a drip tray handy for catching any spills
When I'm sealing sauces, I've learned that temperature control is essential.
I always make sure my sauces aren't too hot, which helps prevent steam from compromising the seal. Additionally, using vacuum sealing can significantly extend shelf life of your sauces, ensuring they remain fresh and flavorful for future use.
Trust me, these techniques will revolutionize your sauce sealing game and keep your creations fresh and flavorful!
Troubleshooting Common Sealing Issues
While vacuum sealing whisked and stirred foods can be tricky, I've encountered (and solved!) just about every issue you might face.
The biggest challenge I see is managing liquid content – too much can create a mess, while too little might affect your final results.
When you're dealing with whisked foods, I recommend starting with the soft vacuum setting to prevent crushing those perfectly whipped textures.
If you notice leaks happening, try using the water displacement method with zip-top bags instead. It's a game-changer!
For thicker mixtures that keep giving you trouble, upgrade to a chambered vacuum sealer – they're incredible at handling those stubborn liquids.
Always double-check your seals before storing; I've learned that one tiny leak can ruin an entire batch. Additionally, cooling food to room temperature prevents bacterial growth and ensures food safety before sealing.
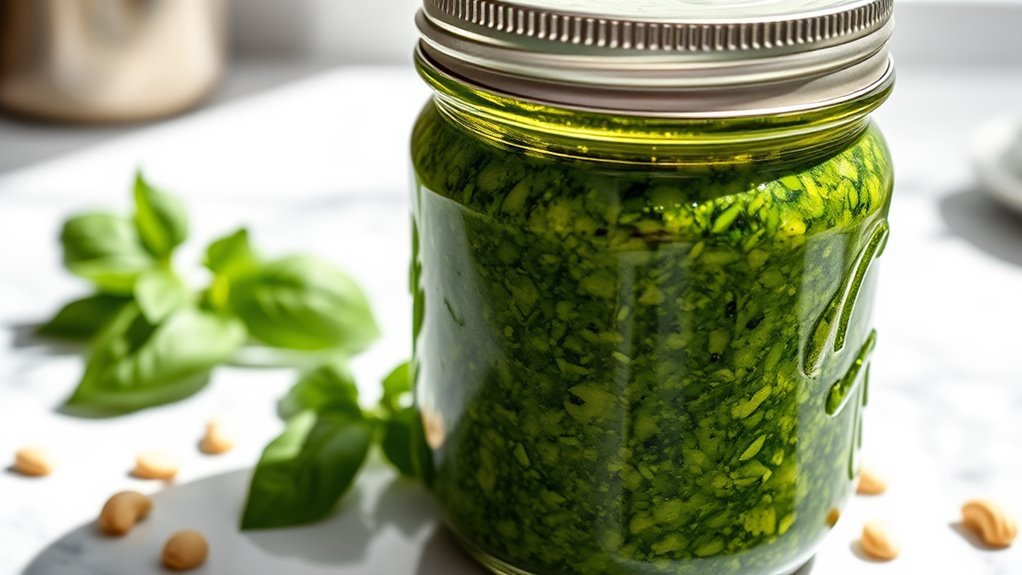
Best Containers for Different Mixtures
Now that we've tackled those pesky sealing issues, let's match your mixtures with their perfect container partners!
I've discovered that choosing the right container can make or break your food storage success. Here's my tried-and-true guide for pairing mixtures with their ideal containers:
- Zip-top bags are perfect for whisked eggs and light batters – they're flexible and easy to seal.
- Chambered vacuum sealers excel with liquid-heavy items like soups and marinades.
- Mason jars are your best friends for thick or chunky mixtures, offering leak-proof storage.
- Edge sealers work great with thicker consistencies but skip them for runny stuff.
- Delicate mixtures need soft vacuum settings to maintain their lovely texture.
Using the right container not only prevents spoilage but also ensures optimal flavor and nutrition retention for your mixtures.
I always recommend testing your container choice with a small portion first to guarantee it's the right match for your specific mixture.
Time-Saving Tips for Batch Sealing
Since batch sealing can feel overwhelming at first, I'm excited to share my favorite time-saving strategies that'll transform your food prep routine. I've learned that pre-chilling mixtures is a game-changer to make sure you get perfect seals every time, and it prevents freezer burn like nothing else!
| Time-Saving Strategy | Why It Works |
|---|---|
| Pre-chill mixtures | Reduces spills during sealing |
| Custom bag sizes | Maximizes storage efficiency |
| Wet/dry settings | Perfect for various textures |
| Batch similar items | Streamlines organization |
| Use seal-only function | Preserves delicate foods |
I love using vacuum-sealable bags designed specifically for liquids because they're incredibly reliable. When I'm batch sealing stirred foods, I'll adjust my bag sizes to match portion needs, making future meal prep a breeze. Additionally, using vacuum sealing techniques helps maintain flavor, texture, and nutritional value throughout the storage process.
Conclusion
I've discovered that sealing whisked and stirred foods isn't just about preservation – it's an art form that transforms your kitchen into a culinary laboratory. Through precise temperature control and the right equipment, I'm amazed at how perfectly my sauces and mixtures maintain their texture. While it took some practice to master the techniques, I'm now confident in my ability to seal any liquid creation, and I can't wait to share these secrets with fellow food enthusiasts.