Let’s tackle the silent menace lurking in our freezers – that dreaded freezer burn that ruins perfectly good food. We’re not talking about a minor inconvenience here; we’re facing a real threat to our food’s taste, texture, and overall quality. With proper vacuum sealing techniques, we’ll show you how to lock in freshness and protect your frozen investments. The battle against freezer burn starts with understanding the enemy and arming yourself with the right tools and knowledge.
Understanding Freezer Burn and Its Impact on Food Quality
While many of us focus on keeping food frozen, we often overlook the sneaky culprit that ruins our precious groceries – freezer burn.
Those grayish-brown patches we spot on our frozen foods aren’t just superficial blemishes – they’re signs of dehydration and oxidation wreaking havoc on our food’s quality.
Let’s be clear: freezer burn won’t make you sick, but it’ll definitely make your food less appetizing.
We’re talking dried-out textures and off-putting flavors. The good news? We can prevent freezer burn with proper vacuum sealing, which eliminates air exposure and keeps food tasting fresh longer. Vacuum sealing creates an airtight environment that effectively prevents ice crystal formation in frozen foods.
Essential Equipment for Effective Vacuum Sealing
Now that we’ve identified the enemy of frozen food quality, let’s arm ourselves with the right vacuum sealing equipment.
Creating an airtight seal requires precision tools and proper supplies.
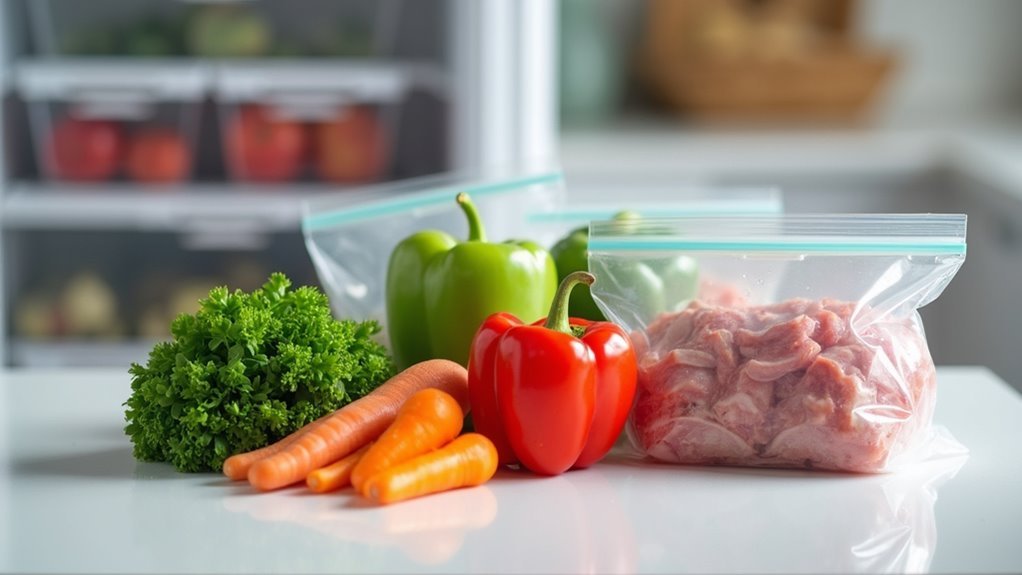
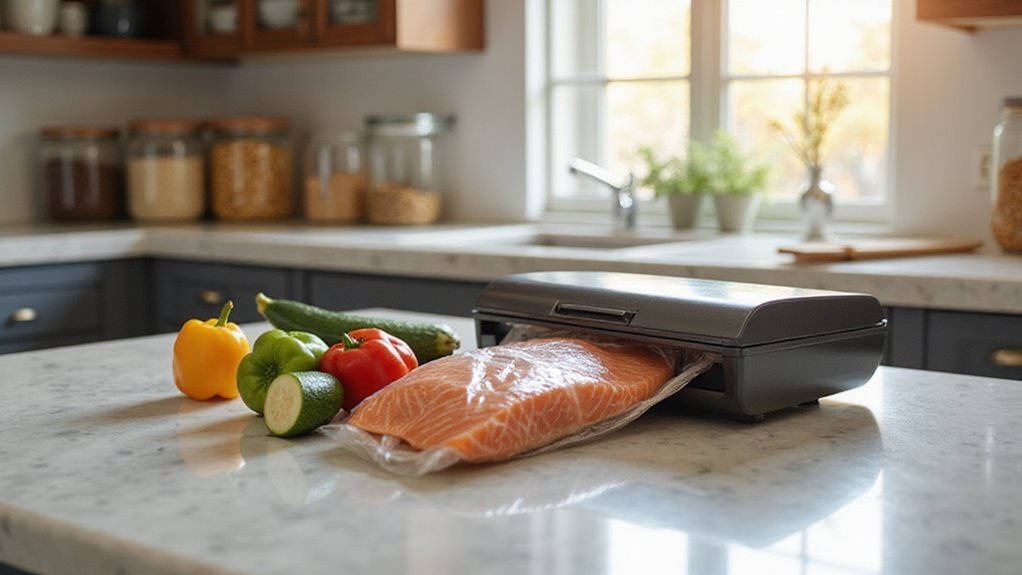
- Suction vacuum sealers: Perfect for home use, requiring textured bags for ideal performance
- Chamber vacuum sealers: Superior for liquids and high-moisture foods, compatible with all bag types
- High-quality bags: Brand-specific designs guarantee better sealing and protection
- Proper spacing: Maintain 3-inch headspace for fail-proof sealing
We’re not just sealing food – we’re creating an impenetrable fortress against freezer burn.
Choosing chamber vacuum sealers can significantly enhance the preservation quality of your food due to their powerful motor and vacuum pump.
Choose your vacuum sealers wisely; your frozen food’s survival depends on it.
Step-by-Step Guide to Proper Vacuum Sealing

Three key steps separate freezer-burn disaster from vacuum-sealing success. Let’s nail the process of creating a vacuum that’ll keep your meat fresh for up to two years.
| Step | Action |
|---|---|
| 1 | Portion meat to desired sizes |
| 2 | Pat meat completely dry |
| 3 | Leave 3″ headspace at bag top |
| 4 | Use proper bags for your sealer |
| 5 | Follow machine-specific instructions |
Here’s the brutal truth: most people rush this process and wonder why they’re serving ice-crystal-covered dinner two months later. When we vacuum seal meat properly, we’re not just storing food – we’re preserving an investment. Those three inches of headspace aren’t optional, and manufacturer-specific bags aren’t a marketing scam. Additionally, using vacuum sealing can extend meat shelf life significantly, ensuring quality and freshness for your meals.
Best Practices for Storing Different Types of Food
Proper vacuum sealing’s only half the battle – different foods need different handling to maximize their preservation.
Let’s tackle the essentials of storing various foods properly with these critical steps:
- Raw meats need immediate vacuum sealed storage – 2 weeks in the fridge, 2 years frozen
- Blanch fruits and vegetables before sealing to maintain color and texture
- Cool liquids completely before vacuum sealing or seal mason jars for soups
- Double-protect baked goods with plastic wrap before sealing
Additionally, vacuum sealing seafood can help retain flavor and nutrition while extending shelf life, making it crucial for preserving freshness.
Whether you’re batch cooking or preserving bulk ingredients, flatten bags for efficient storage and quicker thawing.
Trust us – these methods will revolutionize your food storage game.
Common Mistakes to Avoid When Vacuum Sealing
While vacuum sealing can prevent freezer burn, we’ve seen plenty of well-intentioned food preservation attempts fail due to rookie mistakes.
Don’t rush past proper food drying – moisture kills seals. Generic vacuum sealer bags without texture? Amateur move. They’re useless at removing air effectively.
We can’t stress enough: leave three inches of headspace at the top. Overstuffing bags is a recipe for disaster – trapped air pockets are freezer burn waiting to happen.
And please, follow your sealer’s specific instructions. Each model has its quirks, and ignoring them means compromised seals and spoiled food. Additionally, ensure proper bag placement to avoid misalignment that can lead to seal failures.
Tips for Maximizing Food Freshness and Storage Life
Getting the most from your vacuum sealer demands strategic thinking about storage life from the start.
Let’s maximize your food preservation with these essential tips that make best vacuum sealers work harder for you:
- Leave 3 inches of headspace in bags – it’s non-negotiable for proper sealing and expansion.
- Use chamber vacuum sealers for liquid-heavy foods like soups and marinades.
- Check and rotate your freezer inventory monthly to prevent forgotten items.
- Choose textured bags with suction sealers for ideal air removal.
- Remember that vacuum sealing extends food shelf life by 3 to 5 times, making it a crucial step in effective preservation.
Advanced Vacuum Sealing Techniques for Special Foods
Different foods demand different vacuum sealing approaches – there’s no one-size-fits-all solution.
When dealing with soups or stews, we’ll need a chamber vacuum sealer to keep liquids intact. For delicate items like berries, we’re better off using the gentle mode or quick-freezing first.
Let’s maximize our vacuum sealers’ potential by matching the right bags to our machines. Textured bags work best for suction models, while chamber sealers handle both types.
Want food fresher longer? Try marinating before sealing, but skip acidic marinades – they’ll mess with protein texture. Additionally, understanding preservation methods can help you choose the best technique for each food item.
Store sealed items in dedicated freezer bins for ideal preservation.
Frequently Asked Questions
Will Vacuum Sealing Prevent Freezer Burn?
We’ll prevent freezer burn when we vacuum seal our food because it removes air that causes ice crystals. The benefits include better protection from moisture and oxygen that damage frozen foods.
Does Double Bagging Prevent Freezer Burn?
While storing our holiday turkey, we’ve found double bagging helps reduce freezer burn but doesn’t completely prevent it. The extra layer offers some protection, though air can still get trapped between bags.
Are Vacuum Sealers Good for Freezing?
Yes, we highly recommend vacuum sealers for freezing. They’re excellent at maintaining food freshness by removing air and creating airtight seals. You’ll get longer storage life and better-preserved foods in your freezer.
What Is the Best Storage to Prevent Freezer Burn?
Want to avoid that dreaded freezer burn? We recommend vacuum sealing as the best storage method, followed by double-wrapping with plastic wrap and foil. Airtight containers also work well for added protection.