I’ve long wondered if chamber vacuum sealers are really better for liquids than edge sealers—turns out, they absolutely are. When I first tried sealing soup with my chamber sealer, I made a mess by overfilling the bag. But with practice, I’ve found the trick is all about position and patience. Tilt the chamber slightly, fill bags halfway, and you’ll avoid that frustrating liquid creep toward the seal area. There’s more to it, though, especially when dealing with different viscosities.
Why Liquids Require Chamber Vacuum Sealers
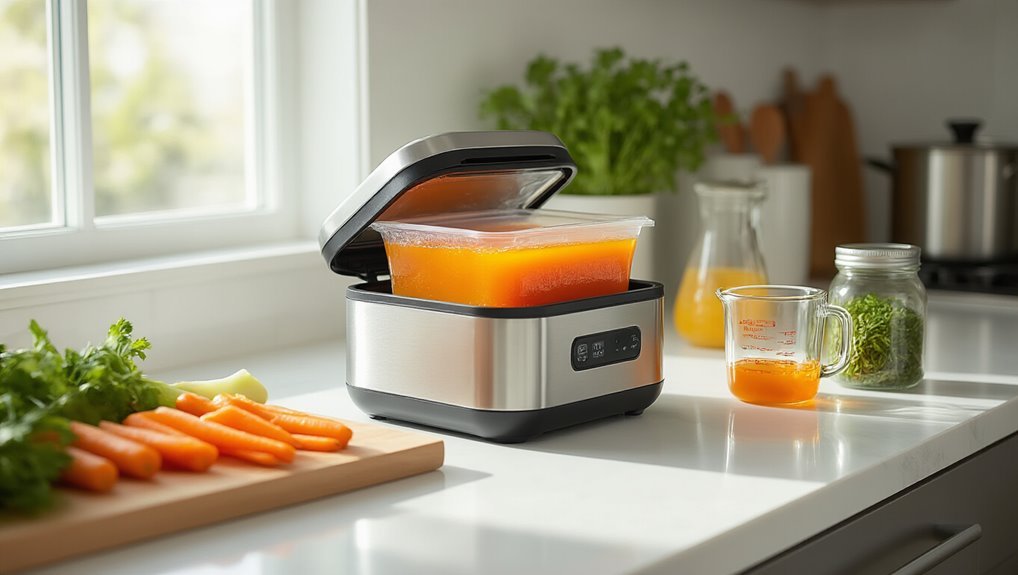
While regular vacuum sealers work great for solid foods, they’re simply not cut out for handling liquids. I’ve learned this the hard way! When liquids meet an external sealer, you’ll end up with a messy situation—trust me. The liquid gets sucked right into the machine, potentially damaging it or, at minimum, creating an ineffective seal.
Chamber vacuum sealers, on the other hand, are liquid-handling champions. They create an even vacuum environment that addresses the issue of liquid porosity while maintaining sealing consistency.
By putting the entire bag inside a chamber, the pressure equalizes both inside and outside the bag. This prevents liquids from expanding or boiling during the process, which, well, makes all the difference.
It’s like comparing a rowboat to a submarine—they’re just built differently for their environments.
This method also helps protect nutrients by reducing oxygen exposure, reinforcing the idea of reducing oxygen exposure to preserve antioxidants.
Preparing Liquids for Optimal Sealing Results
Before you plunge into sealing your favorite sauces or soups, proper preparation is absolutely critical for success. I’ve learned the hard way that hot liquids are a recipe for disaster—they’ll boil and make a mess! Always cool everything to room temperature or colder first.
I think the biggest mistake folks make is overfilling bags. Trust me, fill them only halfway because liquids expand during sealing.
For my seasoning tips, I recommend finalizing all flavors before sealing since the storage duration (which can be weeks or months) will intensify some flavors.
You know what works great? Tilting your chamber or using a slanted tray so liquids settle away from the seal area.
Or maybe freeze thicker liquids first—it’s a game-changer for cleaner results!
Consider tilting your chamber or using a slanted tray to help liquids settle away from the seal area, which can reduce the chance of leaks and improve overall results freezer burn.
Step-by-Step Liquid Sealing Process
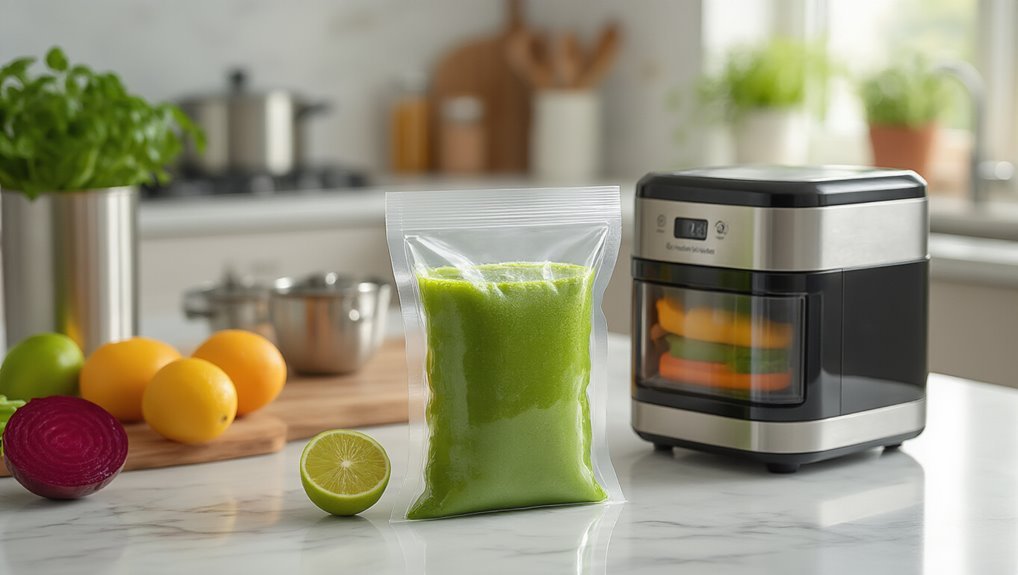
Once you’ve properly prepared your liquids, the actual sealing process is straightforward if you follow the right steps. I’ve found that container materials really make a difference—glass jars work well for acids, while BPA-free plastic is versatile for most liquids.
For best results with liquids, choose a Chamber Vacuum Sealer designed to handle moisture.
| Step | Action | Temperature Control |
|---|---|---|
| 1 | Place liquid in bag with headspace | Keep cold liquids chilled |
| 2 | Position below seal line | Room temp for oils, chilled for stocks |
| 3 | Close lid and start vacuum | Watch for boiling at lower temps |
| 4 | Complete seal and check | Allow hot liquids to cool first |
Remember to monitor your liquid during the vacuum cycle—about 30 seconds is typical, but I’ll sometimes stop earlier if I notice inflation. Temperature regulation is vital; hot soups might boil under vacuum, which, trust me, creates a mess!
Using Slanted Trays and Chamber Tilt Techniques
When I discovered slanted trays, they completely transformed my liquid sealing experience – no more messy spills or weak seals to deal with.
I’ve found that simply propping up one side of my chamber with a small shim creates the perfect angle to keep soups and marinades from creeping toward the seal area.
You’ll be amazed at how this simple tilt technique not only improves your seal quality but also reduces cleanup time after each session.
A proper vacuum seal also reduces exposure to pesticides by creating an air-tight barrier that prevents contaminants from spreading.
Slanted Tray Advantages
Since I’ve started vacuum sealing liquids, I’ve found that slanted trays are absolute game-changers for preventing messy spills. They direct liquids away from the seal area at that essential 45° angle, which makes a world of difference in material compatibility and sealing speed.
I’ve experimented with different setups and compiled my findings below:
| Tray Configuration | Spill Prevention | Sealing Quality | Time Savings |
|---|---|---|---|
| 45° Slanted Tray | Excellent | Consistent | Significant |
| Magnetized Slant | Superior | Very Clean | Moderate |
| Removed Chamber Plates | Good | Improved | Minimal |
| Shimmed Chamber | Very Good | Better than Flat | Notable |
You know what’s amazing? I don’t need fancy equipment anymore. The internal tilt practically eliminates foaming, which means I’m getting perfect seals without the headaches!
Angle Adjustment Techniques
After experimenting with numerous liquid sealing methods, I’ve discovered that proper angle adjustment techniques make all the difference between messy disasters and perfect seals.
For the best results, I prefer making manual adjustments by simply propping one side of my chamber sealer with a small shim. It’s cheap and surprisingly effective!
Commercial slanted trays like those from PolyScience work beautifully too, though they’ll set you back about $75. Worth every penny if you’re sealing liquids daily.
Don’t overlook tray modifications using your existing equipment. I’ve had great success removing the internal chamber plates and repositioning them to create a slope. It’s like creating a little gravity-powered runway for your liquids—they naturally flow away from the seal area, which, trust me, leads to much cleaner results.
Liquid Control Solutions
The secret to mastering liquid vacuum sealing lies in proper liquid control solutions, which I’ve perfected through countless trial-and-error sessions.
I’ve found that slanted trays are absolute game-changers for containing liquids during the sealing process.
PolyScience offers excellent 45° trays that won’t break the bank, or if you’re looking for premium control, their magnetized versions are worth every penny.
Color coding your trays based on liquid viscosity has saved me so much frustration!
For thicker marinades, I’ll use a steeper angle, while lighter broths need just a gentle tilt.
Sometimes I’ll simply remove the chamber plate or prop one side up.
The sealing speed also matters—you’ll want to adjust it depending on your liquid’s consistency.
Trust me, once you’ve got this down, you’ll never have a soupy mess again!
Troubleshooting Common Liquid Sealing Challenges
I’ve found that preventing liquid boil-overs is actually one of the trickiest parts of vacuum sealing soups and marinades. Additionally, the pulse function can help control vacuum pressure for delicate liquids when the standard cycle pulls too aggressively. When I’m having trouble with liquids foaming up, I’ll optimize the chamber tilt by propping one side up about an inch higher—this simple adjustment makes a huge difference.
You’ll know you’ve got the right angle when the liquid stays away from the seal area but doesn’t slide completely to one corner of the bag.
Preventing Liquid Boil-Overs
Ever watched your carefully prepared soup suddenly erupt like a culinary volcano inside your vacuum chamber? I’ve been there, and trust me, it’s frustrating! To prevent these messy situations, I always cool my liquids first. Chilled liquids simply don’t boil as aggressively, which helps maintain seal integrity regardless of liquid viscosity.
I’ve found that tilting the chamber slightly or using a slanted tray works wonders—it keeps liquids away from where you’re trying to seal. Don’t overfill your bags either; I leave about 2-3 inches of headspace.
The real trick? Watch carefully and be ready to stop the cycle when you see the liquid start to bubble. Sometimes I’ll even manually stop the process just before the liquid gets too excited. This quick intervention has saved countless seals!
Optimizing Chamber Tilt
While struggling with liquid-filled bags that refused to seal properly, I discovered that adjusting the chamber tilt makes all the difference in successful vacuum sealing.
I’ve found that a slight incline helps liquids settle away from where the seal forms, drastically improving sealing consistency.
You don’t need fancy equipment—I simply use small shims under one side of my chamber. Sometimes, I’ll even reposition the inserts that came with my machine to create that subtle tilt effect.
The slant buys precious extra seconds before liquids start boiling or foaming during the process.
Chamber stability remains critical though—too much tilt is counterproductive.
Through practice, I’ve perfected a 5-10 degree angle that works beautifully for soups and marinades.
Trust me, this small adjustment will transform your liquid-sealing results!
Advanced Techniques for Different Types of Liquids
Since mastering liquid vacuum sealing requires more than basic knowledge, I’m going to share some advanced techniques that’ll transform how you handle different types of liquids.
When working with varying liquid viscosity, I’ve found that adjusting your sealing speed makes all the difference between a perfect seal and a messy disaster.
Here’s what I’ve learned through trial and error:
- Pre-cool thin liquids like broths or juices before sealing to prevent that annoying foaming issue
- With thick sauces, increase your vacuum time—just a bit!—to remove trapped air pockets
- Leave about an inch of headspace in your bags, trust me on this one
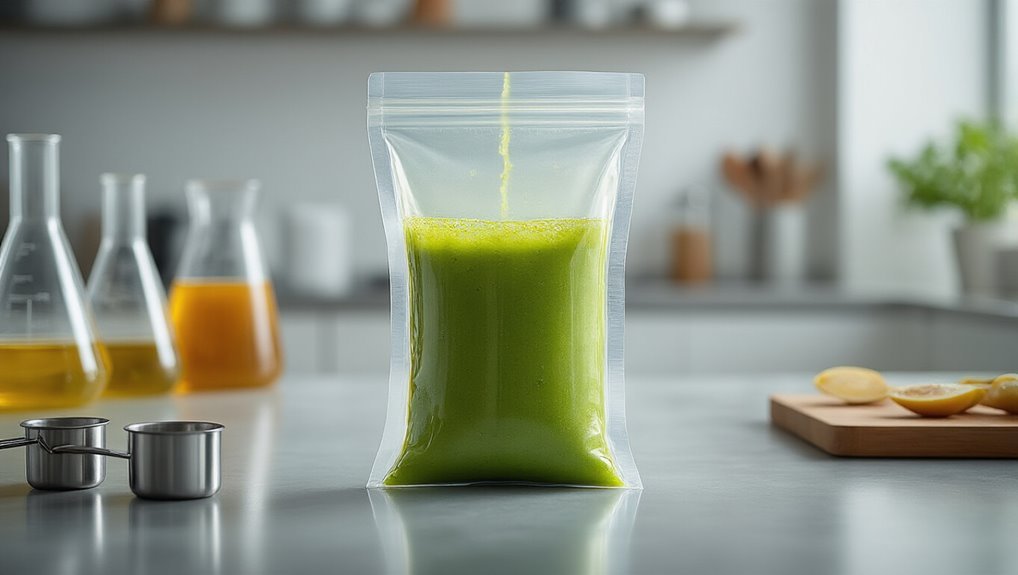
- For anything pourable, double seal the bag for extra protection
In practice, leveraging Dual heat seals can significantly extend freshness by creating a tighter seal.
I think these methods will save you countless cleanup sessions.
Frequently Asked Questions
How to Seal Liquids in a Chamber Vacuum?
I’d recommend choosing a quality vacuum bag, filling it halfway, positioning on a slant, monitoring for inflation, and adjusting your sealing temperature to low for a quick 2-second seal.
Can You Seal Liquids in a Vacuum Sealer?
Can you imagine perfectly preserved sauces? Yes, I can seal liquids in my chamber vacuum sealer! I’ll need proper liquid containment and specialized sealing techniques like pre-cooling and leaving adequate headspace.
Can You Seal Jars in a Chamber Vacuum Sealer?
No, I can’t seal jars in a chamber vacuum sealer due to container compatibility issues. Jar lids prevent proper seal quality – they’re designed for bags, not jars. Use specialized jar sealers instead.
What Vacuum Sealer Can Handle Liquids?
I’d recommend chamber vacuum sealers for liquids. They’re designed with proper vacuum bag compatibility and offer various sealant material options to prevent leaks during the sealing process.