I’ve noticed that air in my sous vide bags is one of those pesky issues that keeps popping up—even when I’m super careful with sealing. Nothing’s more frustrating than coming back to find what looks like a balloon floating in my water bath. Is it safe? Can I save my dinner? Over my years of experimenting, I’ve developed some practical solutions that’ll help you understand why this happens and, more importantly, what you can do about it.
Why Air Appears in Sous Vide Bags (Even With Perfect Seals)
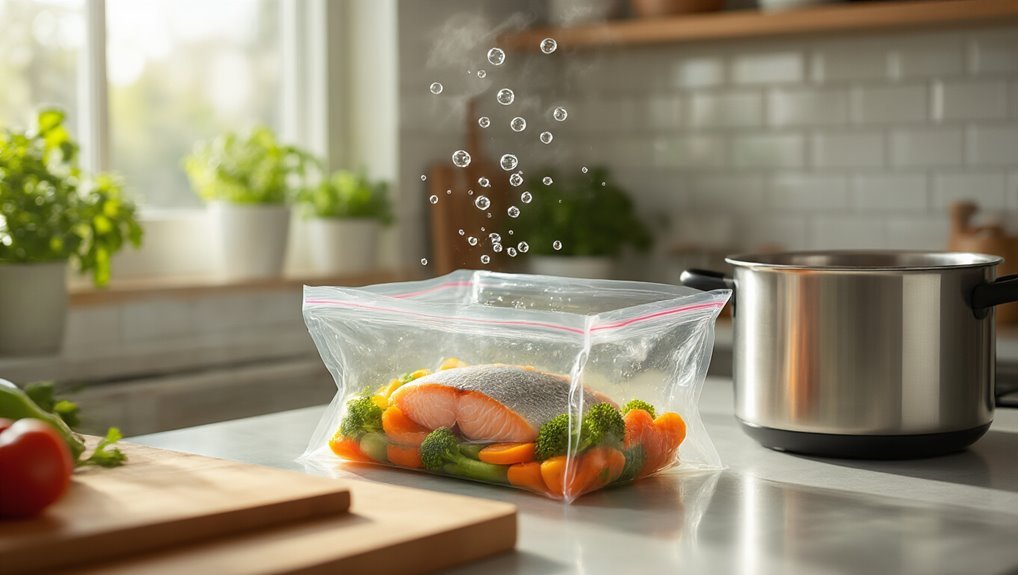
Even though you’ve perfectly sealed your sous vide bag, you might still notice it inflating like a balloon during cooking.
It’s actually not your fault! The culprit is basic gas physics happening inside your food.
Don’t blame your technique—blame science! Those expanding bags are just trapped gases escaping from your food during heating.
A key part of mitigating this is understanding temperature control in your sous vide setup.
When you heat water-rich foods above 95°C, they release steam that has nowhere to go.
Think of it like a tiny pressure cooker inside your bag.
Additionally, cells in your food contain dissolved gases that escape during heating—especially during long cooks.
I’ve found that certain foods are natural troublemakers.
Vegetables with high water content, fatty cuts, or anything with bones tend to create more steam dynamics in the bag.
Trust me, even with my best vacuum sealer, these inflation rebels still puff up sometimes!
Is Your Food Safe When Sous Vide Bags Inflate?
Bottom line? When in doubt, it’s better to start fresh than risk foodborne illness. Vacuum sealing helps prevent air pockets, leading to even heat distribution.
How to Tell if Bag Inflation Is Normal or Dangerous
I’ve learned that not all bag inflation means your food’s gone bad—it’s actually the source of the air that matters most.
When I’m evaluating a puffy sous vide bag, I’ll check if it’s just steam or dissolved gases (normal) versus actual spoilage gases (dangerous).
While many cooks rely on the smell test after opening, I’ve found it’s not always reliable since some harmful bacteria don’t produce noticeable odors.
Safe vs. Risky Inflation
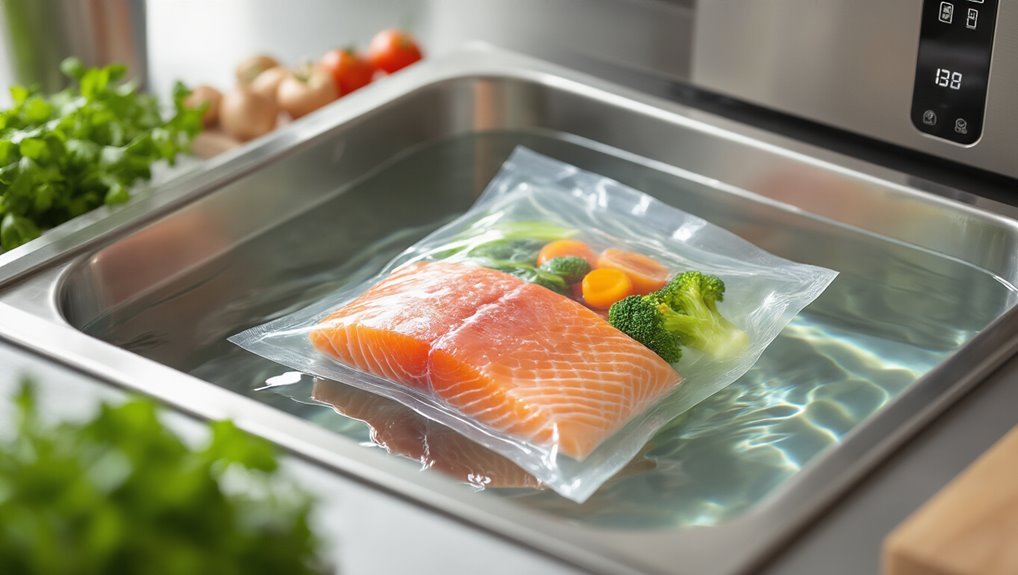
When you’re in the middle of a sous vide cook and notice your bag inflating, it’s important to know whether you’re dealing with a normal cooking reaction or a potential food safety issue.
In my experience, understanding the risk criteria helps establish clear safety boundaries.
Normal inflation happens from steam or dissolved gases—this is perfectly fine!
What’s concerning is persistent, excessive bulging or a bag that floats out of the water.
I always check that my food maintained proper submersion and reached target temperature rather than just panicking about air presence.
Those pesky air pockets from incomplete sealing?
They definitely warrant rebagging before continuing.
I find that checking water clarity inside the bag is a useful indicator too—
cloudy liquid might suggest something’s not right,
while clear moisture is usually just steam condensation.
Source of Air Matters
Why does the source of air in your sous vide bag matter so much?
It’s literally the difference between dinner and disaster.
When I’m cooking sous vide, I’ve learned that not all inflation is created equal—the air source determines whether I’m facing normal cooking physics or dangerous spoilage.
Here’s how I distinguish between normal and risky inflation:
- Normal degassing – Small air pockets without odor, usually from water turning to steam or dissolved gases escaping
- Questionable inflation – Buoyancy from imperfect sealing, especially with long cooks or fatty foods
- Dangerous buildup – Gas accompanied by off-odors, slime, or cloudy liquid
I never take degassing risks lightly. If I’m unsure about inflation after attempting to release air, I’d rather toss the food than risk getting sick. Trust your nose—it rarely lies!
Smell Test Limitations
Although many of us rely on the sniff test when cooking, it’s simply not enough when it comes to sous vide safety.
I’ve fallen victim to this olfactory bias myself—thinking if it smells fine, it must be safe.
But here’s the truth: harmful bacteria can be completely odorless.
What’s particularly tricky is the odor uncertainty that comes with sous vide cooking.
You might open a bag that smells perfectly normal, yet it could contain dangerous bacterial growth or toxins that your nose just can’t detect.
I always remind myself that when I see air in a bag, I shouldn’t make decisions based on smell alone.
Instead, I check the seal integrity and cooking parameters.
If I’m unsure, I’d rather waste one meal than risk getting sick.
Trust me, your stomach will thank you.
Keeping Inflated Sous Vide Bags Safely Submerged
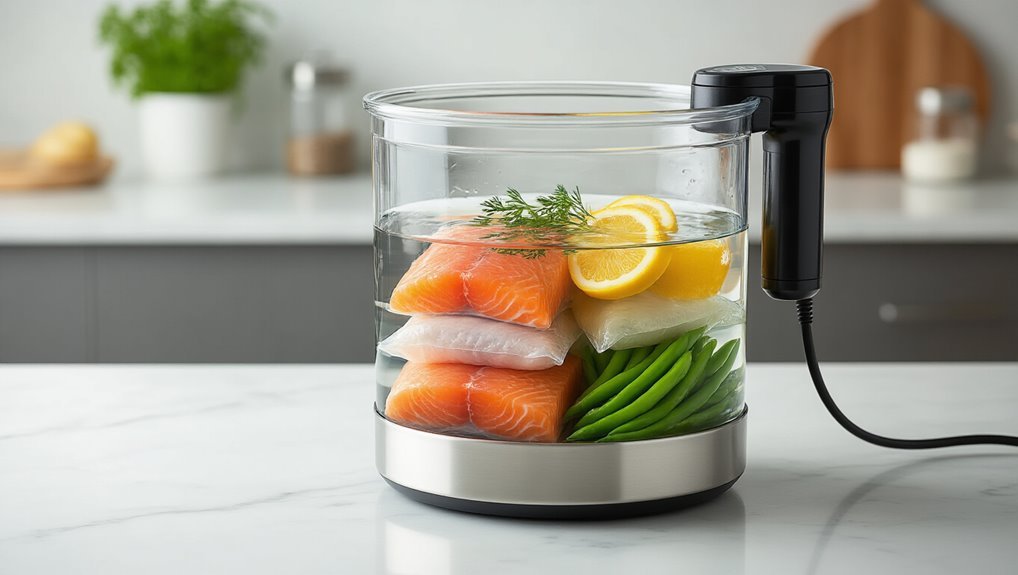
I’ve found weighted clips to be my go-to solution when battling those stubborn floating bags in my sous vide setup.
If you’re caught mid-cook with a floating bag emergency, try quickly repositioning it with heavy kitchen utensils or dedicated sous vide weights—anything food-safe will work in a pinch.
Consider integrating a Chamber Vacuum Sealing approach when handling liquids to boost immersion stability.
Weighted Clips Method
The Weighted Clips Method has saved my sous vide cooking countless times when dealing with those annoying floating bags.
I place binder clips along the bottom edge of the container, then secure the bag within the clip’s grip.
The key is proper clip placement and weight distribution to keep everything fully submerged.
Here’s my foolproof approach:
- Attach binder clips to the container’s edge, positioning them low enough to keep the bag submerged
- Insert a heavy spoon or similar utensil into each clip to add weight
- Arrange the weights so they don’t create air pockets in the bag
If your bag still wants to float (and trust me, some really fight you), just add more weights! I’ve sometimes used multiple spoons when cooking especially buoyant items.
Emergency Submersion Fixes
When disaster strikes in the middle of a sous vide cook, you’ll need some quick thinking to save your meal from the dreaded floating bag syndrome. I’ve been there—watching in horror as a perfectly prepared bag suddenly inflates mid-cook.
My go-to underwater sealing technique is simple but effective. Fully submerge the bag while pressing out air bubbles, then seal it while it’s still underwater.
| Weighting Tactics | Works Best For | Difficulty Level |
|---|---|---|
| Binder clip + spoon | All bag sizes | Easy |
| Heavy knife on edge | Medium bags | Medium |
| Container rim clip | Large cuts | Easy |
| Full submersion seal | Inflation rescue | Challenging |
I find that attaching the bag to the container’s rim prevents movement that might trap more air—a real lifesaver when you’re in a pinch!
Prevention Techniques for Common Sous Vide Ingredients
Successfully preventing air bubbles in your sous vide bag starts with understanding how different ingredients behave underwater.
For watery vegetables, proper vegetable prep makes all the difference—I’ve found blanching them first helps remove those pesky gases that cause floating.
You’ll also want to focus on vacuum tightness, especially when dealing with moist foods.
When preparing ingredients for sous vide, I always follow these rules:
- Leave adequate space (about 2 fingers at top, 1 inch at bottom) so the bag has room to seal properly
- Perform multiple vacuum cycles for wet ingredients to release trapped air
- Pre-cook or blanch vegetables with high water content, keeping cooking temps between 85-95°C
I think the most common mistake is overfilling bags.
Trust me, giving your food some breathing room pays off!
Additionally, for fragile or liquid-rich ingredients, use pulse vacuuming to minimize air pockets and protect textures.
Adjusting Your Sous Vide Process to Minimize Air Buildup
Why do air bubbles seem to appear out of nowhere during sous vide cooking? It’s actually gas diffusion in action—dissolved gases in food expand when heated. I’ve found that proper cycle timing during vacuum sealing makes all the difference.
For moist foods, I always run multiple vacuum cycles, allowing pauses between each. This gives those pesky gases time to escape before final sealing.
| Food Type | Vacuum Strategy | Container Method |
|---|---|---|
| Vegetables | Pre-blanch, double cycle | Immersion technique |
| Meat | Pause function, high power | Weighted clips |
| Fish | Gentle vacuum, pre-degas | Sous vide sinker |
You can further minimize air buildup by adding a pre-freeze step for delicate items and using the pause function between cycles pre-freeze.
Salvaging vs. Discarding: Making Food Safety Decisions
Despite our best efforts with vacuum sealing techniques, sometimes things don’t go as planned—and that’s when tough decisions must be made about food safety.
I’ve learned through experience that proper risk assessment is essential when finding air in your sous vide bag.
When deciding whether to salvage or make an ethical discard, follow these guidelines:
Tough calls about food safety demand clear guidelines—prioritize health over waste whenever doubt exists.
- If there’s any doubt about bag integrity, especially after long cooks at lower temps, err on the side of caution
- Consider who’s eating—vulnerable household members should never consume questionable food
- Trust your instincts—even if it smells fine, gas buildup is a warning sign
I think it’s always better to waste one meal than risk foodborne illness.
Sometimes the safest choice is simply tossing it and starting over, no matter how disappointing.
Additionally, cooling hot foods before sealing helps prevent bacterial growth, which is a key part of cooling hot foods guidelines.
Frequently Asked Questions
Is It Okay to Have Air in a Sous Vide Bag?
I absolutely HATE air in my sous vide bags! It’s not ideal—air pockets cause uneven heating, negative taste impact, and texture effects. I always re-seal or guarantee proper submersion for safety.
How to Get Air Out of a Sous Vide Bag?
I use the water displacement method, pressing air out while submerging the bag. Check seal integrity after vacuum sealing, as proper bag material guarantees minimal air re-entry during cooking.
How Do You Get Air Out of a Vacuum Bag Without a Vacuum?
I use the water displacement method for my vacuum bags without spending on equipment. I’ll submerge the open bag slowly in water—alternative methods that consider cost while effectively removing air.
How to Cook With Air Sous Vide?
Like fighting an uphill battle, I’d minimize air for better flavor retention. I submerge bags completely, push air pockets up, use weights to counter air dynamics, and guarantee proper sealing before cooking.