I’ve been cooking sous vide for years now, and honestly, it’s changed how I approach dinner on busy weeknights. You don’t need fancy equipment to get started—just a circulator, container, and some freezer bags. What I love most is the consistency; I can’t tell you how many steaks I’ve overcooked before discovering this method. The techniques are straightforward, but the results? Well, they’ll make you wonder why you waited so long to try it.
Why Sous Vide Creates Restaurant-Quality Food at Home
Achieving restaurant-quality food at home might seem intimidating, but that’s where sous vide truly shines. I’ve found that understanding a bit of flavor science helps explain why chefs love this method. When you cook in vacuum-sealed bags, there’s virtually no moisture loss, which means all those delicious flavors stay locked in.
What I’m most impressed with is the texture theory behind sous vide. You know how restaurants serve steaks with perfect edge-to-edge doneness? That’s because the precise temperature control—say, exactly 130°F for medium-rare—ensures uniform cooking throughout. You’ll never worry about overcooking again.
Plus, the gentle pasteurization process makes food safe while keeping it incredibly tender. When you finish with a quick sear, well, you’ve got that restaurant-worthy crust without compromising your perfectly cooked interior. That precision is what guarantees restaurant-grade results, with real moisture retention during long cooks that lock in flavors.
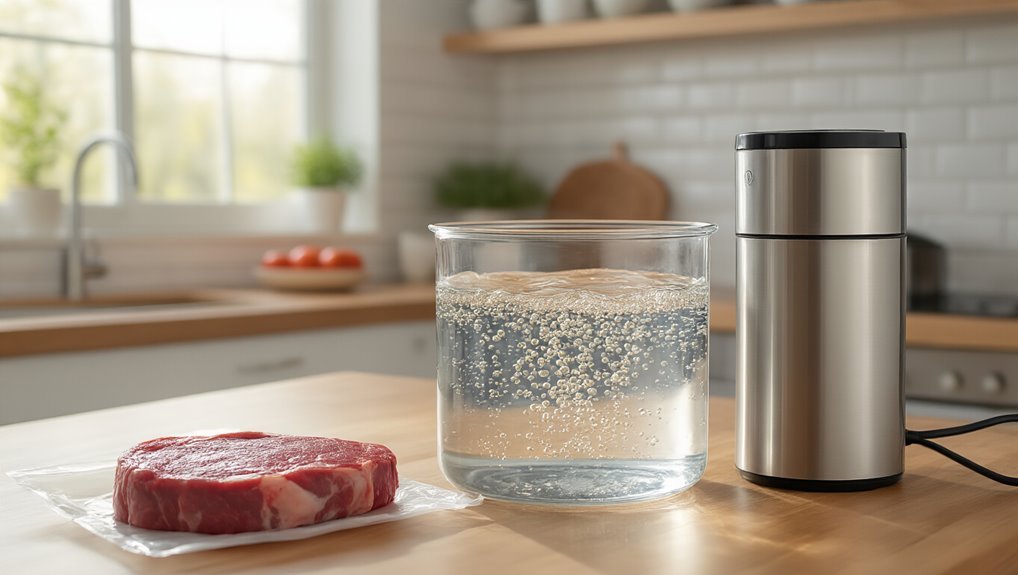
Sous Vide Equipment Guide: What You Actually Need to Start
The beauty of getting started with sous vide cooking is that you don’t actually need a ton of fancy equipment to achieve great results.
For most home cooks, I recommend starting with affordable starter circulators like the Anova Precision Cooker or Joule Turbo, which typically run between $200-300.
You’ll also need a container—I’ve found the Cambro 8-quart works perfectly for beginners.
As for sealing, you don’t immediately need to invest in expensive vacuum sealers; regular zipper-lock freezer bags work surprisingly well when you’re just starting out.
For budget accessories, grab some binder clips to help secure bags to your container’s edge.
Oh, and don’t forget to cover your water bath somehow to minimize evaporation—actually, even plastic wrap can work in a pinch!
Trust me, you can always upgrade later.
Sous Vide Temperature Charts for Perfect Meats, Seafood, and Vegetables
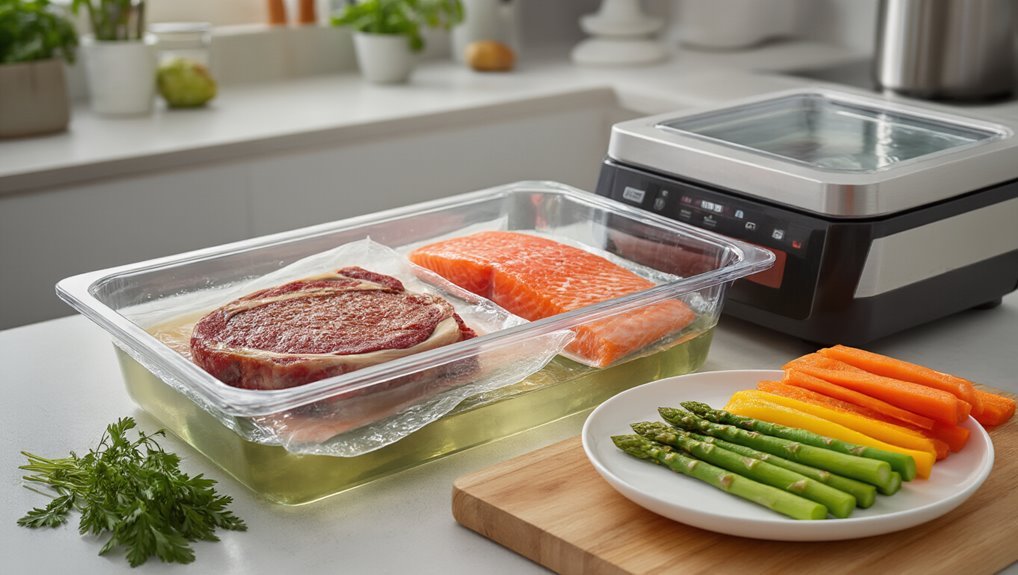
Vacuum sealing reduces air pockets, enabling faster, more consistent heat transfer and an even heat distribution throughout the dish.
Your First Sous Vide Cook: Step-By-Step From Prep to Plate
When I first tried sous vide cooking, I fumbled with bags and timers like everyone does at the start.
Now I follow a simple prep sequencing that works every time.
First, decide your doneness temperature—I prefer 130°F for medium-rare steaks—and set the water bath before you do anything else.
While it’s heating up, season your meat and vacuum seal it.
Once submerged, timing is pretty straightforward: about an hour for a one-inch steak, or three hours for those thick two-inchers.
The finishing sear is where the magic happens, honestly.
After the bath, pat your meat dry—this is essential—and sear it in a screaming hot cast-iron for just 30 seconds per side.
If you’re cooking ahead, remember to chill it quickly in ice water before storing.
This method—with vacuum sealing—ensures a consistent texture from edge to edge in every patty.
5 Easy Sous Vide Recipes That Outperform Traditional Cooking Methods
So what makes sous vide worth the extra gadgetry and prep time?
Let me tell you—it’s the results that traditional cooking methods simply can’t match.
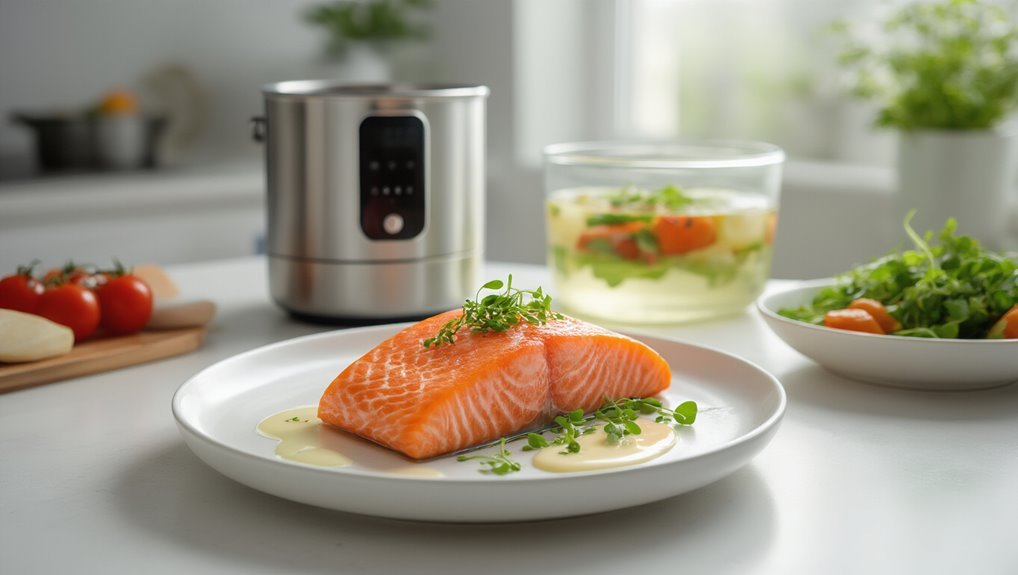
Take chicken breasts, for example.
At 145°F, they’re juicier than you’ve ever experienced, almost velvety like veal, without the budget impact of premium cuts.
Many home cooks have texture myths about eggs—that perfect poaching is difficult.
Well, with sous vide, you’ll nail that fudgy yolk every single time by adjusting just a degree or two.
I think carrots are my favorite transformation.
They become incredibly tender while staying intensely flavorful—something that’s nearly impossible when boiling.
The precision is, um, actually kind of magical.
You’ll get edge-to-edge medium-rare steak that’s probably better than most restaurants serve!
Chamber vacuum sealing technology can also help with bulk prep and long-term storage for home cooks, especially when using chamber vacuum sealer to protect a wide range of foods.
Frequently Asked Questions
What Is the Downside of Sous Vide?
I’ve found sous vide cooking requires significant time investment, risks equipment failure, demands specialized gear, and still needs finishing steps for proper texture and browning. It’s not always worth the effort.
How to Sous Vide for Beginners?
90% of sous vide failures come from temperature errors. I’d recommend starting with simple proteins like chicken breast, mastering temperature control first, then focusing on vacuum sealing techniques as you gain confidence.
What Is the Best Sous Vide for Home Use?
I’d recommend the Anova Precision Cooker or Joule Turbo for home use. Brand comparisons show they’re reliable, easy to use, and fall within the $200-$300 price range for beginners.
What Cannot Be Cooked in Sous Vide?
Like a loyal guardian at the gate, I won’t sous vide anything requiring true sterilization. Foods with bacterial spores need higher temperature limits than my equipment provides for complete food safety.