Achieving juicy sous vide turkey breast starts with selecting the right cut—bone-in offers better flavor, while boneless provides convenience. Cook at precisely 140°F for three hours, adding an hour if starting frozen. After cooking, pat the meat dry and sear quickly using a cast iron pan, broiler, or torch to develop a golden-brown exterior. A compound butter finish adds both flavor and moisture without sacrificing that perfect texture. The technique transforms ordinary turkey into something exceptional.
Selecting the Perfect Turkey Breast Cut for Sous Vide
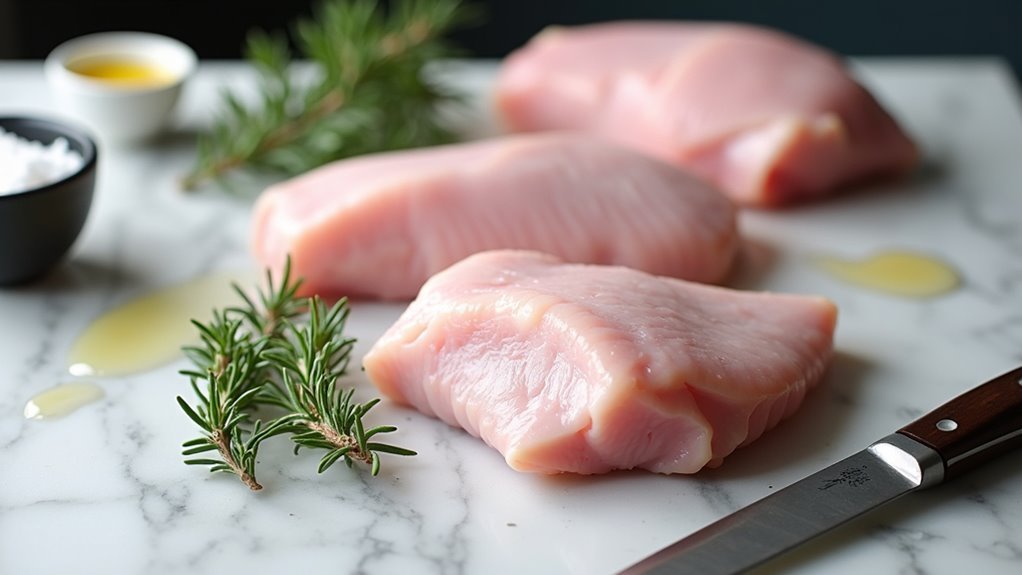
When deciding between bone-in and boneless turkey breast for sous vide cooking, many home chefs find themselves puzzled by conflicting recommendations. While both cuts ultimately yield tender, juicy results, the bone-in option generally provides superior flavor. The meat surrounding the bone tends to be remarkably tender, perhaps due to the insulating properties the bone provides during the cooking process. That said, boneless cuts offer convenience that shouldn’t be overlooked. In practice, both cuts work beautifully in sous vide applications. If flavor is your primary concern, bone-in might be worth the extra effort. Moreover, properly vacuum sealing your turkey can enhance the sous vide experience by locking in moisture and flavors. Either way, your turkey will turn out wonderfully moist.
Essential Equipment and Preparation Techniques
Successful sous vide cooking hinges on having the right tools at your disposal. Perhaps the most critical component is a reliable immersion circulator that maintains precise temperature control—something I think many home cooks overlook initially. Vacuum sealing is essential as it retains freshness and flavor while eliminating air, thus enhancing the overall quality of your sous vide dishes.
| Equipment | Essential? | Approximate Cost | Purpose | Alternatives |
|---|---|---|---|---|
| Immersion Circulator | Yes | $100-300 | Temperature control | None viable |
| Vacuum Sealer | Recommended | $50-200 | Air removal | Water displacement |
| Container | Yes | $15-40 | Water bath | Large pot |
| Weights | Sometimes | $5-15 | Prevent floating | Kitchen items |
| Thermometer | Recommended | $15-30 | Verify temperature | Built-in probe |
Beyond these basics, having good tongs and a reliable meat thermometer will make the process smoother, especially when finishing your turkey breast post-bath.
Time and Temperature Guide for Ultimate Tenderness
Because temperature precision makes or breaks sous vide cooking, finding the sweet spot for turkey breast is absolutely essential.
Precision is the soul of sous vide – nail your temperature settings and you’ll transform ordinary turkey into extraordinary dining.
Most enthusiasts agree that 140°F (60°C) delivers that perfect balance between safety and succulence, with a three-hour cook time ensuring the proteins break down just right. For consistently delicious results, follow these three key principles:
- Set your circulator to exactly 140°F – even small variations affect texture.
- Allow at least 3 hours cooking time, though 4 hours won’t hurt.
- Use an additional hour if cooking from frozen – perhaps the most convenient approach.
Additionally, remember that the sous vide method retains moisture and enhances natural flavors, making it an excellent choice for tender turkey.
I think the beauty of sous vide is that precision creates reliability every time.
Creating a Restaurant-Quality Finish With Searing Methods
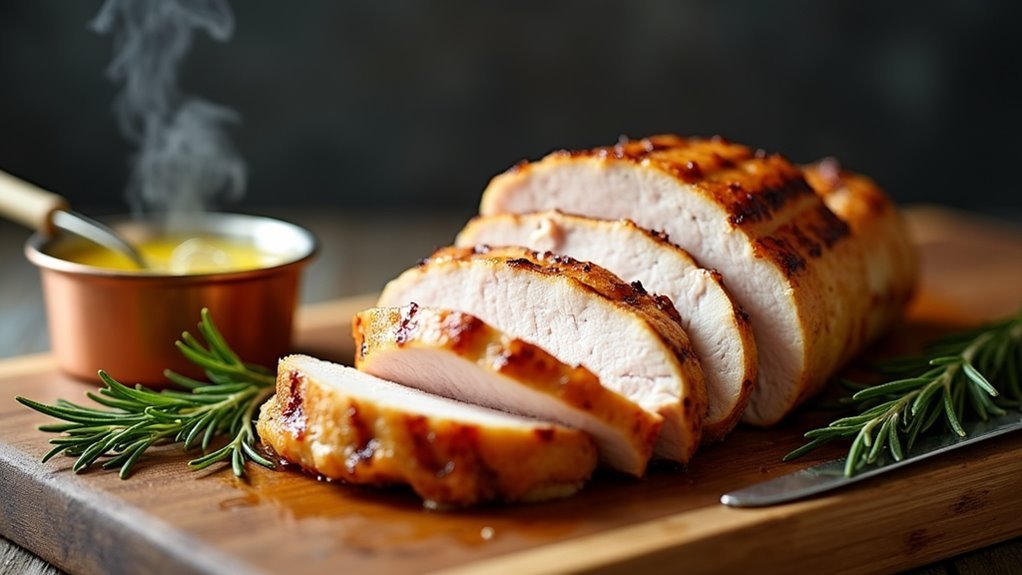
The perfectly cooked sous vide turkey breast often lacks that appetizing golden-brown exterior that makes mouths water instantly. This final step—searing—transforms your technically perfect meat into a visually stunning centerpiece.
| Searing Method | Time Required | Best For |
|---|---|---|
| Cast Iron Pan | 2-3 minutes | Quick finish |
| Oven Broiling | 5-7 minutes | Larger pieces |
| Torch | 1-2 minutes | Precision browning |
| Compound Butter | 3-4 minutes | Added flavor |
| Air Fryer | 3-5 minutes | Convenience |
For best results, perhaps pat the turkey completely dry before searing. I think applying compound butter helps achieve that beautiful crust without drying the meat. Remember, high heat is essential! Additionally, using a vacuum sealer can help retain essential nutrients and preserve the freshness of the turkey breast before cooking.
Frequently Asked Questions
Can I Add Aromatics to the Sous Vide Bag?
Yes, aromatics like herbs, garlic, and citrus zest can be added to sous vide bags. These ingredients infuse flavor throughout the cooking process without overwhelming the primary ingredient.
How Long Will Sous Vide Turkey Breast Last in Refrigerator?
As fresh as a daisy, sous vide turkey breast keeps for 3-5 days when properly stored in an airtight container in the refrigerator. For extended storage, freezing is recommended.
Is Brining Necessary Before Sous Vide Cooking Turkey Breast?
Brining isn’t strictly necessary for sous vide turkey breast. The sous vide method already guarantees juicy results, though a brine can enhance flavor and provide additional moisture assurance if desired.
Can I Use Sous Vide Turkey Breast in Cold Preparations?
Like a blank canvas awaiting artistic vision, sous vide turkey breast excels in cold preparations. Its consistently tender texture and controlled doneness make it perfect for sandwiches, salads, and charcuterie boards.
How Do I Troubleshoot if My Turkey Turns Out Dry?
Dry turkey likely results from overcooking. Lower the temperature to 140°F, guarantee proper sealing, avoid overcooking past 3 hours, and apply compound butter before finishing for moisture retention.