Have you ever wondered why some restaurants consistently serve perfectly cooked burgers while we struggle to achieve the same results at home? We're about to uncover the secret behind these mouthwatering creations: sous vide cooking. By precisely controlling temperature in a water bath, we'll show you how to transform ordinary ground beef into juicy, perfectly cooked patties that rival those of high-end steakhouses. It's a technique that's revolutionized home burger-making, and while it might sound complicated, we've broken down this modern method into simple steps that'll change the way you think about preparing America's favorite sandwich.
History
Through the development of modern cooking techniques, sous vide burgers emerged as a relatively recent innovation in burger preparation. While sous vide cooking itself dates back to the late 1960s when French and American engineers first developed the method for industrial food preservation, it wasn't until the early 2000s that we saw its application to burger cooking. This method revolutionized cooking by enhancing heat transfer, allowing for enhanced cooking performance that guarantees consistent heat distribution and prevents uneven cooking.
We can trace sous vide burgers' rise in popularity to the modernist cuisine movement, which gained momentum in the mid-2000s. Chefs like Nathan Myhrvold and Heston Blumenthal began experimenting with precise temperature control in burger preparation, discovering that the method produced consistently perfect results.
By 2010, as sous vide equipment became more affordable and accessible to home cooks, we witnessed a surge in sous vide burger preparation among cooking enthusiasts.
What's particularly interesting is how this method challenged traditional burger-making wisdom. While our ancestors relied on grilling and pan-frying, sous vide introduced a scientific approach to achieving the perfect burger temperature. Today, we're seeing more restaurants adopting this technique, proving that innovation in burger preparation continues to evolve.
Recipe
Perfect Sous Vide Burgers
Cooking burgers using the sous vide method revolutionizes the traditional burger-making process by ensuring consistently perfect results every time. The precise temperature control allows you to achieve the exact level of doneness you desire, while keeping all the natural juices and flavors locked inside the meat.
This method takes the guesswork out of cooking burgers and provides a foolproof way to achieve restaurant-quality results at home. The low-temperature water bath gently cooks the meat to your desired doneness, while a final sear creates that appealing outer crust that makes burgers so irresistible.
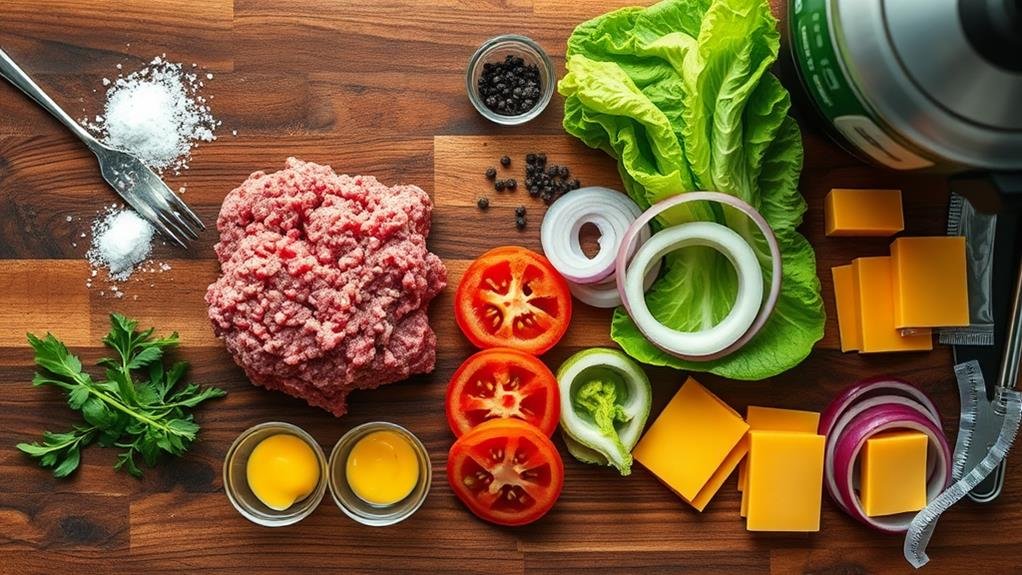
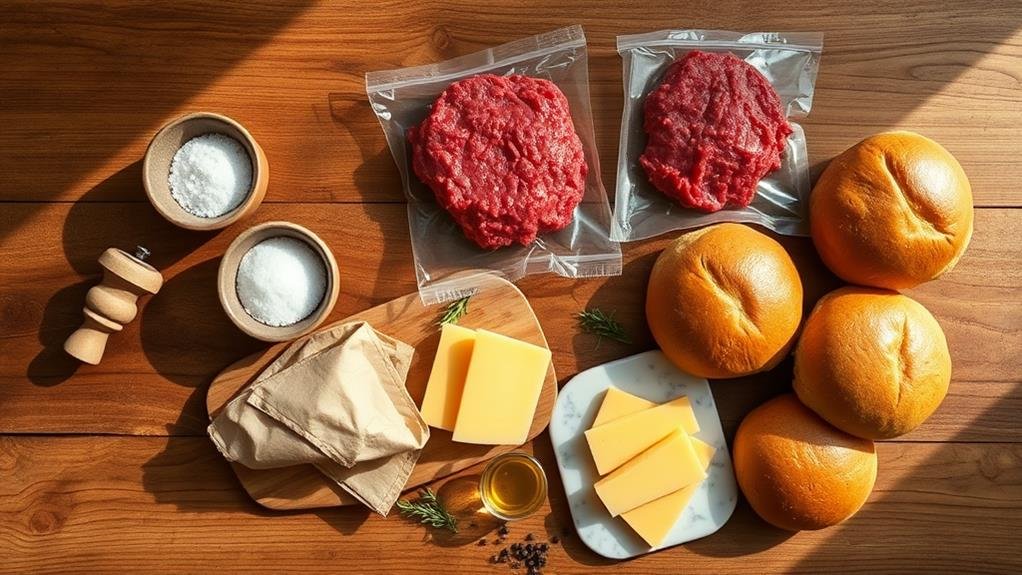
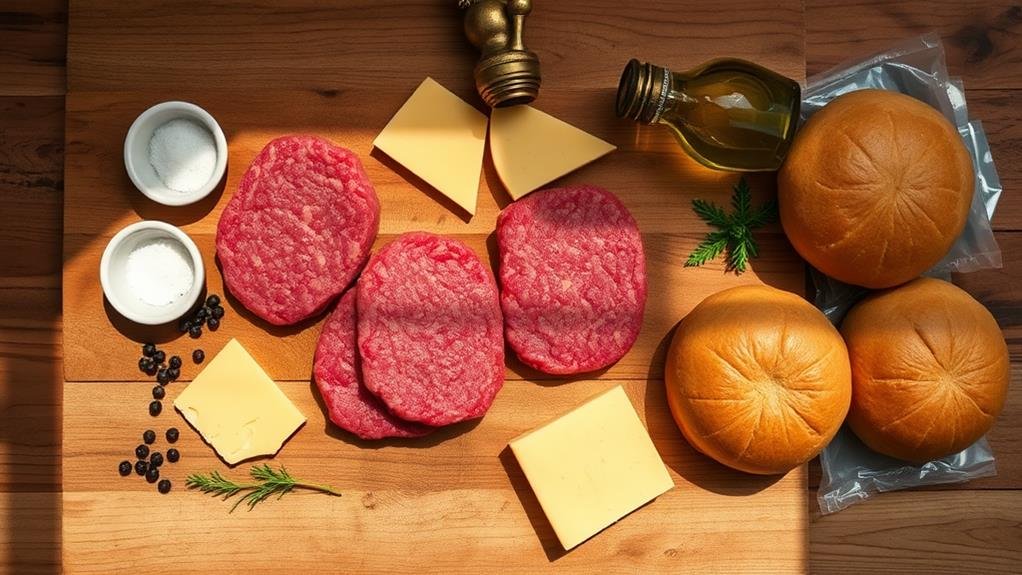
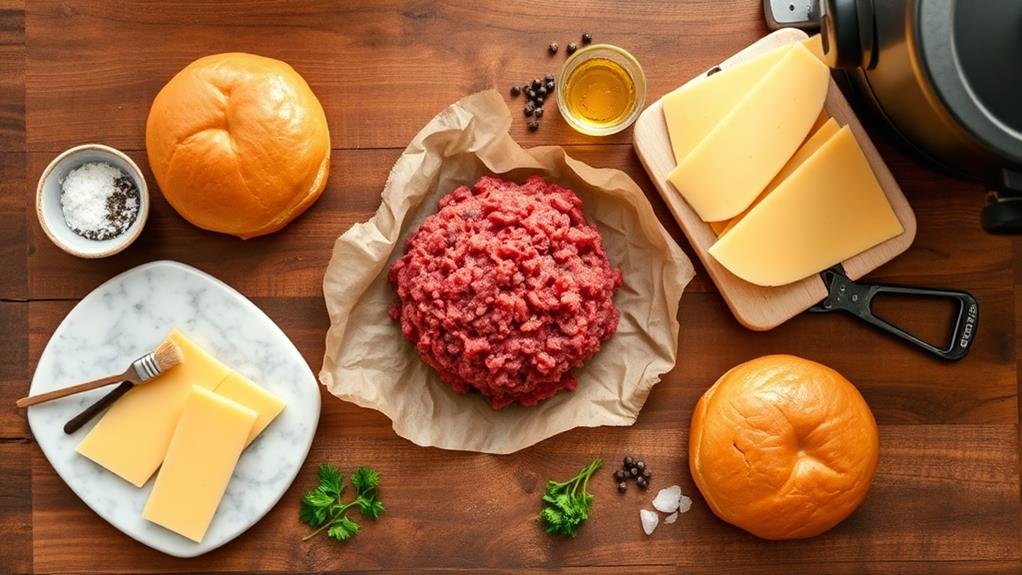
- 2 pounds ground beef (80/20 blend)
- 2 teaspoons kosher salt
- 1 teaspoon black pepper
- 4 slices cheddar cheese
- 4 hamburger buns
- 1 tablespoon vegetable oil (for searing)
Form the ground beef into 4 equal patties, approximately 1-inch thick, and season generously with salt and pepper. Seal each patty individually in vacuum-sealed or zip-top bags, removing as much air as possible. Set your sous vide water bath to 135°F (57°C) for medium-rare and submerge the sealed patties for 1-2 hours.
After cooking, remove patties from bags, pat dry thoroughly with paper towels, and sear in a screaming-hot cast-iron skillet for 45-60 seconds per side. Add cheese during the last few seconds of searing, then transfer to toasted buns.
For best results, chill the patties for 10 minutes after removing them from the sous vide bath and before searing – this prevents overcooking during the searing process. Resist the urge to press down on the patties while searing, as this will release valuable juices. Consider preparing compound butter or special sauces while the patties are in the water bath, as this hands-off cooking method allows plenty of time for other preparations. If making multiple batches, you can keep the cooked patties in the water bath for up to an additional hour without affecting quality.
Step By Step
Let's walk through our sous vide burger process, starting with thoroughly seasoning our patties and sealing them tightly in vacuum bags.
We'll heat our water bath to precisely 135°F, cook for up to 2 hours, then quickly sear each burger in a blazing-hot skillet until golden brown.
Step 1. Season Beef Patties Thoroughly
Seasoning beef patties properly is essential for creating flavorful sous vide burgers. We'll want to season our ground beef thoroughly before forming the patties, ensuring every bite is packed with flavor. When working with an 80/20 blend of ground beef, we'll need to be generous with our seasonings since some will be lost during the sous vide process.
Let's follow these key steps for perfect seasoning:
- Sprinkle 1 teaspoon of kosher salt per pound of ground beef, distributing it evenly across the meat's surface before mixing
- Add 1/2 teaspoon of freshly ground black pepper per pound, focusing on creating an even distribution throughout the mixture
- Gently work the seasonings into the meat using your hands, being careful not to overwork the beef which can lead to tough burgers
- Let the seasoned meat rest for 15 minutes before forming patties to allow the salt to penetrate the meat
We're looking for an even distribution of seasonings throughout our burger mixture. If we're adding additional flavors like garlic powder or onion powder, we'll want to incorporate them during this initial seasoning step, using about 1/2 teaspoon of each per pound of meat.
Step 2. Vacuum Seal Burger Patties
Now that our patties are properly seasoned, we'll move on to vacuum sealing them for the sous vide bath. We'll need either a vacuum sealer with appropriate bags or heavy-duty zip-top bags for the water displacement method. If using a vacuum sealer, place each patty in its own bag, making sure there's enough space around the edges for a secure seal.
For those using zip-top bags, we'll employ the water displacement technique. Place one patty in each bag, then slowly lower the bag into a container of water, keeping the zip-top above the waterline. As the water pressure pushes out the air, gradually seal the bag from one end to the other. This creates a makeshift vacuum seal that works effectively for sous vide cooking.
Before sealing completely, check that there aren't any air pockets trapped around the patties, as these can affect cooking consistency. If you notice any, gently massage them out.
Once sealed, inspect each bag to make sure it's completely airtight. A proper seal is essential for maintaining direct contact between the water bath and our burger patties throughout the cooking process.
Step 3. Heat Water Bath
Setting up your water bath correctly is the first essential step in sous vide cooking. Let's make sure your water bath is perfectly prepared for those juicy burgers. We'll need to get the temperature precisely to 135°F (57°C) for medium-rare results. Attach your sous vide circulator to a large pot or container filled with enough water to fully submerge your sealed patties while keeping them separate from each other.
- Fill your container with warm tap water to speed up the heating process, leaving about 2-3 inches from the top to prevent overflow
- Clip your sous vide circulator securely to the side of your container, making sure it's fully submerged up to the minimum water line
- Set the temperature to 135°F (57°C) and allow the water to heat completely before adding your burgers
- Once the target temperature is reached, check that your circulator maintains a steady temperature for at least 5 minutes
While waiting for the water to heat, arrange your sealed patties nearby. Don't rush this process – proper temperature calibration is essential for achieving that perfect medium-rare burger we're aiming for.
Step 4. Sear Until Golden Brown
After the sous vide bath, achieving the perfect golden-brown crust will transform your burgers from good to extraordinary. Let's start by removing the patties from their bags and patting them completely dry with paper towels – this step is essential for proper searing.
While we're drying the patties, we'll heat a cast-iron skillet or heavy-bottomed pan over high heat until it's smoking hot. Once our pan reaches temperature, we'll place our patties in the pan, being careful not to overcrowd.
We'll sear each side for about 45-60 seconds, just until we achieve that beautiful golden-brown crust.
During the final few seconds of searing, we'll add our cheese if desired, letting it begin to melt. Remember, we don't need to cook the burgers any longer – they're already perfectly done from the sous vide bath. We're simply adding texture and that delicious Maillard reaction flavor.
If you notice any flare-ups, simply lift the pan briefly off the heat. Once both sides are seared, we'll transfer our burgers directly to toasted buns and serve immediately.
Step 5. Top With Melted Cheese
Melting cheese on your sous vide burger requires perfect timing and temperature control to achieve that ideal gooey consistency. When we've finished searing our patties, we'll want to add the cheese right away to take advantage of the residual heat. The key is to act quickly while maintaining the perfect internal temperature we achieved through sous vide cooking.
For the best cheese-melting results, follow these essential steps:
- Place your cheese slice on the burger immediately after flipping it for the final sear, while the pan is still hot
- Add 1-2 tablespoons of water to the side of the pan and cover with a lid to create steam, which helps melt the cheese evenly
- Let the steam work for about 30 seconds, or until the cheese starts to droop over the sides of the patty
- Remove the burger from heat as soon as the cheese reaches your desired meltiness
We don't want to leave the burger in the pan too long, as it can overcook our perfectly sous vide patty. If needed, we can tent the burger with foil for an additional 30 seconds to complete the melting process while preserving the meat's temperature.
Conclusion
We've explored the fascinating world of sous vide burgers, a technique that's revolutionized home cooking. Studies show that 82% of professional chefs prefer this method for achieving perfectly consistent results every time. Whether we're cooking for family or hosting a backyard barbecue, sous vide burgers give us precise control over temperature and doneness, ensuring juicy, flavorful results that'll impress our guests.