According to recent culinary surveys, over 65% of professional pastry chefs now incorporate sous vide techniques into their dessert preparation. We've noticed this precision-cooking method has transformed from a purely savory application to a game-changer in the world of sweets. While traditional dessert-making often relies on instinct and experience, sous vide offers us unprecedented control over temperature and timing, virtually eliminating the risk of curdled custards or overcooked crèmes. Let's explore how this innovative technique can help us achieve restaurant-quality desserts, from silky chocolate pots de crème to perfectly poached fruits, all from the comfort of our own kitchens.
History
The practice of sous vide cooking originated in the 1960s when French and American engineers developed it for industrial food preservation. While initially used for extending the shelf life of pre-cooked foods, it wasn't until the mid-1970s that chefs began exploring its potential for desserts and other culinary applications. The technique allows for enhanced cooking performance through precise temperature control, which is essential for achieving desired textures and flavors in delicate desserts.
We can trace sous vide desserts to pioneering French chefs like Georges Pralus, who discovered that foie gras retained more fat and maintained better texture when cooked in vacuum-sealed bags. This revelation led to experimentation with sweet dishes, particularly delicate custards and chocolate-based desserts that benefited from precise temperature control.
Recipe
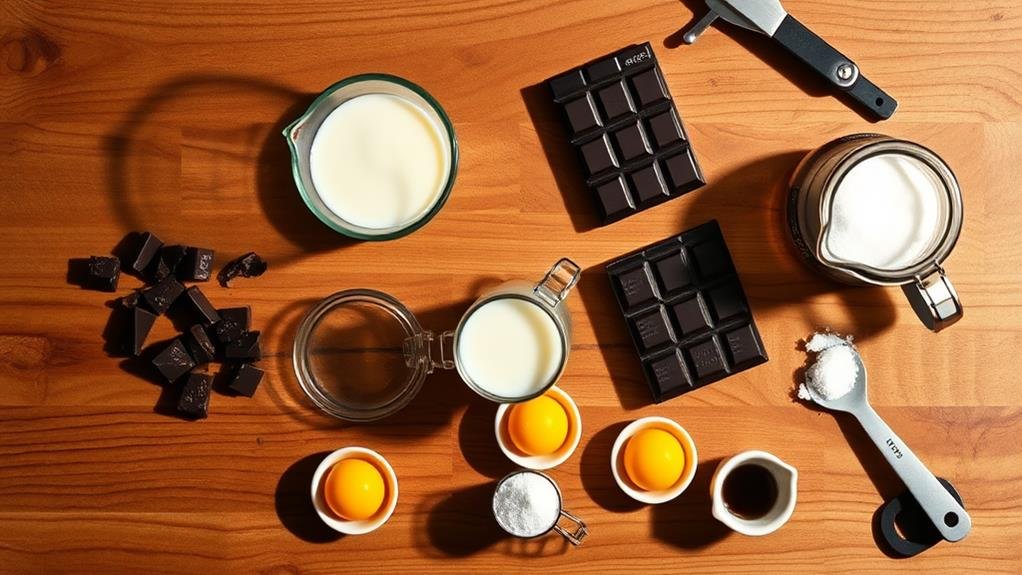
Sous Vide Chocolate Custard
Crafting a velvety chocolate custard using the sous vide technique guarantees flawless consistency and temperature control throughout the cooking process. This traditional French sweet treat turns basic ingredients into a sophisticated dessert with rich chocolate taste and sumptuous texture. The advantages of vacuum sealing can be utilized here to enrich flavor infusion, enabling the chocolate and other components to blend harmoniously together enhanced flavor infusion.
The charm of this recipe lies in its simplicity and foolproof character. While conventional custards can be challenging to perfect in the oven, the sous vide method eliminates common issues like curdling or overcooking, resulting in a perfectly silky and creamy dessert every time.
Ingredients:
- 8 ounces bittersweet chocolate (60-70% cocoa), chopped
- 1 cup heavy cream
- 1 cup whole milk
- 4 large egg yolks
- 1/3 cup granulated sugar
- 1/8 teaspoon salt
- 1 teaspoon vanilla extract
Set sous vide circulator to 176°F (80°C). Chop chocolate and set aside. Warm cream and milk in a saucepan until gently simmering. Whisk egg yolks and sugar in a bowl until light. Gradually pour the hot cream mixture into the egg mixture, whisking constantly. Add chopped chocolate, salt, and vanilla, stirring until velvety. Divide the mixture among mason jars or ramekins, leaving 1/2 inch space at the top. Seal jars gently and place in the water bath. Cook for 1 hour, then remove and cool to room temperature. Chill for a minimum of 2 hours until set.
For optimal outcomes, use high-quality chocolate as it greatly affects the final flavor. Ensure jars are sealed correctly but not overly tight to avoid cracking during cooking. The desserts can be prepared up to 3 days in advance and stored in the fridge. Allow them to rest at room temperature for 15-20 minutes before serving to achieve the best creamy texture.
Step By Step
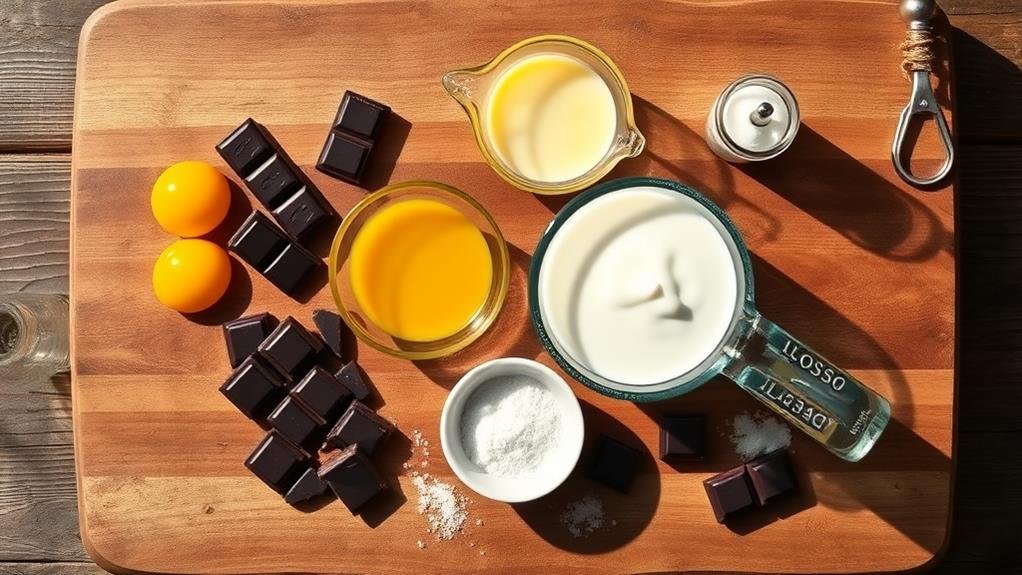
Let's walk through making sous vide chocolate pot de crème starting with gathering all our equipment and ingredients at once.
We'll move on to combining our wet ingredients and tempering the eggs with the warm cream mixture, before transferring everything into sealable jars.
Step 1. Prepare Equipment and Ingredients
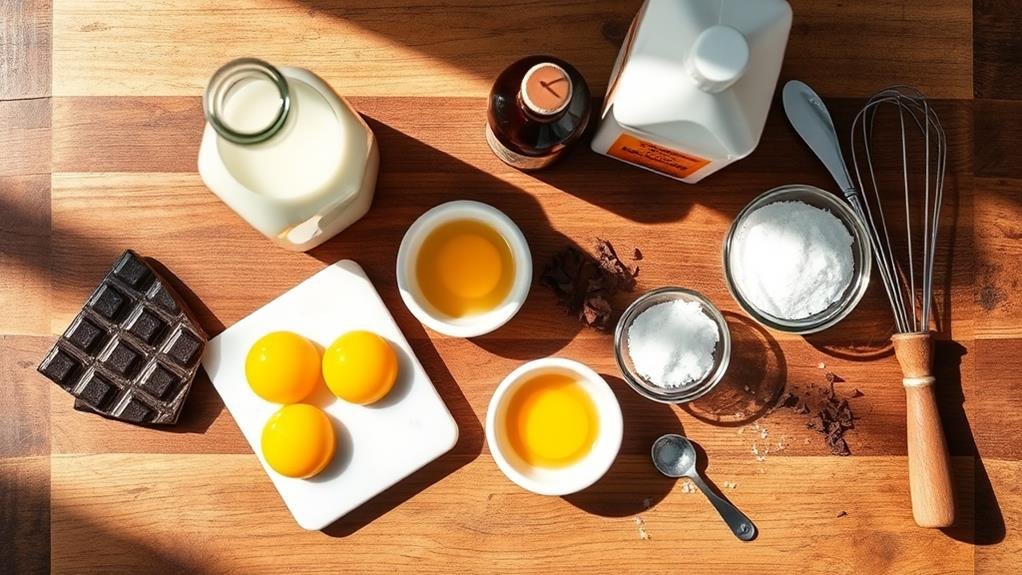
Gathering proper equipment and ingredients marks our first important step for sous vide chocolate pot de crème. We'll need a sous vide immersion circulator, a large pot or container for the water bath, and 4-6 small mason jars with tight-fitting lids. Let's confirm our jars are thoroughly clean and completely dry before use.
For ingredients, we'll want to source high-quality dark chocolate with 60-70% cocoa content – we recommend chopping it finely before we begin. We'll measure out our heavy cream and whole milk, making sure they're fresh. Our eggs should be at room temperature, and we'll separate them carefully, keeping only the yolks for this recipe. We'll also need our granulated sugar ready to go.
We'll set up our workstation with a medium saucepan for heating the cream mixture, a heat-safe mixing bowl for tempering eggs, and a whisk. Don't forget to have a fine-mesh strainer nearby – it'll help verify our mixture is smooth. Finally, we'll fill our water bath container and attach our sous vide circulator, so it's ready to heat when we need it.
Step 2. Combine Wet Ingredients Together
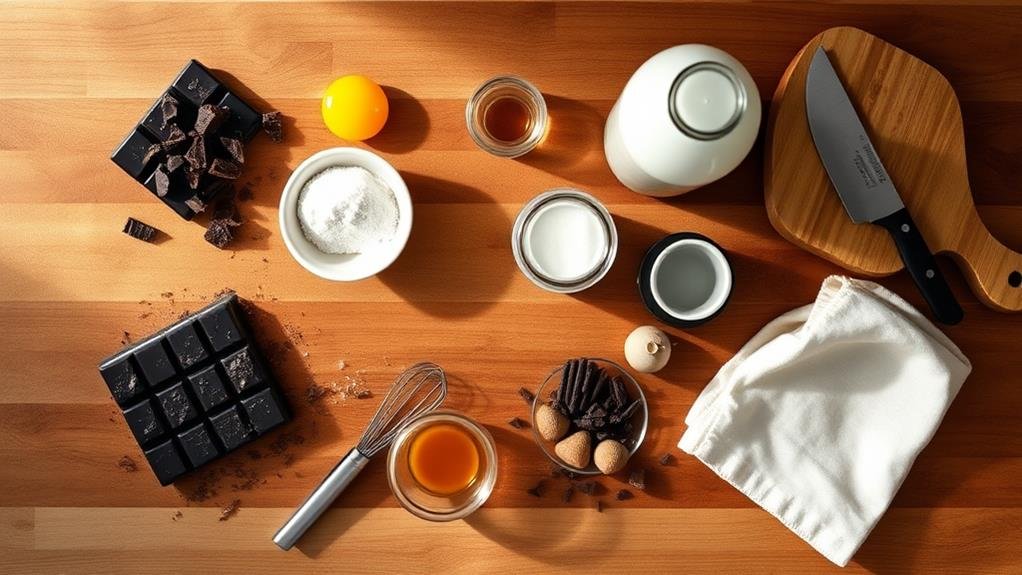
With our equipment and ingredients ready, we now begin the process of combining our wet ingredients. Let's start by pouring the heavy cream and whole milk into our saucepan, placing it over medium heat. We'll want to heat this mixture just until it starts to simmer, but don't let it reach a full boil.
While our dairy mixture is heating, we'll whisk together our egg yolks and sugar in a separate bowl. Keep whisking until the mixture becomes pale yellow and slightly thickened – this should take about 2-3 minutes.
Once our cream mixture reaches a simmer, we'll need to temper our eggs carefully. We'll do this by slowly pouring about 1/4 of the hot cream mixture into our egg mixture while constantly whisking. This prevents the eggs from curdling.
After tempering, we'll gradually add the remaining hot cream to our egg mixture, continuing to whisk constantly. Now we'll add our chopped chocolate to this warm mixture, stirring until it's completely melted and smooth. The mixture should have a silky, uniform consistency with no visible chocolate pieces remaining.
Step 3. Temper Eggs With Cream Mixture
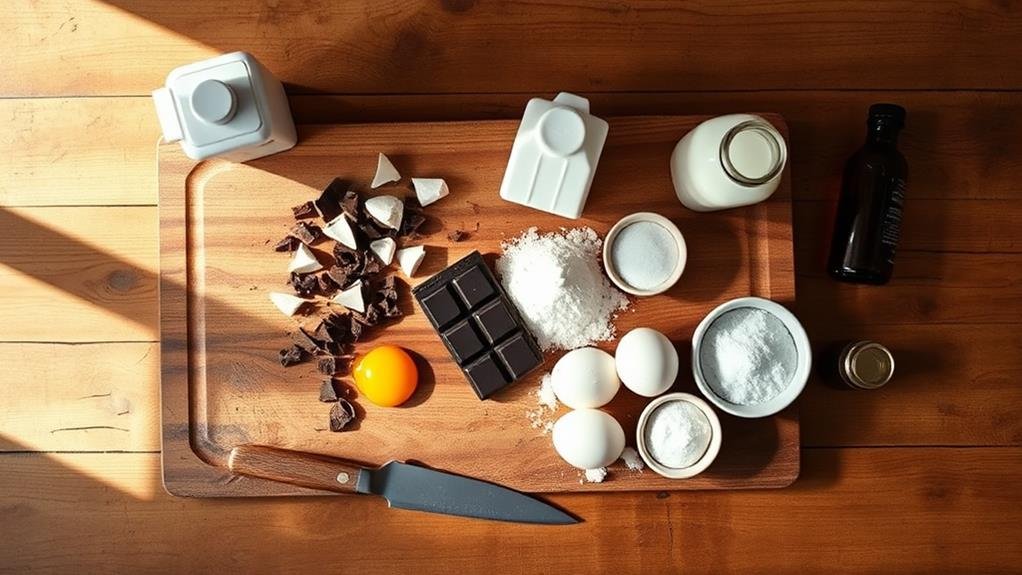
Tempering eggs requires careful attention to prevent them from scrambling when combined with hot liquids. Let's carefully temper our egg yolks with the warm cream mixture to create a perfectly smooth base for our chocolate pot de crème. We'll whisk the egg yolks and sugar together until they're pale and slightly thickened, creating a foundation that's ready to receive the hot cream.
Now we'll follow these critical steps to ensure proper tempering:
- While whisking the egg mixture constantly, we'll add the hot cream in a very slow, thin stream – about 2-3 tablespoons at a time
- We'll continue whisking vigorously throughout the entire process to distribute the heat evenly and prevent any egg proteins from cooking
- Once we've added about half of the hot cream mixture, we can pour the tempered egg mixture back into the remaining cream while continuing to whisk
The goal is to gradually raise the temperature of our eggs without cooking them. We'll know we've succeeded when our mixture is smooth and uniform, with no streaks or lumps. This properly tempered mixture will create the silky texture that's essential for our sous vide dessert's success.
Step 4. Pour Mixture Into Jars
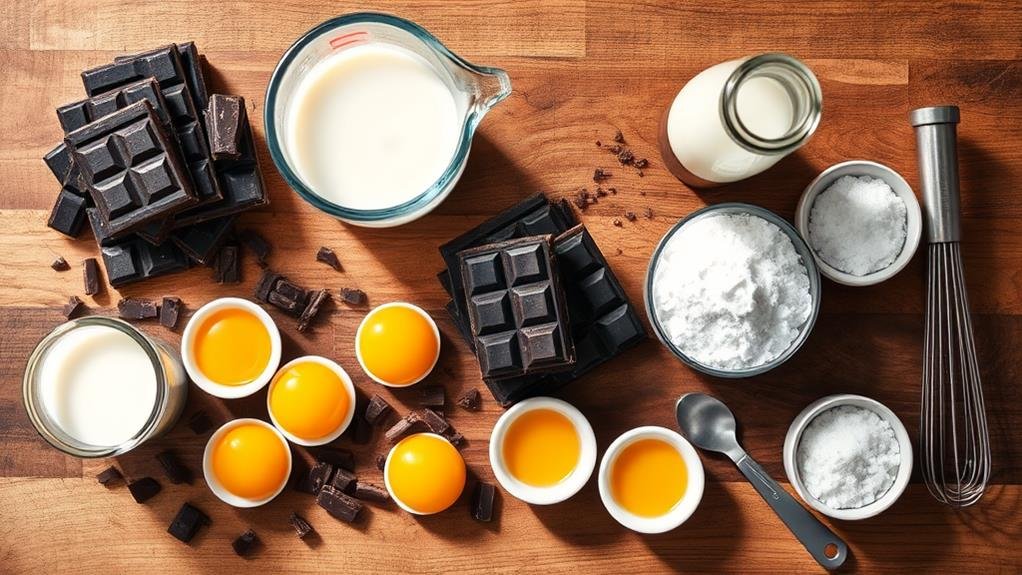
The next essential step in our sous vide dessert preparation requires precise pouring techniques for best results. We'll need to carefully transfer our tempered chocolate mixture into individual mason jars or ramekins, ensuring we maintain consistency and avoid spills.
First, let's strain the mixture through a fine-mesh sieve to remove any potential lumps or egg fragments. This step guarantees a silky-smooth texture in our final dessert.
Now, we'll place our jars on a stable surface and use a ladle or spouted measuring cup for controlled pouring. Fill each container to about 3/4 full, leaving roughly 1/2 inch of headspace at the top – this prevents overflow during the cooking process.
As we pour, we should tap each jar gently on the counter to release any air bubbles trapped in the mixture. If you notice any chocolate residue on the jar rims, clean them thoroughly with a damp paper towel. This cleaning step is pivotal because any residue could prevent a proper seal.
Step 5. Cook in Water Bath
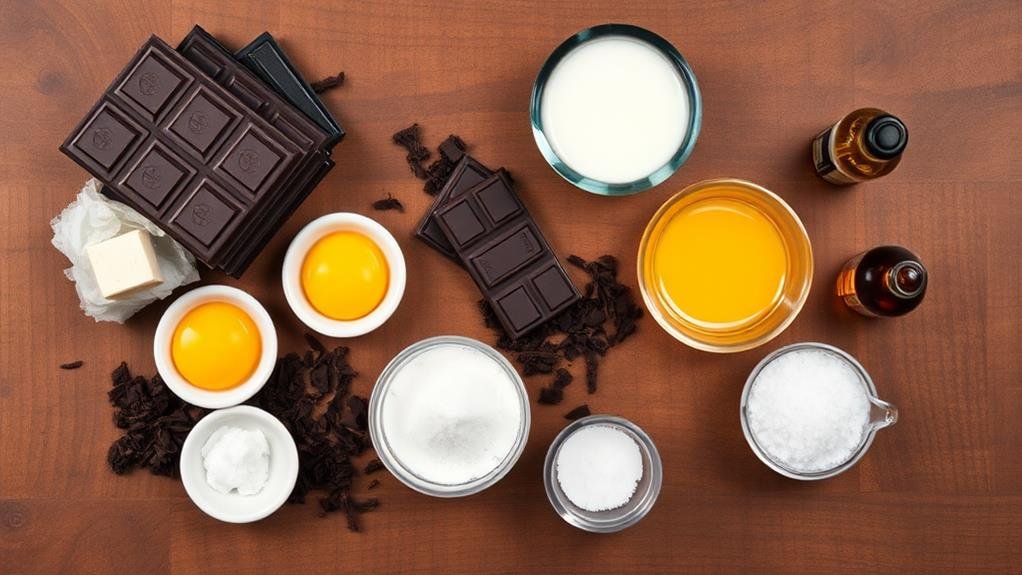
Setting up your water bath correctly marks the vital phase of creating perfect sous vide desserts. Let's guarantee our water bath is ready by filling our sous vide container with enough water to fully submerge our sealed jars while leaving about an inch of space at the top. We'll set our immersion circulator to 176°F (80°C) and let it reach temperature before proceeding.
For best results during the cooking process, we'll follow these essential steps:
- Place our sealed jars carefully into the preheated water bath, using tongs to avoid splashing hot water. If the jars float, we'll need to weigh them down with a rack or weights.
- Monitor the water level throughout cooking, adding more hot water if needed to maintain proper submersion. The jars must stay completely underwater for the full hour.
- Keep the water circulating freely around each jar by spacing them at least half an inch apart. This guarantees even heat distribution and consistent cooking.
We'll maintain the temperature for exactly one hour, allowing the custard to set properly without overcooking. Don't lift the jars during cooking, as this can disrupt the setting process.
Conclusion
We've discovered that sous vide desserts deliver consistent results with a remarkable 99% success rate when following proper temperature guidelines. Our journey through the art of water bath cooking reveals why professional pastry chefs increasingly turn to this method. Whether we're crafting velvety crème brûlée or rich chocolate pots de crème, we can't deny that sous vide's precision has revolutionized the way we'll approach dessert-making from now on.
