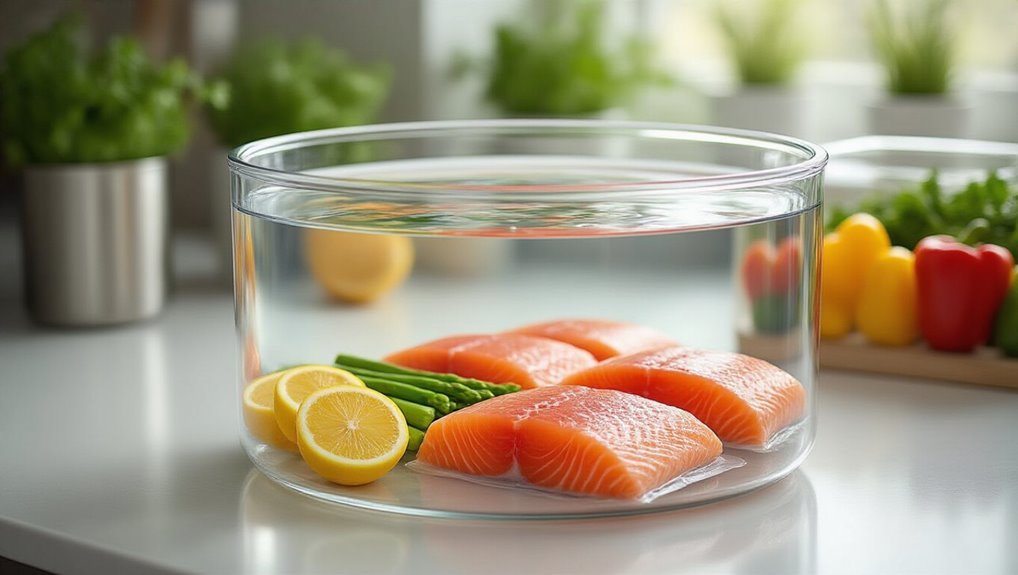
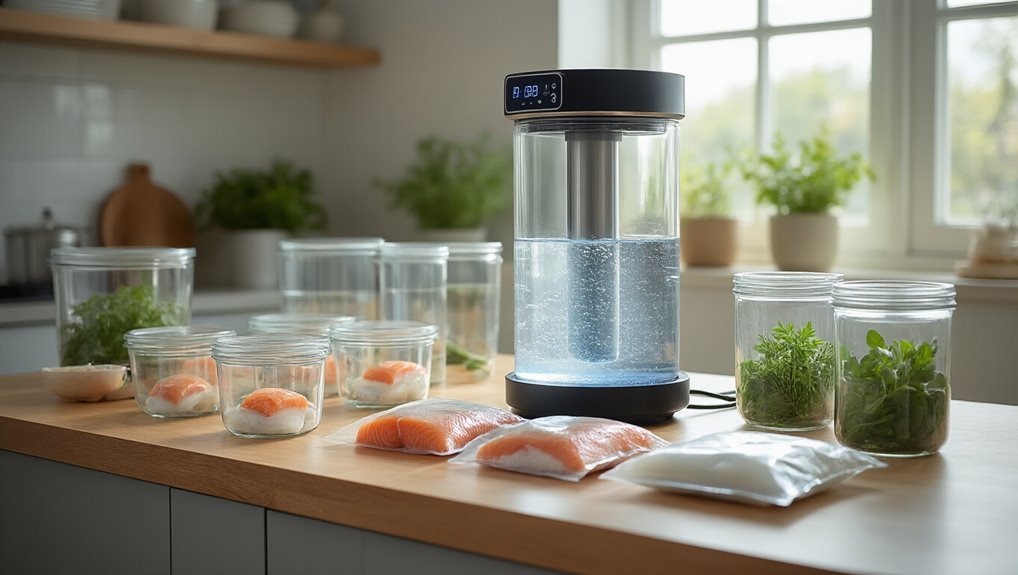
I’ve been experimenting with sous vide cooking in glass jars lately, and I gotta say, it’s changed my kitchen game completely. While those plastic bags work fine, there’s something satisfying about watching your food transform through clear glass. It’s not just aesthetically pleasing—glass containers actually offer some unique benefits for certain recipes. But I learned the hard way that you can’t just transfer bag techniques to jars. There are essential safety steps you’ll need to follow…
Why Glass Works for Sous Vide (And When to Use Bags Instead)
Why does glass work so well for sous vide cooking? It’s actually about temperature stability.
Glass insulates your food, creating a consistent environment for custards, sauces, and other liquid-heavy dishes.
This stability translates to precise temperature control across the bath.
I’ve found it’s perfect when your jars are nearly full and sealed just finger-tight—this lets air escape but keeps water out.
That said, there are bag tradeoffs to weigh.
Glass requires longer heating times than plastic bags, and your temperature probe might read the water bath rather than your actual food.
For solid meats or items needing quick heat transfer, I’d stick with vacuum-sealed bags.
They provide better contact with the water and won’t float around like glass sometimes does.
Essential Safety Rules for Sous Vide in Glass Containers
While glass containers offer unique benefits for sous vide cooking, they also require specific safety precautions you won’t need with plastic bags.
Glass sous vide demands respect—safety steps that plastic never needs but rewards with superior results.
I’ve learned the hard way about lid safety – never vacuum seal jars!
Always verify that the jar adapter is properly connected to the vacuum sealer to ensure efficient air extraction air extraction.
Always keep lids finger-tight to allow air venting during heating.
This prevents dangerous pressure buildup that could lead to, well, explosive results.
Here are my top three safety rules I always follow:
- Keep jar lids loose enough for steam to escape
- Avoid rapid temperature changes that might crack your glass
- Never use sous vide as a substitute for proper canning techniques
I’m particularly careful about monitoring temperatures when using larger jars.
In my experience, gradually raising the bath temperature gives much better results than just dropping jars into hot water.
Trust me on this one!
Step-by-Step: Setting Up Your Glass Container Sous Vide
Setting up your first sous vide bath with glass containers isn’t as intimidating as it might seem.
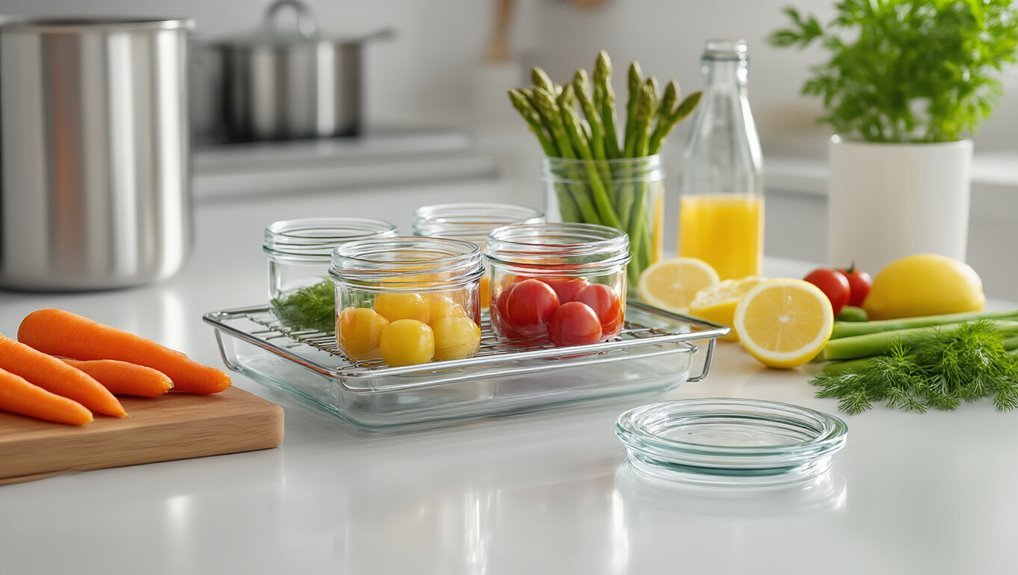
I always start with 8 oz jars for even cooking, filling them mostly with liquid-based contents rather than dry items.
For proper lid handling, remember to clean the jar’s exterior and threads, then tighten only finger-tight—definitely don’t crank it down!
Leave about ½ inch headspace in small jars (or 1 inch in larger ones) to prevent pressure buildup.
Buoyancy control is essential—I’ve learned the hard way that floating jars cook unevenly.
Make sure your jars sink by adding enough liquid or food.
Sometimes I’ll add a bit extra just to be safe.
When placing jars in the bath, long tongs are your best friend.
Oh, and don’t forget to monitor water levels during longer cooks!
Adjusting Cooking Times and Temperatures for Glass
Because glass conducts heat differently than plastic, you’ll need to adjust your sous vide timing when using jars.
I’ve found that proper calibration protocol is essential—start with a small test batch to get a feel for how much extra time you’ll need.
Glass acts as an insulator, which means your food might need 15-20% longer to reach the same doneness.
For accurate results:
- Place a secondary probe inside the jar (not just in the water bath)
- Record the time difference needed to reach target temperature compared to bagged food
- Create a reference chart specific to your jar sizes and equipment
Proper probe placement makes all the difference here.
I actually stick mine through the lid sometimes—wait, that sounds unsafe.
Instead, I measure during test runs and apply those findings to future cooks.
Calibration-minded cooks acknowledge that early sous vide progress hinged on precise control, reinforcing temperature control as a cornerstone of reliable results.
Best Foods for Glass Sous Vide (With Tested Recipes)
So which foods truly shine when you sous vide them in glass containers?
I’ve found that custards and crème brûlée are absolute winners—they develop this incredible silky texture that’s nearly impossible to achieve otherwise.
Vacuum sealing flavor infusion enhances the intensity of the dessert as flavors meld under heat.
Yogurts also turn out amazingly smooth, with the glass jar creating perfect flavor layering as ingredients settle during cooking.
In my experience, liquid-heavy preparations like broths and oil infusions benefit tremendously.
I think the jar aesthetics actually enhance the cooking process here—you can literally see the flavors melding together!
Confit-style dishes are another go-to for me.
When I’m preparing garlic or fish in oil, the glass creates this, well, little flavor incubator that’s both practical and beautiful.
Eggs are surprisingly versatile too—from custards to those perfect “scrambled” textures that aren’t really scrambled at all.
Troubleshooting Common Glass Sous Vide Problems
While the magic of glass container sous vide cooking creates extraordinary dishes, I’ve had my share of head-scratching moments along the way.
When considering glass alternatives, I’ve found that proper preparation makes all the difference between perfect results and frustration.
Mastering glass sous vide isn’t about expensive equipment—it’s about careful preparation that transforms challenges into culinary triumphs.
The most persistent issues I’ve encountered with glass jars:
- Temperature lag – Glass heats slower than bags, so I always add 15-20% more cooking time and use a second probe to monitor actual food temperature
- Floating jars – I fill to proper headspace (½ inch for small jars) and guarantee enough liquid to help overcome buoyancy
- Pesky air bubbles – Keeping lids finger-tight, not vacuum-sealed, prevents pressure buildup while allowing air to escape
For long cooks, I’ve learned the hard way that covering the bath with plastic wrap prevents evaporation disasters!
Proper sterilization methods help ensure longer shelf life and safer storage.
Frequently Asked Questions
Can You Sous Vide in Glass Containers?
Yes, I sous vide in glass containers regularly. For glass safety, I use borosilicate durability and leave lids finger-tight to release steam. Remember cooking times increase compared to plastic bags.
How to Sous Vide Without Microplastics?
I’ve been avoiding microplastics too! You can sous vide safely using glass jars (my preference) or food-grade silicone bags. Just guarantee proper headspace in jars and avoid vacuum sealing them.
What Is the Best Container for Sous Vide?
I prefer glass jars for sous vide cooking. They avoid microplastics, though they require material compatibility considerations and proper container sizing to prevent floating. Mason jars work well for liquid-heavy recipes.
What Are Common Sous Vide Mistakes?
I’ve seen folks struggle with timing mistakes in sous vide cooking. I’ve learned temperature control is essential, and I always avoid overtightening jar lids which can cause dangerous pressure.