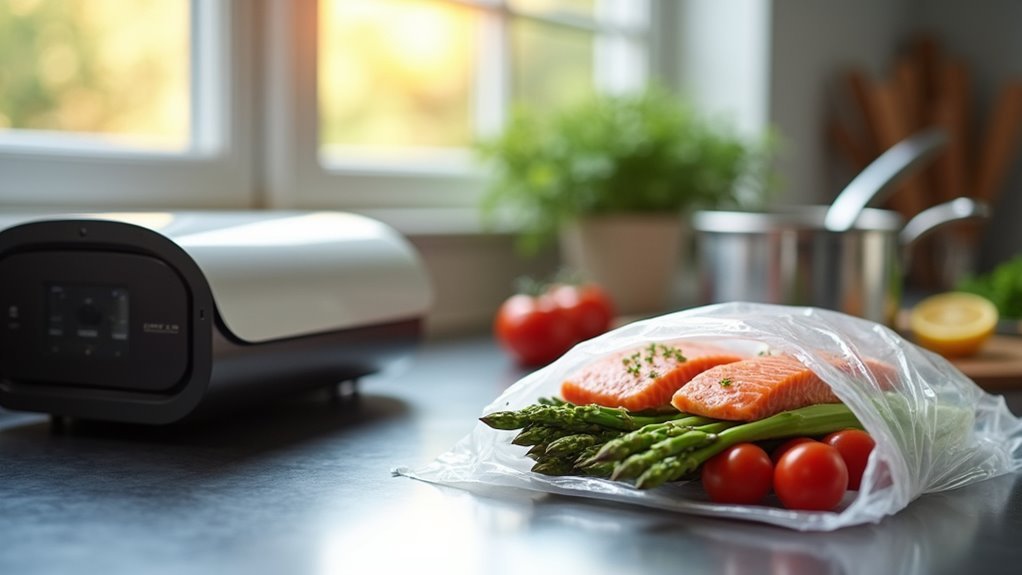
Vacuum sealing is a game-changer for sous vide meal prep. We’ve found it creates an airtight environment that locks in flavors while preventing oxidation and freezer burn. With a reliable sealer like the FoodSaver V4440, you can portion proteins, add seasonings, and store them for later cooking. The sealed packages maintain freshness for weeks in the fridge or months in the freezer. They can even be cooked directly from frozen by adding 50% more time to your usual cook. The following techniques will transform your weekly meal routine.
The Science Behind Vacuum Sealing for Sous Vide
While many of us know that sous vide cooking yields consistently perfect results, we don’t always consider the vital role that vacuum sealing plays in the process.
It’s actually fascinating science at work – by removing air from those bags, we’re preventing oxidation and freezer burn, which keeps everything fresh during cooking.
When we vacuum seal properly, we’re creating an airtight environment that does two important things. First, it helps flavors penetrate proteins more effectively (I think this is why our marinades seem to work better).
Second, it guarantees consistent cooking temperatures by keeping water out of the bags.
There’s also a significant food safety element here. The vacuum environment reduces bacterial growth risk, especially important since sous vide cooking often uses lower temperatures than traditional methods.
Additionally, vacuum sealing prolongs food shelf life, which is probably why our prepped meals stay fresher longer too!
Essential Equipment for Vacuum-Sealed Meal Prep
When it comes to sous vide meal prep, having the right equipment isn’t just helpful—it’s absolutely essential for success.
At the heart of our setup should be a reliable vacuum sealer like the FoodSaver® V4440, which creates those perfect airtight seals we need for even cooking and moisture retention.
We’ve found that investing in high-quality vacuum seal bags really makes a difference.
They need to withstand those long cooking times without puncturing or leaking—nobody wants water seeping into their perfectly seasoned proteins, right?
For those of us who meal prep regularly, perhaps the most valuable advantage is the ability to prepare multiple meals at once.
With proper vacuum sealing equipment and some storage containers, we’re not just cooking dinner—we’re setting ourselves up for a week of effortless sous vide cooking with maximum flavor. Additionally, selecting a vacuum sealer with wet/dry food modes allows for versatile meal prep, ensuring optimal preservation for different types of ingredients.
Step-by-Step Guide to Preparing and Sealing Proteins
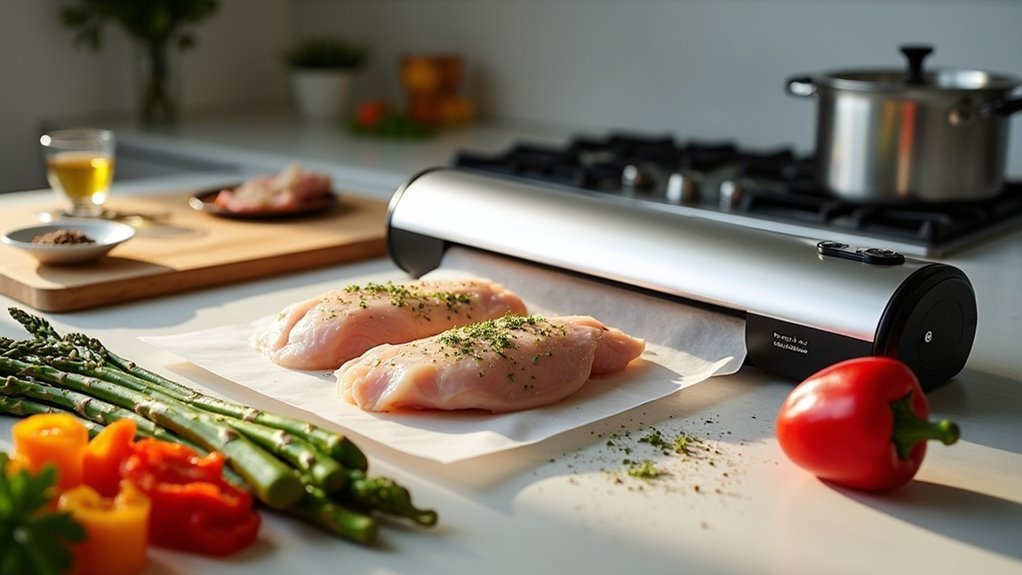
Now that we’ve covered our essential equipment, let’s get hands-on with the actual protein prep process. We recommend starting with bulk purchases that you’ll portion into meal-sized servings.
Trim away unwanted fat or silver skin—this simple step greatly improves your sous vide chicken results.
Next, season generously with your favorite herbs and spices. Perhaps try a lemon-herb blend for chicken? The vacuum sealing system will lock in these flavors intensely.
Place each portion in a FoodSaver bag, making sure there’s enough space around the protein. When sealing, check for any air leaks that might compromise cooking.
Don’t forget to label each package with contents and date—this small step is vital for effective meal planning. Utilizing adjustable vacuum levels can enhance the sealing process for different protein types to preserve their texture and freshness.
I think having a rotation system prevents food waste while ensuring you’ve always got delicious options ready.
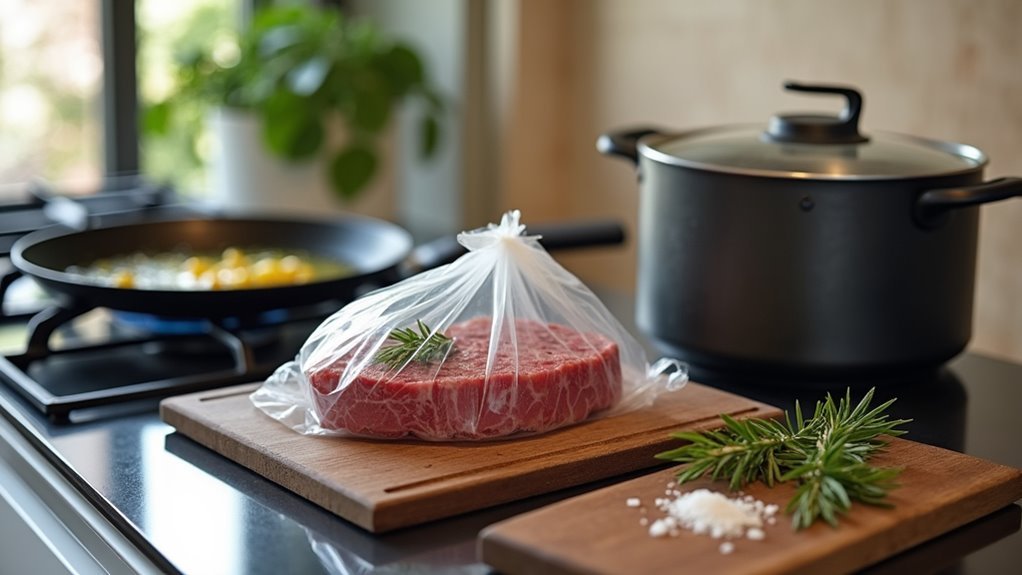
Freeze Now, Cook Later: Storage Techniques
The beauty of sous vide meal prep lies in its flexibility to freeze now and cook later. When storing prepped meals, we’ve found that proper vacuum sealing is absolutely essential to prevent freezer burn and maintain freshness for months.
Don’t forget to label each bag with contents and dates—trust me, you’ll thank yourself later when planning meals!
For sous vide enthusiasts, we recommend cooling your prepped items in an ice bath before freezing. This quick temperature drop helps preserve quality. Additionally, vacuum sealing soups and liquids requires heavy-duty bags for effective sealing and to prevent leaks.
Perhaps the most convenient aspect is that you can cook directly from frozen—simply drop your vacuum sealed package into the sous vide water bath at the original cooking temperature, but increase the time by about 1.5 times to account for thickness.
It’s a real time-saver on those hectic weeknights!
Reheating Methods for Pre-Cooked Sous Vide Meals
Although you’ve perfectly cooked your sous vide meals in advance, reheating them properly is just as essential for maintaining their exceptional flavor and texture.
We’ve found that the best method is to simply return those vacuum-sealed packages to a water bath set at the original cooking temperature—at least 130°F for safety.
If you’re in a hurry, the microwave works too—just use 70% power for about 90 seconds. We think it’s worth letting the food rest afterward, though, to guarantee even heating.
For those busy weeknights, you can actually reheat frozen sous vide meals straight from the freezer.
Just increase your original cooking time by 50%. The beauty of sous vide reheating is its precision—you’ll never dry out that perfectly cooked chicken breast you prepared days ago! Utilizing advanced vacuum sealing technology can further enhance your food preservation and reheating experience.
Time-Saving Meal Plans Using Vacuum Sealed Ingredients
By dedicating just a few hours on Sunday evening to vacuum sealing ingredients, we’ve found you can virtually eliminate daily meal preparation for the entire week.
The combination of sous vide cooking and vacuum sealer technology creates what we think is the ultimate meal prep system.
Here’s our favorite time-saving approach:
- Portion proteins (chicken, steak, fish) with different seasonings and vacuum seal them in individual servings.
- Prepare vegetable sides and starches, sealing them separately.
- Label everything with cooking times and temperatures.
- Store in freezer zones by meal type for easy access.
You’ll love how frozen vacuum-sealed foods go straight to the sous vide bath without thawing. Using a chamber food vacuum sealer ensures that the vacuum seal is strong enough to maintain quality during storage.
It’s perhaps the most effortless way to guarantee you’ve always got restaurant-quality meals waiting, even on your busiest days.
Frequently Asked Questions
Can You Sous Vide With a Vacuum Sealer?
Yes, we absolutely need a vacuum sealer for sous vide! It’s essential for the benefits of even cooking and food safety. We’ll share vacuum sealing tips and meal prep techniques soon.
Is a Vacuum Sealer Good for Meal Prep?
We’ve found vacuum sealers invaluable for meal prep benefits. They extend food’s shelf life through effective vacuum sealing techniques while preserving flavors. When paired with sous vide advantages, your prepped meals stay fresher longer.
Can You Meal Prep With Sous Vide?
Yes, we can meal prep with sous vide! We’ll enjoy sous vide benefits like enhanced flavors and moisture retention. Our top meal prep tips: batch cook, vacuum seal properly, and freeze for months of quality meals.
How Long Does Vacuum-Sealed Sous Vide Last?
We’ve found vacuum-sealed sous vide meals have impressive shelf life: 1-2 weeks refrigerated and 6-12 months frozen. For best food safety, always label and date your meal storage containers to track freshness.