We might be surprised to learn that sous vide cooking wasn't originally developed for restaurants but rather for hospital food service in the 1960s. Today, we're applying this precise cooking method to pork tenderloin, a cut that's notoriously easy to overcook using traditional methods. By maintaining a constant temperature in a water bath, we'll guarantee our pork reaches the perfect doneness from edge to edge – something that's nearly impossible to achieve on a stovetop or grill alone. Let's explore how this innovative technique can transform an ordinary pork tenderloin into a restaurant-quality centerpiece that's consistently tender and juicy.
History
The rise of sous vide cooking can be traced back to the late 1960s when French and American engineers developed this revolutionary technique. We can credit French chef Georges Pralus for first applying it to meat in 1974 when he discovered it notably reduced the shrinkage of foie gras during cooking, preserving both flavor and texture. This method not only enhances cooking performance but also optimizes flavor preservation, allowing for the natural juices and aromas to be locked in during the cooking process, resulting in a superior culinary experience enhanced cooking performance.
For pork tenderloin specifically, sous vide marked a turning point in how we approach this sometimes-tricky cut of meat. In traditional cooking methods, pork tenderloin often ended up overcooked and dry due to its lean nature. However, when Bruno Goussault began training chefs in sous vide techniques during the 1970s, he demonstrated how precise temperature control could transform tough cuts into tender, juicy masterpieces.
Recipe
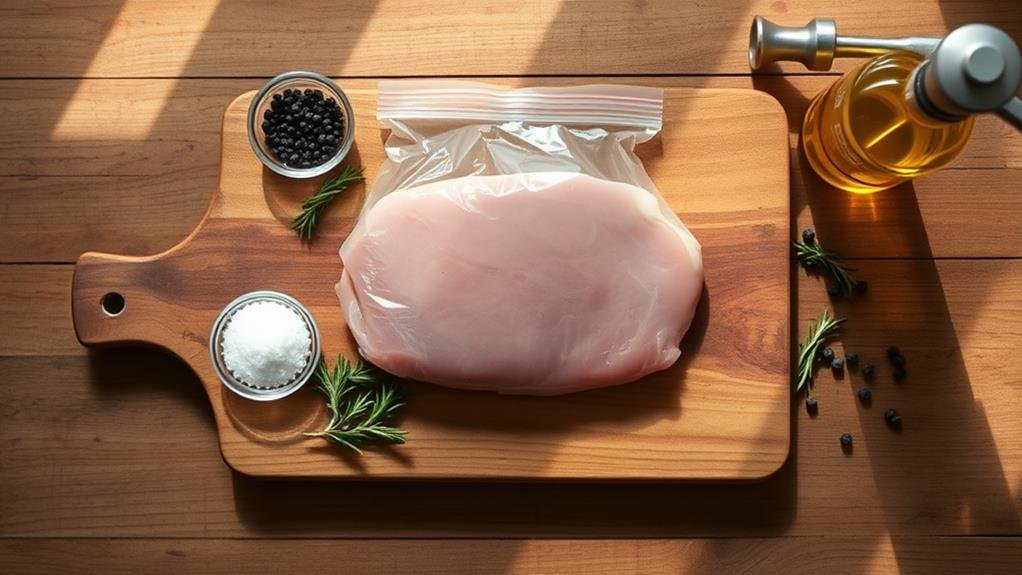
Sous vide cooking transforms an ordinary pork tenderloin into an extraordinarily tender and flavorful dish. By maintaining precise temperature control throughout the cooking process, this method ensures the meat reaches the perfect doneness while retaining all its natural juices and flavors. Additionally, using a safer option for long-term storage like vacuum sealing can enhance the quality of the pork before cooking, preventing exposure to harmful chemicals often found in traditional food storage methods.
The beauty of this recipe lies in its simplicity, allowing the natural taste of the pork to shine through while being enhanced by a few carefully chosen seasonings. The combination of fresh rosemary and a final sear creates a perfect balance of herbs and caramelization that elevates this dish to restaurant-quality status.
Ingredients:
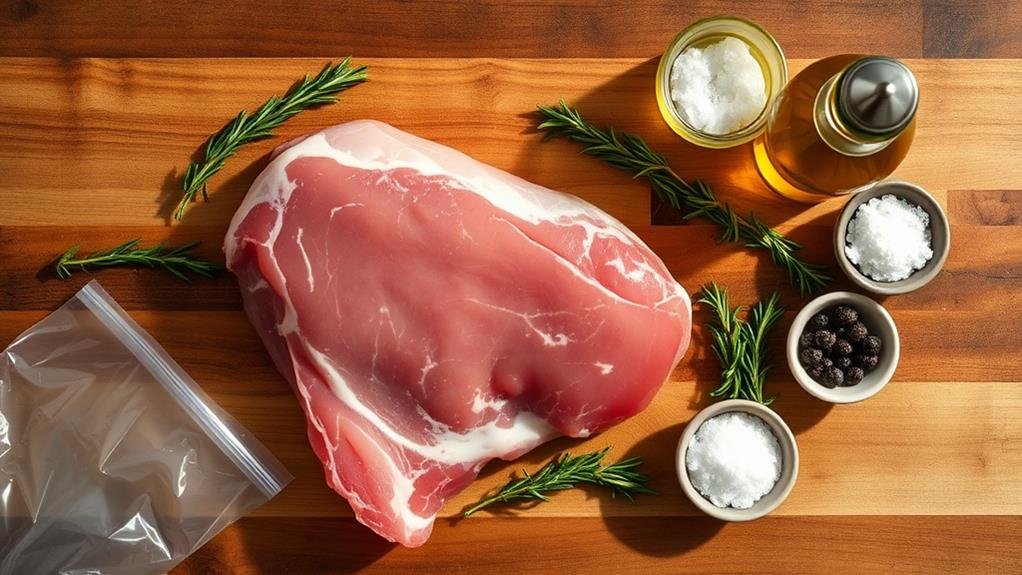
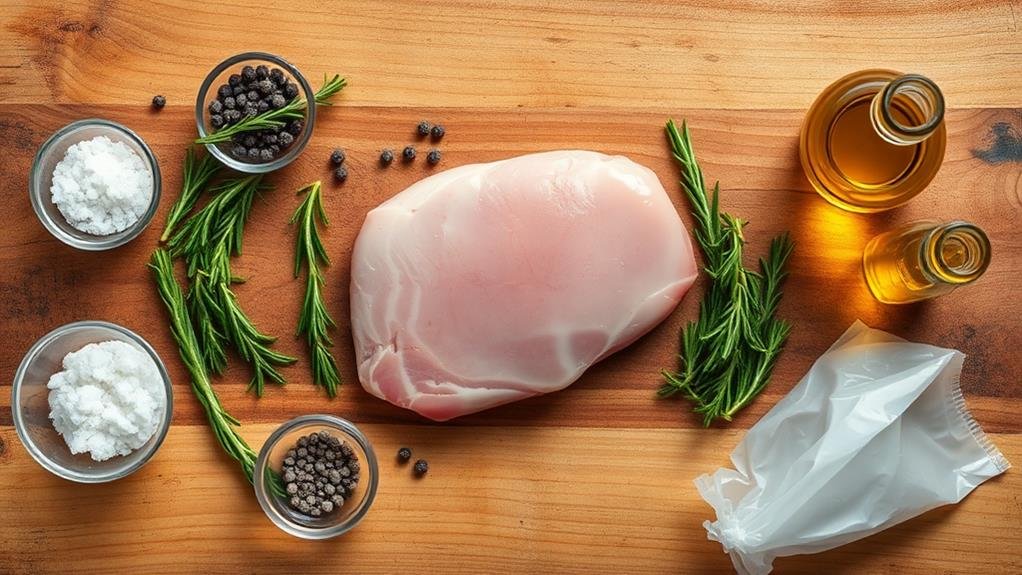
- 1-1.5 pounds pork tenderloin
- 2 teaspoons kosher salt
- 1 teaspoon freshly ground black pepper
- 2 tablespoons olive oil
- 2-3 fresh rosemary sprigs
- 1 vacuum-seal bag or resealable plastic bag
Season the pork tenderloin generously with salt and pepper on all sides. Place the seasoned meat in a vacuum-seal bag or resealable plastic bag with rosemary sprigs. Seal the bag, removing as much air as possible. Set your sous vide precision cooker to 140°F (60°C) and submerge the sealed bag in the water bath. Cook for 1.5 to 2 hours. Once done, remove the pork from the bag and pat dry with paper towels. Heat olive oil in a skillet over high heat and quickly sear all sides until golden brown, about 30-45 seconds per side. Let rest for 5 minutes before slicing and serving.
For ideal outcomes, guarantee your water bath maintains a consistent temperature throughout cooking. If using a resealable bag, employ the water displacement method to remove air: slowly lower the partially sealed bag into water, letting the pressure push out the air before sealing completely. When searing, make sure your pan is extremely hot to achieve a good crust without overcooking the interior. If your tenderloin is particularly thick, consider cutting it in half lengthwise before cooking to ensure even heating throughout.
Step By Step
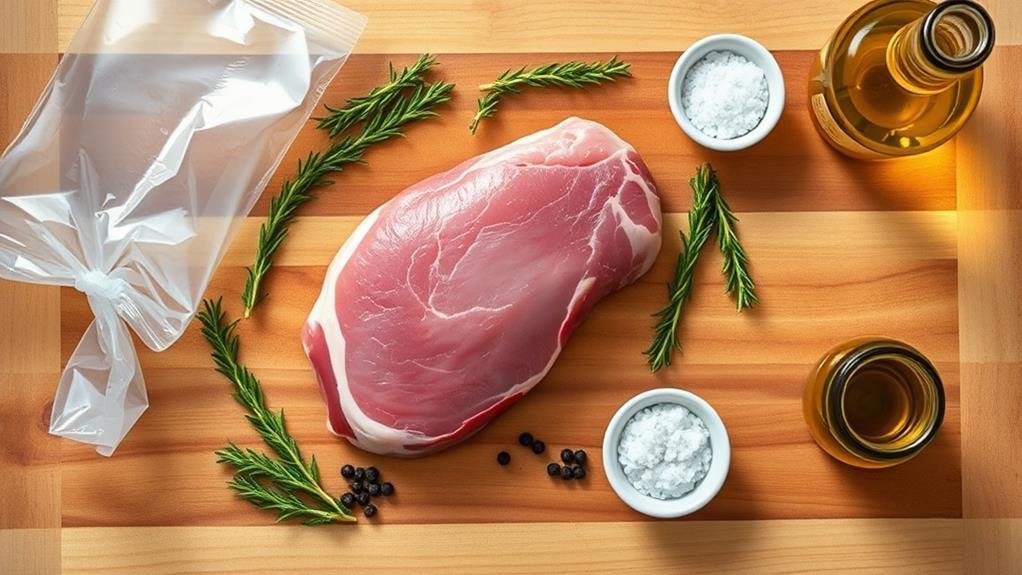
Let's walk through the essential steps to prepare our sous vide pork tenderloin.
Starting with setting the water bath to 140°F and seasoning our meat generously with salt and pepper.
We'll then vacuum seal the pork with fresh herbs, submerge it in the precisely heated water bath for about two hours, and monitor the temperature to guarantee consistent cooking.
Once the cooking time is complete, we'll finish by patting the meat dry, giving it a quick sear in a hot pan to develop a beautiful crust, and letting it rest briefly before slicing.
Step 1. Set Water Bath Temperature
Properly setting up your water bath temperature marks the essential first step for achieving perfectly cooked pork tenderloin.
We'll need to set our sous vide circulator to 140°F (60°C), which delivers a tender, juicy result with a slightly pink center. This temperature guarantees food safety while maintaining the meat's natural moisture and flavor.
Let's follow these key steps to set up our water bath correctly:
- Fill your container with enough water to fully submerge the sealed pork tenderloin, leaving at least 1 inch of space from the water's surface to the container's rim to prevent overflow
- Clip your sous vide circulator securely to the side of your container, making sure it's positioned to create proper water circulation
- Set the temperature to 140°F (60°C) and allow the water to reach this temperature before adding your sealed pork – this usually takes 10-15 minutes depending on your starting water temperature
While we're waiting for the water to heat, we can begin preparing our pork tenderloin. The precise temperature control we've established will guarantee consistent, restaurant-quality results every time.
Step 2. Season Pork Thoroughly

Pat your pork tenderloin dry with paper towels before applying a careful blend of seasonings that will enhance its natural flavors.
We'll start by generously sprinkling kosher salt and freshly ground black pepper over the entire surface of the meat, making sure to cover all sides evenly. Don't be hesitant with the seasoning, as some will be lost during the cooking process.
Next, we'll add fresh rosemary sprigs, which will infuse the meat with their aromatic oils during the sous vide process. Place 2-3 sprigs alongside the tenderloin, making certain they make direct contact with the meat. If you'd like to experiment, you can also add minced garlic or your favorite dried herbs, but keep in mind that less is often more when it comes to sous vide cooking.
Once you've seasoned the pork, gently massage the seasonings into the meat to help them adhere better. This step guarantees the flavors will penetrate deeply during the cooking process. Let the seasoned tenderloin rest for about 5 minutes before placing it in your sous vide bag, allowing the salt to start drawing out moisture and creating a more flavorful end result.
Step 3. Vacuum Seal Meat and Herbs

Placing your seasoned pork tenderloin into the vacuum-seal bag demands meticulous attention to detail for optimal results. We'll want to make sure the herbs and meat are positioned perfectly to achieve maximum flavor infusion during the cooking process.
Let's follow these essential steps for properly vacuum sealing our pork tenderloin:
- Position the seasoned tenderloin in the center of the vacuum-seal bag, ensuring there's adequate space around all sides for a proper seal. Place 2-3 sprigs of fresh rosemary alongside the meat, making certain they're not blocking the area where we'll create the seal.
- If using a vacuum sealer, place the open end of the bag into the sealer's chamber, ensuring it's aligned and free of wrinkles. For those using the water displacement method, leave about an inch of the bag unsealed at the top.
- Remove all air from the bag – with a vacuum sealer, simply follow the machine's instructions. For the water displacement method, gently lower the bag into water while keeping the top above the surface. The water pressure will expel the air, then seal the remaining edge.
Step 4. Cook in Water Bath
With our pork tenderloin now perfectly sealed, we're ready to begin the precise water bath cooking process.
Let's start by filling our sous vide container with enough water to fully submerge the sealed pork, leaving about an inch of space at the top to prevent overflow when we add our meat.
We'll set our sous vide precision cooker to 140°F (60°C) and attach it securely to the side of our container. While the water heats to temperature, we'll gently lower our sealed pork tenderloin into the bath, ensuring it's completely submerged. If the bag floats, we can use a heavy spoon or sous vide weights to keep it down.
Now we'll cover our container with plastic wrap or a lid to minimize water evaporation, and we'll let the pork cook for 1.5 to 2 hours. During this time, we don't need to monitor it constantly – that's the beauty of sous vide cooking. The precision cooker will maintain the exact temperature throughout the process, ensuring our pork cooks evenly from edge to edge. When the timer sounds, we'll remove the bag using tongs, and we're ready for the final searing step.
Step 5. Sear and Rest Meat
After removing our perfectly cooked pork from the sous vide bath, we'll begin the important searing process that creates an irresistible golden crust. First, let's pat the tenderloin completely dry with paper towels – this step is necessary for achieving a proper sear.
While we're heating a cast-iron skillet or heavy-bottomed pan over high heat, we'll add just enough oil to coat the bottom. When the oil starts to shimmer and nearly smoke, we're ready to sear. Here's what we'll do next:
- Place the tenderloin in the hot pan, searing each side for 45-60 seconds until we achieve a rich, brown crust
- Use tongs to rotate the meat, making sure we sear all surfaces evenly, including the ends
- Transfer the seared tenderloin to a cutting board and let it rest for 5-7 minutes
During the resting period, the meat's internal juices will redistribute throughout the tenderloin. Don't skip this step – it's what guarantees each slice remains perfectly moist when we serve. After resting, we'll slice the pork against the grain into medallions about 1-inch thick.
Conclusion
We've explored how sous vide cooking revolutionizes pork tenderloin preparation, delivering consistently perfect results. While traditional cooking methods can lose up to 30% of the meat's moisture, sous vide retains an impressive 90% of the pork's natural juices. By following these precise temperature-controlled steps and finishing with a quick sear, we're able to transform this lean cut into a restaurant-quality dish every time.
