I’ve been vacuum sealing foods for nearly a decade now, and I can’t imagine cooking any other way. The precision you get—it’s like having a professional kitchen technique in your home. When I first started, I ruined a beautiful cut of salmon by using the wrong temperature. Trust me, there’s nothing worse than watching an expensive piece of fish turn to mush. But with the right techniques, your meals will have that restaurant-quality consistency that’ll make you wonder why you ever cooked differently.
How Vacuum Sealing Transforms Sous Vide Cooking
The humble vacuum sealer might just be the unsung hero of your sous vide adventures. I’ve found that proper vacuum dynamics create that perfect food-to-bag contact that’s essential for even heat transfer. When I remove all the air, I’m not just sealing food—I’m setting up the conditions for edge-to-edge perfection. This improved contact also supports even heat distribution, a critical factor in consistent sous vide results.
Proper vacuum sealing isn’t just technique—it’s the foundation for sous vide magic that transforms ordinary cooking into culinary precision.
You know what’s fascinating? The pressure diffusion that happens during vacuum sealing actually helps marinades penetrate deeper into meats.
I think this is why sous vide dishes taste so incredibly flavorful—all those juices have nowhere to escape!
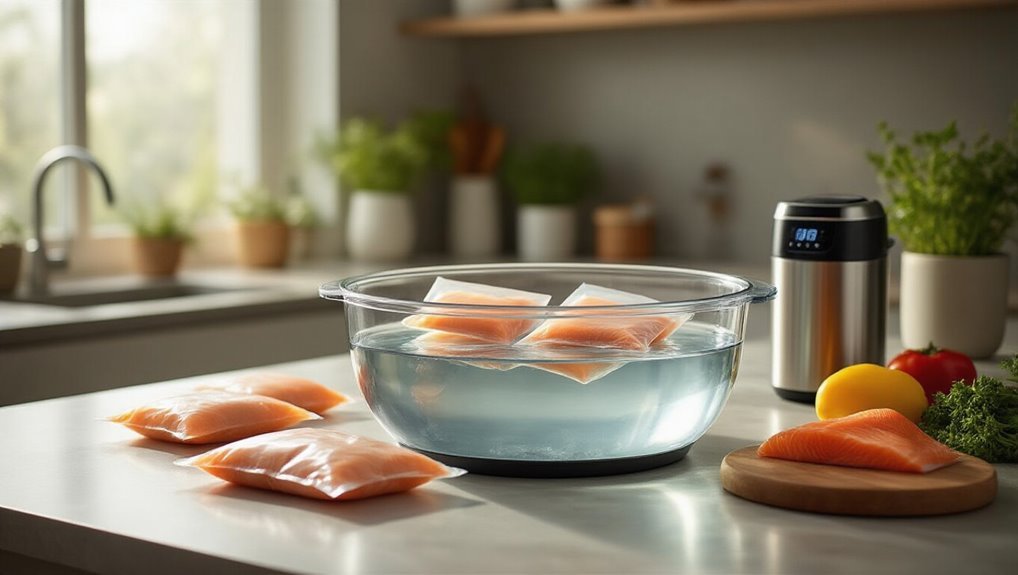
In my experience, even delicate fish benefits from a gentle vacuum cycle.
Well, maybe not the super-delicate varieties, but most fish turns out amazing when sealed properly without compression.
It’s all about managing moisture and seal quality.
Getting Started: Essential Equipment for Vacuum Seal Cooking
Trust me, with these four pieces of equipment, you’re ready to explore the incredible world of sous vide cooking. For heavy use, opt for a Durable chamber sealer option for higher durability and better sealing quality.
Master These Vacuum Sealing Techniques for Different Foods
I’ve found that mastering vacuum sealing techniques is essential for different food types – meat needs a firm seal while delicate fish requires a gentler approach to prevent crushing.
To stop bag bobbing (which drives me crazy!), make sure you’re removing all air pockets and consider using weights if needed.
If you’re looking for deeper flavors, try a quick pre-sear on proteins before sealing, though you’ll want to cool them completely first to avoid steam issues in your bag.
Additionally, selecting a bag with the right properties, such as BPA-free bags, supports safety and seal integrity.
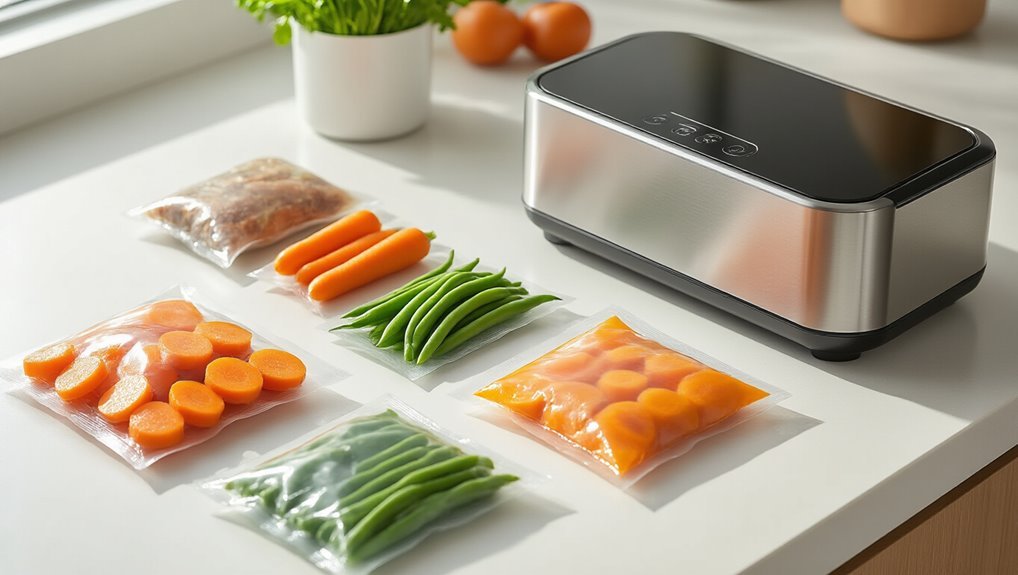
Vacuum Seal Food Types
Different foods demand different vacuum sealing approaches if you’re aiming for perfect results every time.
I’ve learned that choosing the right bag materials can dramatically extend shelf life – those multi-layer bags are worth the investment for long-term storage.
Fish needs a gentle touch (I always stop the seal just as the bag closes), while beef should be patted dry first for that perfect sear later.
- Poultry: Use the moisture control setting when sealing with marinades – or freeze the marinade for a few minutes first!
- Vegetables: Blanch them quickly, then cool completely before sealing
- Delicate proteins: Use the soft cycle to prevent crushing
- Hard cheeses: Seal tightly for maximum shelf life, but soft ones need special handling
Prevent Bag Bobbing
Have you ever watched your perfectly sealed sous vide bags suddenly bob to the surface during cooking? It’s frustrating, right? The key to preventing this is effective air minimization during the sealing process. I’ve found that removing as much air as possible before closing the seal makes all the difference.
| Technique | Problem Solved | Difficulty |
|---|---|---|
| Water displacement method | Air pockets | Easy |
| Weight placement in bag corner | Lightweight foods | Medium |
| Gentle vacuum setting | Delicate items | Easy |
| Pre-freezing liquids | Seal reliability | Medium |
| Partial submersion sealing | Stubborn air traps | Advanced |
For fish and other delicate items, I typically add a small food-safe weight in the corner of the bag. This weight placement keeps everything submerged without compromising your food’s quality. Trust me, nothing’s worse than finding your perfectly prepped salmon floating at the top!
Pre-Sear Flavor Options
While perfectly cooked sous vide meat is a marvel on its own, the transformative power of a pre-sear can elevate your vacuum-sealed creations to restaurant quality.
I’ve found that the caramelized aroma that develops during a quick pre-sear actually penetrates deeper during the long sous vide cook.
The crust timing is essential though—if you’re short on time, you can absolutely skip it and still get amazing results.
- Pre-sear, then chill in an ice bath to 38°F before sealing (my favorite method for steaks)
- Skip pre-searing for delicate fish to maintain that silky texture
- Post-sear only works great for quick weeknight meals when you’re rushed
- Try both methods with the same cut to compare—you’ll probably notice the pre-sear gives a more integrated flavor profile
Setting the Perfect Temperature and Time for Vacuum Sealed Foods
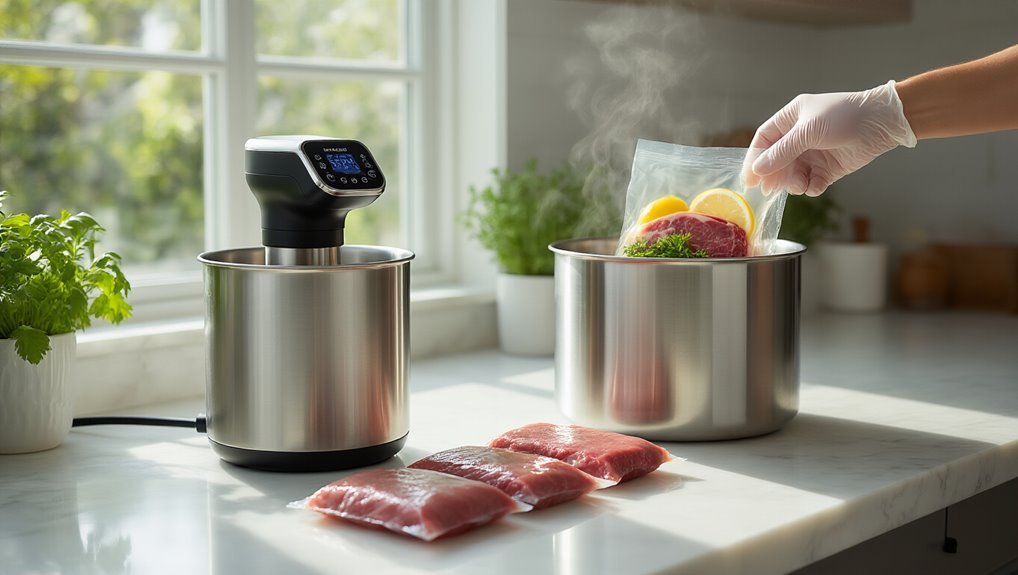
I’ve found that temperature control is the single most essential element when cooking with vacuum sealed foods—it’s what determines whether your steak is medium-rare or your salmon is silky-smooth.
The timing, on the other hand, is what transforms tougher cuts into something tender, breaking down those stubborn connective tissues while maintaining moisture.
When I’m cooking a tough cut like short ribs, I’ll sometimes use that two-temperature approach, starting low for tenderness and finishing at my target temp for the perfect texture. Fine-tuning vacuum levels is essential to tailor texture without sacrificing moisture.
Temperature Matters Most
Why do so many vacuum seal cooking attempts fall short of expectations?
In my experience, it’s because folks focus too much on timing and not enough on precise temperature.
Your thermometer accuracy is everything here—I’ve ruined a perfect ribeye by cooking at what I thought was 130°F, only to discover my thermometer needed calibration routines.
Trust me, there’s no wiggle room with sous vide cooking.
- 129°F for 87 minutes isn’t just a suggestion—it’s the safety threshold for proper pasteurization
- Two-temperature approaches (start low, finish higher) create incredible tenderness in tough cuts
- Different foods need wildly different temps—tuna at 100°F vs. root veggies at 180°F
- Calibrate your equipment regularly—even being off by 2-3 degrees can dramatically change results
Timing For Tenderness
Once you’ve mastered temperature control, timing becomes your next essential variable in vacuum seal cooking. I’ve found that while tenderness improves with time, there’s definitely a point of diminishing returns—usually around 36 hours for most proteins.
Here’s my go-to timing guide I’ve developed through countless cooks:
| Protein Type | Tender Cuts | Medium Cuts | Tough Cuts |
|---|---|---|---|
| Beef | 1-2 hrs | 4-8 hrs | 24-36 hrs |
| Pork | 1-3 hrs | 6-10 hrs | 12-24 hrs |
| Poultry | 1-2 hrs | 2-4 hrs | 4-8 hrs |
| Fish | 30-45 min | 1 hr | 1-2 hrs |
For exceptional results, I sometimes use a two-stage approach—starting low for tenderization, then bumping up temperature for final texture. Don’t forget the rest phase after cooking—it’s essential for moisture redistribution!
Flavor-Boosting Strategies: When to Sear Before or After Cooking
When should you sear your protein when vacuum seal cooking?
This question has transformed my approach to sous vide cooking.
Presear timing is essential – I’ve found that searing before vacuum sealing infuses the meat with deeper Maillard depth during the long bath.
But honestly, there’s no single “right” way.
Additionally, vacuum sealing accelerates flavor Flavor Infusion by removing air and letting marinades penetrate quickly, aligning with the idea that marination can be rapid and thorough.
- Pre-searing builds complex flavors that penetrate the meat, but remember to chill to 38°F before sealing
- Post-searing delivers that perfect crispy crust with less risk of overcooking (my go-to for steaks)
- The ice bath technique between pre-sear and bagging prevents that “gray band” of overcooked meat
- For special occasions, I’ve do both – a light pre-sear for flavor development, then finish with a hot post-sear for texture
Storing and Safety: Handling Vacuum Sealed Foods Properly
The 72-hour rule is one I never break: once I’ve bagged something for sous-vide, I make sure it’s either cooked or frozen within 72 hours to prevent botulism risks.
A basic understanding of anaerobic bacteria like Clostridium botulinum helps explain why strict time and temperature controls are essential in vacuum-sealed processes botulism risk.
After cooking, I’m careful with my thawing protocols and avoid refrigerating unopened bags.
I immediately open and use what I’ve cooked, or if I must store it, I transfer it to a clean container—this prevents cross contamination and keeps food safe for up to three days in the fridge.
Extended cook times make me nervous, honestly.
While the technology is amazing, I’ve found that longer baths can sometimes compromise both texture and safety, so I stick with proven time-temperature combinations rather than experimenting.
Troubleshooting Common Vacuum Seal Cooking Problems
Why do perfectly planned sous vide meals sometimes go sideways? Even with careful preparation, I’ve encountered my share of challenges.
When seal leaks happen, I’ve learned to thoroughly dry the bag’s edges before resealing—moisture is often the culprit.
Those pesky air pockets can create uneven cooking or floating bags that ruin your precision cooking efforts.
- Combat floating bags by adding weights or using a rack system to keep food fully submerged
- For delicate foods like fish, avoid over-vacuuming which can crush the texture
- If you notice air pockets, try the water displacement method instead of a vacuum sealer
- When dealing with leaky seals, double-check for food particles that might be compromising the seal
Trust me, these simple fixes have saved countless meals in my kitchen!
Regular maintenance of the vacuum pump vacuum pump maintenance is essential to keep seals tight and bags reliable.
Frequently Asked Questions
Can Vacuum Sealed Bags Be Reused for Multiple Cooking Sessions?
I’d advise against bag reuse due to safety concerns. Once a bag has been used for cooking, it may harbor bacteria in microscopic crevices that could contaminate your next dish.
How Do Vacuum Seal Cooking Times Compare to Traditional Methods?
Time is money when it comes to cooking! I’ve found vacuum sealed methods typically take longer than traditional ones, but the timing efficiency pays off with consistent results during this method comparison.
Will Vacuum Sealing Affect the Texture of Delicate Foods?
Yes, I’ve found vacuum sealing affects delicate foods’ texture dynamics. Without controlled air infiltration, soft items like berries or pastries can compress too much, while fish might become firmer than you’d expect.
Can I Use Regular Ziplock Bags Instead of Vacuum Bags?
You might be wondering… Yes, you can use ziplock bags if they’re food-grade. However, bag material matters—regular ziplocks lack seal compatibility with vacuum machines and won’t provide the same airtight environment for cooking.
Does Vacuum Seal Cooking Require More or Less Seasoning?
I typically use less seasoning with vacuum seal cooking due to seasoning variance in the sealed environment. You’ll find salt optimization is key—flavors intensify when there’s nowhere to escape to.