When our vacuum sealer won’t create proper seals, we can fix it with five key steps. First, we’ll clean the sealing bar with rubbing alcohol and remove any debris from the vacuum channel. Next, we should inspect and replace worn gaskets that might be cracked or damaged. We also need to position bags properly, leaving 2-3 inches at the top and smoothing them flat. Removing moisture from bags and the chamber prevents sealing issues, and testing our vacuum pump helps identify performance problems. Let’s explore each solution to get your sealer working perfectly again.
Clean Your Sealing Bar and Check for Debris

When your vacuum sealer starts acting up, the first place we’ll want to look is that all-important sealing bar. This vital component creates the airtight seal that keeps your food fresh, but it’s also where problems most commonly occur.
Start by unplugging your machine and letting it cool completely. Then grab some rubbing alcohol and a cotton swab to clean the seal bar thoroughly. We need it clean and dry for peak performance.
Next, inspect for any food particles or debris that might interfere with removing air properly. Use compressed air or a toothpick to clear the vacuum channel completely.
Even tiny bits of residue can cause weak seals that’ll ruin your vacuum sealing efforts, so thorough cleaning is essential for success. Regular cleaning of the sealing strip can significantly enhance your vacuum sealer’s performance.
Inspect and Replace Worn Gaskets
After we’ve got that sealing bar spotless, let’s turn our attention to those hardworking gaskets that keep everything airtight.
These rubber seals are absolutely essential for preventing air leaks, but they take a beating with regular use. When gaskets develop cracks, tears, or lose their flexibility, you’ll notice weak seals that just won’t hold.
We should inspect our gaskets regularly, looking for any signs of wear or damage. If they’re no longer creating that tight seal we need, it’s time to replace gaskets with manufacturer-approved parts.
Don’t forget about cleaning surfaces where gaskets make contact too – food particles can prevent proper closure. Fresh gaskets mean reliable airtight seals every time. Additionally, regular inspections of gaskets can prevent issues before they become severe, ensuring your vacuum sealer operates effectively.
Ensure Proper Bag Placement and Positioning
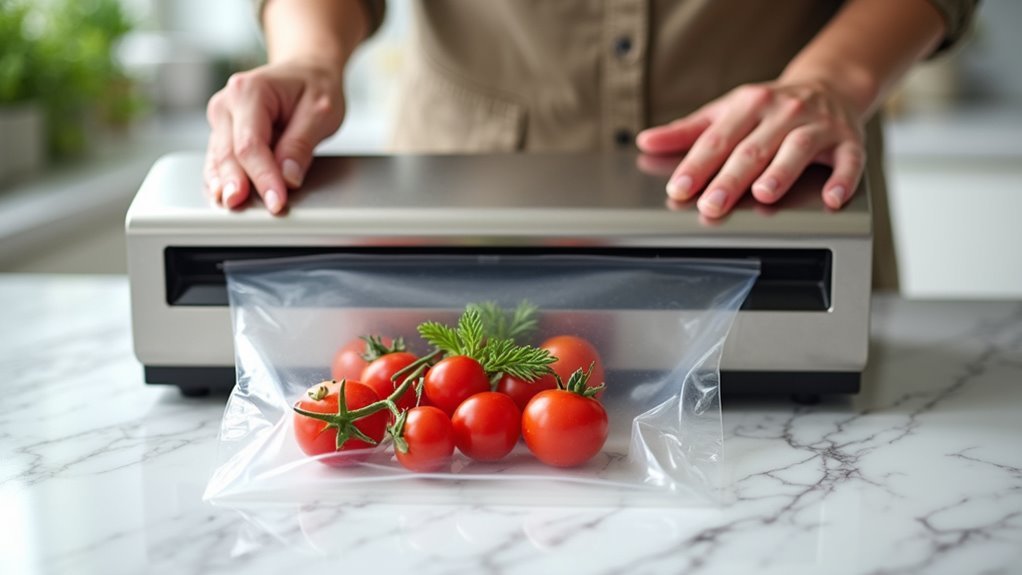
How often have we been frustrated by a vacuum sealer that just won’t cooperate, only to discover the problem was something as simple as how we positioned our bag? Proper bag positioning is essential for vacuum sealers to work effectively. When we avoid overfilling and leave 2-3 inches at the top, the sealing area can function correctly. The bag should overhang the suction area by the same amount, allowing proper air removal. Additionally, using durable vacuum sealing bags can significantly enhance the sealing process and prevent leaks.
| Common Mistake | Why It Fails | Simple Fix |
|---|---|---|
| Wrinkled bag opening | Air leaks through folds | Smooth bag flat across sealing bar |
| Overstuffed bags | No room for seal mechanism | Leave 2-3 inches at top |
| Wrong bag position | Poor suction and seal | Overhang suction area properly |
| Debris in sealing area | Blocks proper contact | Clean regularly for best results |
Remove Moisture From Bags and Chamber
Moisture might seem like a minor concern, but it’s actually one of the biggest culprits behind vacuum sealing failures. When water gets on the bag’s sealing ends, it prevents proper adhesion, leaving you with loose, ineffective seals.
The vacuum pump can also malfunction if liquids get sucked into the machine during operation.
We need to wipe down both the sealing area and vacuum chamber with a clean, dry cloth before each use. This removes any residual moisture that interferes with the sealing process.
If we’re packaging liquids, pre-freezing them to a slushy consistency helps protect the vacuum pump. Using textured bag material designed for liquids also minimizes moisture risks. Additionally, ensuring that proper temperature management is maintained during sealing can significantly enhance sealing effectiveness.
Don’t forget to check the vacuum channel for debris and adjust seal time through your control board for ideal results.
Test Your Vacuum Pump Performance
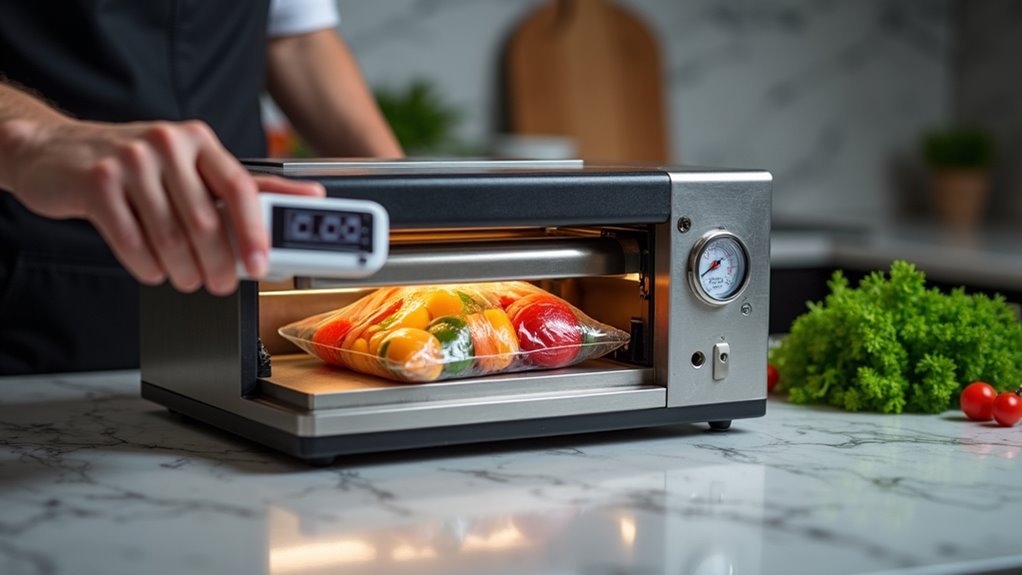
When your vacuum sealer isn’t pulling its weight, we need to check if the pump itself is doing its job properly. A weak vacuum often means air isn’t being removed effectively, leading to poor seals and food waste.
| Test Method | What to Check | Expected Result |
|---|---|---|
| Vacuum Indicator | Monitor gauge during operation | Reaches appropriate levels |
| Empty Bag Test | Seal bag without food | Complete, tight seal |
| Visual Inspection | Examine vacuum channel | Clear of debris |
Start by cleaning the vacuum channel with compressed air or a toothpick to remove obstructions. Next, inspect your lid gaskets for damage since air leaks reduce vacuum strength considerably. If an empty bag seals perfectly but food-filled ones don’t, moisture may be interfering with performance.
Frequently Asked Questions
Why Won’t My Vacuum Sealer Seal Properly?
While we expect perfect seals, vacuum bag issues often stem from moisture levels on edges, sealing strip problems, air leaks from worn gaskets, improper placement with wrinkles, or neglecting basic maintenance tips.
Where Is the Reset Button on the Foodsaver?
We’ll find the reset button location on your FoodSaver’s underside near the power cord. For troubleshooting tips, unplug ten minutes to restore seal function through proper vacuum sealer maintenance addressing common foodsaver features issues.
What Is the Life Expectancy of a Vacuum Sealer?
We’ll see vacuum sealers last 3-7 years typically. Vacuum sealer maintenance, using proper sealing bag sizes, and following troubleshooting tips help extend lifespan. Premium vacuum sealer brands with proper storage techniques often exceed expectations.
Why Is My Sealer Not Working?
Like a detective solving a mystery, we’ll identify vacuum bag issues, review sealing technique tips, examine maintenance practices, follow troubleshooting steps, spot common mistakes, and consider replacement parts.