To vacuum seal your meal prep effectively, begin by cleaning and drying meats and preparing your produce. Select the right equipment for your needs, such as a countertop sealer for larger batches or a handheld sealer for smaller portions. Opt for high-quality, BPA-free bags and ensure there is at least a 3-inch gap between the food and the top of the bag. It's helpful to partially freeze liquids before sealing and marinate meats beforehand to save time. Store your vacuum-sealed meals flat in the refrigerator for up to 2 weeks or in the freezer for up to 6 months. When reheating, consider using boiling water or sous vide for the best results. These tips can help you perfect your vacuum sealing technique and keep your meal prep fresh and delicious for longer periods.
Preparing Food for Sealing
To guarantee the best results when vacuum sealing, start by rinsing and patting dry your meats or fish to remove excess moisture. This step is essential for moisture control and helps maintain food freshness. Proper preparation is a cornerstone of effective vacuum sealing and meal prep, as it ensures your ingredients stay in top condition.
When preparing fruits and vegetables, rinse, peel, and cut them before storage. This not only enhances food quality but also makes ingredient prep more efficient. Storing produce in zip-top bags can protect delicate items from damage during the vacuum sealing process. You'll find that taking the time to prepare your food correctly extends its shelf life and preserves the flavor and texture.
Choosing the Right Equipment
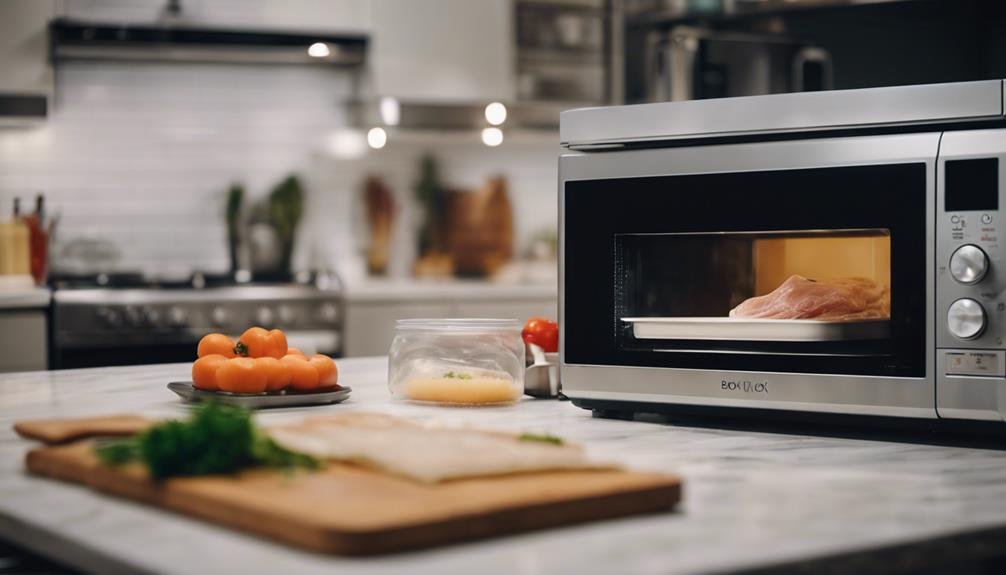
When you've prepared your food correctly, choosing the right vacuum sealing equipment becomes the next important step. Investing in a countertop vacuum sealer offers efficient and convenient meal prep. These models are robust and handle larger volumes of food, perfect for batch cooking and extensive food storage. They're great for sealing various types of food, guaranteeing freshness for longer periods.
Alternatively, handheld vacuum sealers are portable and ideal for sealing individual portions of food. These smaller devices are perfect if you need flexibility or have limited kitchen space. Handheld models are particularly useful for smaller meals or snacks, making them versatile additions to your storage methods.
When buying a vacuum sealer, consider those with accessory options like jar sealers and bottle stoppers. These features extend the functionality, allowing you to seal jars and bottles in addition to bags. Vacuum sealers using bags or rolls offer flexibility in sealing different quantities of food. Make sure the vacuum sealer bags are durable, freezable, and microwave-safe to guarantee safe storage and reheating.
Choosing the right equipment tailored to your needs will make your meal prep more efficient, keeping your food fresh and your kitchen organized.
Vacuum Sealing Tips

Mastering a few essential vacuum sealing tips will help you maximize the freshness and longevity of your meal prep. First, always leave at least 3 inches of space between the food and the top of the vacuum bag. This guarantees you can create an airtight seal, which is vital for effective food preservation. When it comes to liquids or moist foods, partially freeze them before vacuum sealing. This prevents the liquid from being sucked into the machine, a common (and preventable) problem.
For those using a vacuum sealer for meal prepping, consider marinating meats. Vacuum sealing can greatly shorten marinating time, allowing you to save time while infusing flavors deeply. Use high-quality, BPA-free vacuum sealing bags to extend the foods shelf life and avoid harmful chemicals.
If you're sealing delicate items like baked goods, use the manual mode on your vacuum sealer. This lets you control the pressure to avoid crushing fragile foods. Beginners Guide tip: always check that the bag is free of wrinkles before sealing to ensure the best results. By following these tips, you'll effectively extend the shelf life of your meals and make meal prepping more efficient.
Storing Sealed Meals
Storing your vacuum-sealed meals correctly guarantees they stay fresh and delicious for as long as possible. When you've taken the time for meal prepping, you want to make sure that your efforts pay off by preserving the flavor, texture, and nutrients of your meals. Here's how you can do it:
- Fridge Storage: Keep your sealed meals in the fridge for 1-2 weeks. This method is perfect for short-term storage and assures that your meals are ready to eat without waiting for them to thaw.
- Freezer Storage: For longer storage, place your sealed meals in the freezer, where they can last 3-6 months. Vacuum sealing prevents freezer burn and oxidation, maintaining the quality and taste of your food.
- Organization: Label your sealed meals with the date and contents. This helps with meal rotation and keeps your fridge or freezer well-organized. Storing your sealed meals flat also maximizes space and makes stacking easier.
Reheating Vacuum-Sealed Meals
Once your vacuum-sealed meals are stored properly, reheating them is a breeze and guarantees you enjoy a fresh and delicious meal every time. Reheating vacuum-sealed meals is incredibly convenient because you can reheat them directly in the bag. This method not only saves time but also assures you maintain the food's quality and texture.
For even heating, consider placing the sealed bag in boiling water or using a sous vide machine. Both methods allow the food to warm through evenly, preserving the flavors and nutrients. This way, you're not just reheating your meal; you're bringing it back to its original, freshly-prepared state.
Avoid using the microwave for reheating vacuum-sealed meals. Microwaving can cause damage to the vacuum seal, leading to uneven heating and potentially compromising the meal's quality. Instead, stick with boiling water or a sous vide machine to make certain your meal is properly reheated.
Conclusion
You've got the know-how now to nail your meal prep with vacuum sealing. From picking the perfect equipment to storing and reheating, you're set for success. This simple, savvy strategy saves you time and reduces waste. Remember, practice makes perfect, so start sealing and savor the benefits. Your future self will thank you for the fresh, flavorful, and fuss-free meals you'll have at your fingertips. Happy sealing and sensational snacking!