As an experienced cook, I understand the importance of preserving food to maintain its freshness and flavor.
So, when it comes to long-term storage, vacuum sealing using Mylar bags has long been a game-changer for me.
This article will guide you through the process of vacuum sealing Mylar bags, ensuring your ingredients stay fresh, flavorful, and ready for your culinary adventures.
Why Choose Mylar Bags for Vacuum Sealing?
Mylar bags have become a popular choice for vacuum sealing due to their exceptional properties.
These bags are made of a sturdy polyester film that is both durable and resistant to moisture, oxygen, and light. This barrier protection makes Mylar bags ideal for preserving food, as they help prevent spoilage, retain quality, and extend shelf life.
Choosing the Right Vacuum Sealer
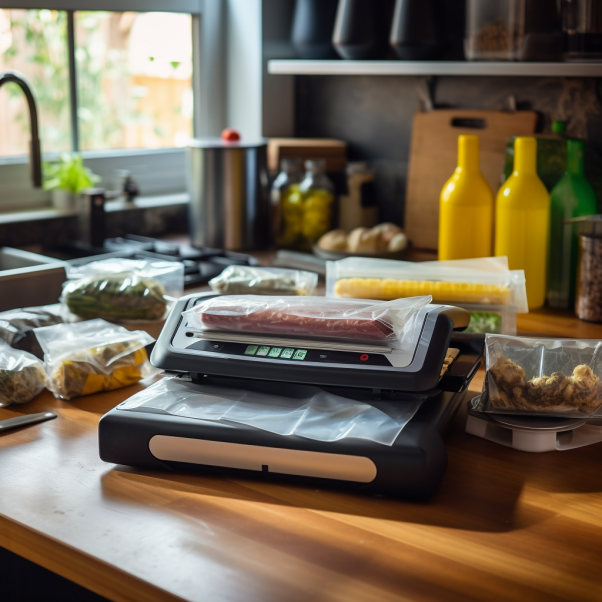
Investing in a reliable vacuum sealer is crucial for achieving optimal results. There’s a lot of different models on the market but it’s important to look for a vacuum sealer that offers adjustable sealing settings, a manual or pulse feature, and is compatibility with Mylar bags.
It’s also a great idea to choose a sealer that has an accessory port, which will allow you to use vacuum canisters or jar attachments for even more versatile storage options.
Steps to Vacuum Seal Mylar Bags
Step 1: Prepare the Ingredients and Mylar Bags
Start by ensuring your ingredients are clean, dry, and appropriately portioned. Cut the Mylar bags into appropriate sizes, leaving enough room for sealing at the top.
Step 2: Fill the Mylar Bags
Carefully fill the Mylar bags with your desired ingredients, making sure to leave sufficient headspace for proper sealing. Avoid overfilling, as it can interfere with the sealing process and compromise the effectiveness of vacuum sealing.
Step 3: Pre-Seal the Bags
Before vacuum sealing, it’s essential to pre-seal the Mylar bags. Most vacuum sealers have a sealing function that allows you to create a secure initial seal. This step prevents any liquid or food particles from interfering with the vacuum sealing process.
Step 4: Position the Bag in the Vacuum Sealer
Place the pre-sealed Mylar bag into the vacuum sealer. Ensure that the open end of the bag is positioned flat and straight between the sealing bars.
Step 5: Start the Vacuum Sealing Process
Activate the vacuum sealer, selecting the appropriate setting for your ingredients. Some vacuum sealers offer adjustable vacuum strength and sealing time settings, allowing you to customize the process based on the food being preserved.
Step 6: Monitor the Sealing Process
As the vacuum sealer works its magic, keep a close eye on the bag. You’ll notice the air being removed, creating a tight seal around your ingredients. Once the air has been sufficiently removed, the vacuum sealer will automatically transition to the sealing phase.
Step 7: Check the Seal
After the sealing process is complete, carefully inspect the seal on the Mylar bag. It should be airtight, with no signs of leaks or gaps. If the seal isn’t perfect, repeat the process using a new bag or adjust the settings on your vacuum sealer.
Step 8: Trim the Bag and Store
Trim any excess material from the bag, leaving a neat and manageable size. Store your vacuum-sealed Mylar bags in a cool, dry place away from direct sunlight, heat, or extreme temperature fluctuations.
Benefits of Vacuum Sealing with Mylar Bags
Benefit 1
Prolonged Shelf Life: Vacuum sealing removes air, which slows down the degradation process and extends the shelf life of your ingredients.
Benefit 2
Enhanced Freshness: By minimizing exposure to oxygen, moisture, and light, vacuum-sealed Mylar bags help retain
Benefit 3
Efficiency: Vacuum-sealed Mylar bags occupy less space compared to traditional storage methods, allowing you to optimize your pantry or freezer.
Benefit 4
Protection Against Freezer Burn: Vacuum sealing protects your food from freezer burn, maintaining its quality for longer periods.
Conclusion:
Vacuum sealing using Mylar bags is a valuable technique every experienced cook should have in their preservation arsenal.
By following the steps outlined in this article, you can effectively store and preserve your ingredients, keeping them fresh and flavorful for extended periods.
Embrace the power of vacuum sealing with Mylar bags, and unlock a world of culinary possibilities, even long after your initial purchase.