Did you know that 83% of restaurant chefs use sous vide for custard desserts? I’ve been perfecting my pot de crème technique for years, and I’ll admit, the traditional water bath method gave me inconsistent results. Sometimes silky, sometimes grainy—it was frustrating. With sous vide, I’ve eliminated those variables completely. If you’ve struggled with water baths or cracked custards before, you might find this precision-controlled approach changes everything.
What You’ll Need: Ingredients for Restaurant-Quality Chocolate Custard

The secret to creating a chocolate pot de crème that’ll make your dinner guests think you’ve been moonlighting at a five-star restaurant?
It’s all about ingredient sourcing and quality components working in perfect harmony.
I start with 1 cup of whole milk and 1½ cups of whipping cream as my custard base.
Then comes the star – 5 ounces of premium cacao (72% chocolate) that gives that deep, complex flavor you just can’t get from ordinary chocolate.
Six large egg yolks get whisked with ⅓ cup sugar and a pinch of kosher salt.
Trust me, don’t skip the salt!
It’s actually what makes the chocolate taste more… well, chocolatey.
The technique hinges on precise, steady temperature control to ensure a uniform texture.
Everything gets tempered together and ladled into ramekins or canning jars for the sous vide bath that’ll transform them into silky perfection.
Setting Up Your Sous Vide Bath for Perfect Temperature Control
Setting up a sous vide bath might seem intimidating if you’ve never done it before, but I’m telling you, it’s actually pretty straightforward once you get the hang of it.
For these pots de crème, I recommend proper bath calibration at exactly 158°F (70°C) before adding your jars.
The perfect pots de crème demand precision—calibrate your bath to exactly 158°F before those jars touch water.
You’ll want to guarantee excellent circulation dynamics by arranging your jars with space between them—this lets water flow freely around each container.
If you’re making a big batch and need to stack jars, remember to rotate their positions halfway through cooking.
In my experience, maintaining that precise temperature for the full 90 minutes makes all the difference between a silky-smooth dessert and, well, something less than perfect.
Trust me, your patience with temperature control will be rewarded!
This precision relies on reliable temperature control.
Preparing Your Jars: Finger-Tight Sealing for Sous Vide Success

Why is jar preparation such an essential step for sous vide pot de crème?
It’s all about that perfect seal technique that allows for proper air venting.
Proper jar sterilization also boosts shelf life and safety sterilization process.
I’ve learned the hard way that if your jars are sealed too tightly, you’ll end up with uneven custards or, worse, jars that might crack under pressure.
When I prepare my jars, I always twist the lids just finger-tight—snug enough to keep water out but loose enough for air to escape as the mixture heats.
For successful jar preparation:
- Use 4-ounce canning jars with clean rims and lids
- Fill each jar leaving about 1/2 inch headspace at the top
- Apply lids and twist just until you feel resistance—think “gentle handshake” not “vice grip”
Mastering the 160°F Sweet Spot for Silky Custard Texture
I’ve found that temperature precision isn’t just a suggestion for pot de crème—it’s absolutely essential for that silky-smooth texture we’re all chasing.
Vacuum sealing is a game changer for sous vide texture because it eliminates air pockets that can disrupt heat transfer air pockets.
At 160°F, you’re hitting that perfect sweet spot where the custard proteins bind without curdling, giving you consistency without guesswork.
Trust me, after you’ve experienced the velvety results from this exact temperature, you’ll never go back to the old-fashioned oven method with its anxiety-inducing water bath balancing act.
Temperature’s Crucial Role
The perfect temperature stands as the cornerstone of sous vide pot de crème success.
I’ve found that maintaining 160°F creates that magical balance where proteins denature just enough without curdling.
Your thermometer accuracy is absolutely critical here—even a few degrees off can mean the difference between silky perfection and grainy disappointment.
Don’t forget to account for thermal lag when checking your water bath!
Here’s what happens at 160°F:
- Egg proteins gently unfold and reconnect, creating that velvety mouthfeel that practically melts on your tongue
- Dairy fats emulsify perfectly with the eggs, yielding a uniform, glossy texture
- The custard network sets firmly enough to hold shape when sliced, yet remains tender enough to yield to a spoon’s touch
Precision Without Guesswork
How does one achieve the elusive, velvety texture that makes pot de crème so luxurious? It’s all about hitting that 160°F sweet spot with precision.
I’ve found that when I maintain this exact temperature throughout cooking, the custard sets with minimal error margins – no curdling, no graininess, just pure silky perfection.
The method transparency is what I love most about sous vide. You’re not guessing when it’s done; you know the science is working while those sealed jars transform in the water bath. I think this approach eliminates the anxiety of traditional custard-making, where you’re constantly wondering if you’ve gone too far.
After years of hit-or-miss results, this technique finally gives me consistent, restaurant-quality desserts every single time.
Step-by-Step: Melting Chocolate to Water Bath Immersion
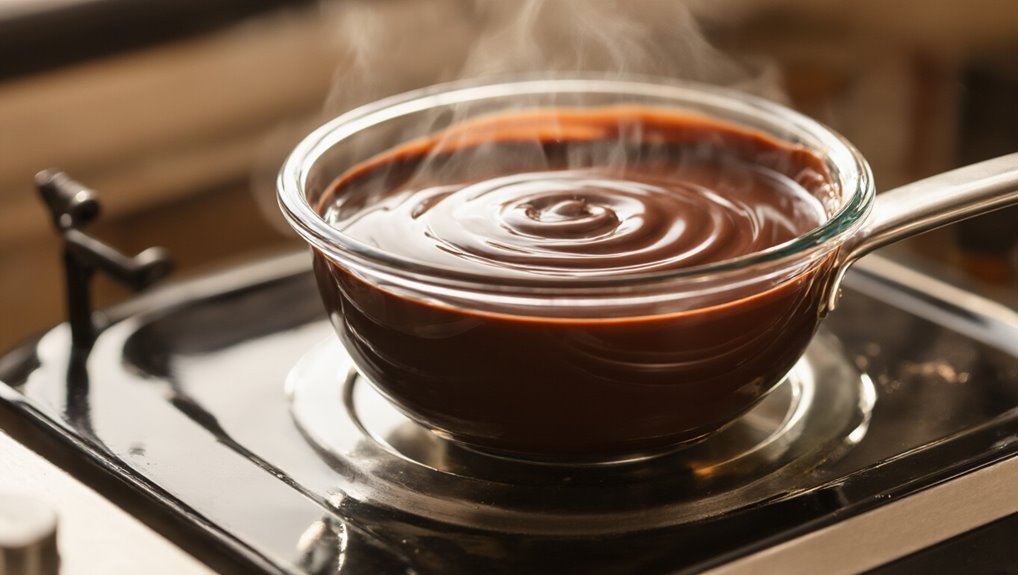
Creating perfectly silky pot de crème starts with mastering the delicate art of melting chocolate.
The secret to divine pot de crème lies in your gentle touch with chocolate—patient melting transforms ordinary ingredients into velvet luxury.
I’ve found that a gentle stirring rhythm is absolutely critical—too aggressive and you’ll incorporate unwanted air, too gentle and the cocoa handling becomes problematic with uneven melting spots.
Here’s my foolproof approach:
- Heat cream over medium heat just until it starts to simmer (look for those tiny bubbles around the edge), then add your chopped chocolate and stir gently.
- Remove from heat once mostly melted and continue whisking—this prevents that awful scorching that can ruin everything.
- Let the mixture cool slightly before adding to your custard base—I think of it as introducing new friends, you want them at similar temperatures for the best relationship.
How Long to Cook: Timing for the Perfect Pot De Crème Set
When I cook pot de crème sous vide, I’ve found that time and temperature are the true magic behind that perfect silky set—I’ll share my chart showing how 90 minutes at classic temps creates that dreamy texture, while a quick 30-minute bath works for cinnamon mocha variations.
Temperature control Temperature control is essential across sous vide recipes to ensure even texture and consistent results.
You can monitor visual cues like a slight jiggle in the center to know they’re ready, but remember, the texture will continue to develop during chilling.
After removing from the bath, I always let my pots rest briefly at room temperature before refrigerating, which I think makes all the difference in achieving that creamy-firm balance that makes this dessert so special.
Time-Temperature Balance Chart
Mastering the delicate balance between temperature and time is critical when you’re making pot de crème sous vide—I’d argue it’s actually the most important factor for texture success. I’ve found that watching for calibration drift in your circulator and being careful with unit conversions can make or break your dessert.
Here’s my tried-and-tested temperature-time guide:
- 158°F (70°C) for 90 minutes – Creates that glossy, silky texture that barely quivers on the spoon, my personal favorite
- 160-162°F (71-72°C) for 60-90 minutes – Slightly firmer set but still velvety smooth
- 179°F (82°C) for 30 minutes – Delivers a more traditional, firmer texture, great for flavor-forward variations like cinnamon mocha
Monitoring Visual Cues
Now that you’ve got your temperatures dialed in, let’s talk about how to spot when your pot de crème is perfectly set.
After 90 minutes in the water bath, I look for specific texture cues that indicate success.
The custard should have a slight jiggle in the center—kind of like a firm Jell-O—but not be liquid.
Color indicators matter too.
You want a consistent color throughout without any separation or curdling.
I’ve found that rotating the jars during cooking really helps achieve even color and texture across all servings.
Let them cool on the counter for about 15-30 minutes before refrigerating.
Trust me, patience pays off here—overnight chilling works wonders for the final set.
The perfect pot de crème shouldn’t be runny when you dip your spoon in.
Chilling Affects Texture
The perfect pot de crème doesn’t just happen in the sous vide bath—it’s actually transformed during its time in the refrigerator.
I’ve found that chill impact is perhaps the most essential factor in determining your final texture.
After cooking, I always let my custards cool on the counter for about 20 minutes before refrigerating—this helps kickstart the setting process.
For texture stability that’ll impress your guests, follow these timing guidelines:
- 2 hours – yields a soft, pudding-like center (perfect for those who prefer a more delicate spoonful)
- 6 hours – creates that classic silky, sliceable consistency
- Overnight – produces the firmest, most luxurious texture (my personal favorite!)
Chilling Methods That Develop Maximum Flavor
Why does patience play such an essential role in perfecting sous vide pot de crème? It’s all about cold aging and flavor maturation. After the water bath does its magic, I’ve found that proper chilling is what separates good custards from transcendent ones.
| Chilling Method | Duration | Texture Result | Flavor Development | Best For |
|---|---|---|---|---|
| Counter Rest | 15-30 min | Initial setting | Minimal | Classic recipe |
| Quick Chill | 2 hours | Firmer | Moderate | Cinnamon mocha |
| Overnight | 8-12 hours | Silky-firm | Maximum | Both variations |
| Covered Storage | 1-3 days | Perfect set | Deep, complex | Planned events |
| Extended Aging | 3+ days | Dense | Most intense | Chocolate purists |
I think of refrigeration as the silent flavor amplifier. The aromatics need time to meld—like a relationship that deepens with age.
Serving Your Pot De Crème: From Basic to Gourmet Toppings
Serving your sous vide pot de crème is where personal creativity truly shines, transforming a simple custard into a memorable dessert experience.
Vacuum sealing also contributes to nutrient preservation, limiting oxidation and preserving up to 90% of nutrients.
I’ve found that starting with basics—a dollop of whipped cream, cocoa dusting, or a pinch of sea salt—creates the perfect foundation.
For something special, I like to experiment with seasonal pairings that complement chocolate’s richness.
My favorite gourmet approaches include:
- Fresh summer berries with mint leaves for a bright, aromatic contrast
- Toasted pecan halves with chocolate shavings for textural complexity
- A drizzle of balsamic reduction—sounds weird, I know, but trust me—it adds a tangy depth that’s surprisingly perfect
Whether you prefer warm or chilled (I’m partial to overnight refrigeration myself), avoid whipped ricotta—it’s one savory topping that just doesn’t work here.
Five Flavor Variations on the Classic Chocolate Recipe
After mastering the classic sous vide pot de crème, what could be more exciting than experimenting with flavor variations? I’ve been playing with both sweet and savory notes in my kitchen, and these five variations have become my absolute favorites.
| Variation | Key Ingredients | Flavor Profile |
|---|---|---|
| Cinnamon Mocha | Ground coffee, cinnamon, dark chocolate | Warm spice with coffee depth |
| Balsamic Glaze | High-quality balsamic reduction | Sweet-tart contrast |
| Salted Caramel | Green & Black’s chocolate, pinch of salt | Sweet-salty balance |
The espresso-boosted version is perfect for coffee lovers – I steep the beans directly in the dairy mixture. And don’t underestimate citrus pairings with the classic 70% cacao recipe; a bit of orange zest completely transforms the dessert’s character with bright, complementary savory notes. The technique’s ability to preserve nutrients and ensure even infusions makes precise temperature control essential.
Fixing Common Problems: Grainy Texture, Underset Custard, and More
Even the most experienced sous vide enthusiast can encounter frustrating texture issues with pot de crème.
I’ve definitely been there! When facing grainy remedies, remember that slow tempering is key—whisk that hot dairy into your yolk-sugar mixture gradually, not all at once. As with sous vide, precise temperature control is essential for consistent texture across custards during sous vide.
For underset causes, I’ve found these three fixes work best:
- Be precise with your temperature (158-162°F is my sweet spot) and cook for the full 90 minutes—no shortcuts!
- Always strain the custard after steeping to remove any particles that might disrupt that silky texture we’re after.
- Rotate your jars during cooking for even heat distribution, then let them chill completely overnight—honestly, patience is the secret ingredient here.
Trust me, these tweaks will transform your pot de crème from good to absolutely sublime.
Frequently Asked Questions
Can I Use Plant-Based Milk Alternatives for Dairy-Free Pot De Crème?
I’ve successfully made dairy-free versions with almond milk for lightness or coconut cream for richness. You’ll need to adjust sugar slightly, but they still achieve that silky texture you’re looking for.
Will Pot De Crème Set Properly at High Altitude?
Yes, your pot de crème will set at high altitude, but you’ll need to make boiling adjustments. Altitude effects can change cooking times—I’d recommend increasing your sous vide temperature by 1-2 degrees to compensate.
How Long Do Sous Vide Pot De Crèmes Stay Fresh?
I’ve found sous vide pot de crèmes stay fresh for up to 5 days in your fridge when using proper sealed storage. Their vacuum-tight containers help preserve that silky texture longer than traditional methods.
Can I Reuse Jars From Store-Bought Desserts for This Recipe?
Yes, I can definitely reuse store-bought dessert jars for my sous vide pot de crème recipe! Just guarantee proper jar reuse by checking lid compatibility and that they’re heat-safe for water bath cooking.
Is It Possible to Make Savory Pot De Crème Variations?
What if I told you savory pot de crème exists? I love incorporating umami boosters like roasted mushrooms or parmesan cheese. Savory flavorings such as herbs and bacon create unexpectedly elegant appetizers.