Nearly 40% of home cooks report overcooking their vegetables, resulting in lost nutrients and compromised texture. We've all experienced those mushy carrots or lifeless broccoli florets that make us question our cooking abilities. That's where sous vide comes in - it's revolutionized how we can prepare vegetables with scientific precision and consistently perfect results. As professional chefs have known for years, there's a secret to achieving that perfect tender-crisp texture while maintaining vibrant colors and maximum nutritional value. Let's explore how this game-changing technique can transform your vegetable dishes from ordinary to extraordinary.
History
Very few cooking techniques have evolved as dramatically as sous vide in recent decades. While we often think of it as a modern invention, sous vide's roots trace back to 1971 when French chefs first experimented with vacuum-sealed cooking to preserve foie gras. They discovered that this method didn't just preserve food - it transformed the texture and flavor of ingredients in remarkable ways. The process of vacuum sealing also enhances heat transfer, ensuring that the cooking environment is efficient and effective, which is particularly beneficial for delicate vegetables enhanced cooking performance.
In the 1970s, we saw sous vide make its way into high-end restaurant kitchens, where chefs refined the technique for meat preparation. However, it wasn't until the late 1990s that innovative cooks began extensively testing sous vide with vegetables. They found that the controlled temperature environment perfectly suited delicate produce, maintaining nutrients and vibrant colors that traditional cooking methods often destroyed.
Today, we're experiencing a revolution in home sous vide cooking, thanks to affordable precision cookers and growing interest in food science. What was once exclusive to professional kitchens has become accessible to home cooks, and vegetables have emerged as one of the most popular applications, offering consistent results that were previously difficult to achieve through conventional methods.
Recipe
Perfect Sous Vide Mixed Vegetables
Sous vide cooking transforms ordinary vegetables into extraordinarily tender and flavorful dishes while maintaining their nutritional value and vibrant colors. This gentle cooking method allows the vegetables to cook evenly in their own juices, creating an intensely flavored result that's impeccably cooked every time. Additionally, vacuum sealing is a great way to preserve the freshness of your ingredients, as it prolongs shelf life of various foods and prevents freezer burn.
This recipe combines a medley of fresh vegetables with simple seasonings that enhance their natural flavors. The precise temperature control guarantees that each vegetable maintains its structure while becoming tender and infused with the aromatic herbs and seasonings. The final quick sear adds a delightful caramelized finish that elevates the dish to restaurant quality.
Ingredients:
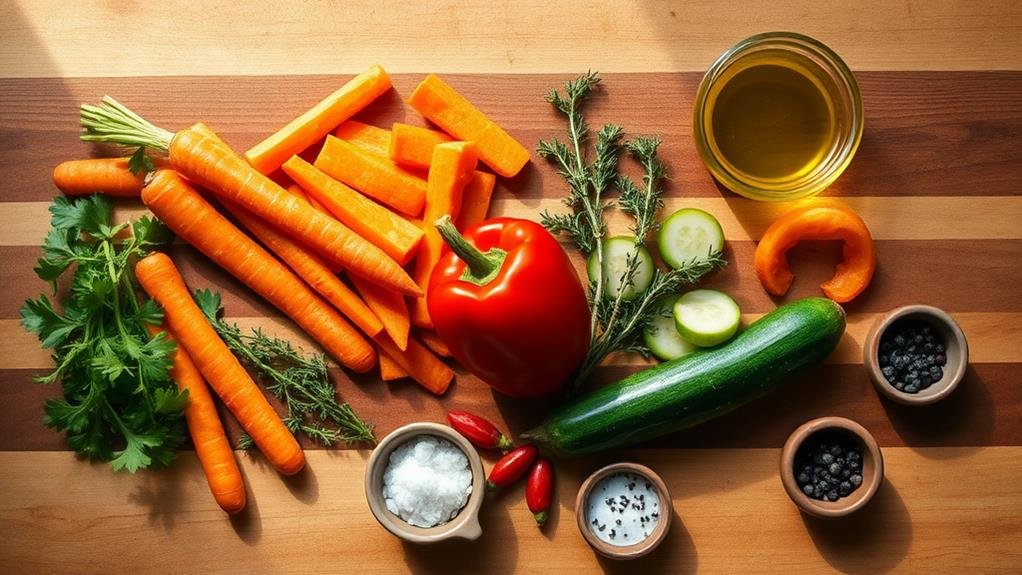
- 2 medium carrots, cut into 2-inch batons
- 1 red bell pepper, cut into strips
- 1 medium zucchini, cut into half-moons
- 2 tablespoons olive oil
- 1 teaspoon salt
- 1/2 teaspoon freshly ground black pepper
- 2 sprigs fresh thyme
- 1 sprig fresh rosemary
Preheat your sous vide circulator to 185°F (85°C). Combine all vegetables in a large bowl and toss with olive oil, salt, and pepper. Place the seasoned vegetables in a vacuum-seal or ziplock bag, adding the fresh herb sprigs. Remove as much air as possible using a vacuum sealer or water displacement method. Submerge the sealed bag in the preheated water bath and cook for 45-60 minutes. Once done, remove vegetables from the bag and quickly sear in a hot skillet for 1-2 minutes to achieve light caramelization.
For best results, ensure all vegetables are cut to similar sizes to guarantee even cooking. If using a ziplock bag, use the water displacement method by slowly lowering the bag into water while keeping the seal above water level - this will push out air naturally before sealing. Consider blanching particularly dense vegetables like carrots for 1-2 minutes before bagging to ensure they cook evenly with softer vegetables. Store any leftovers in an airtight container in the refrigerator for up to 3 days.
Step By Step
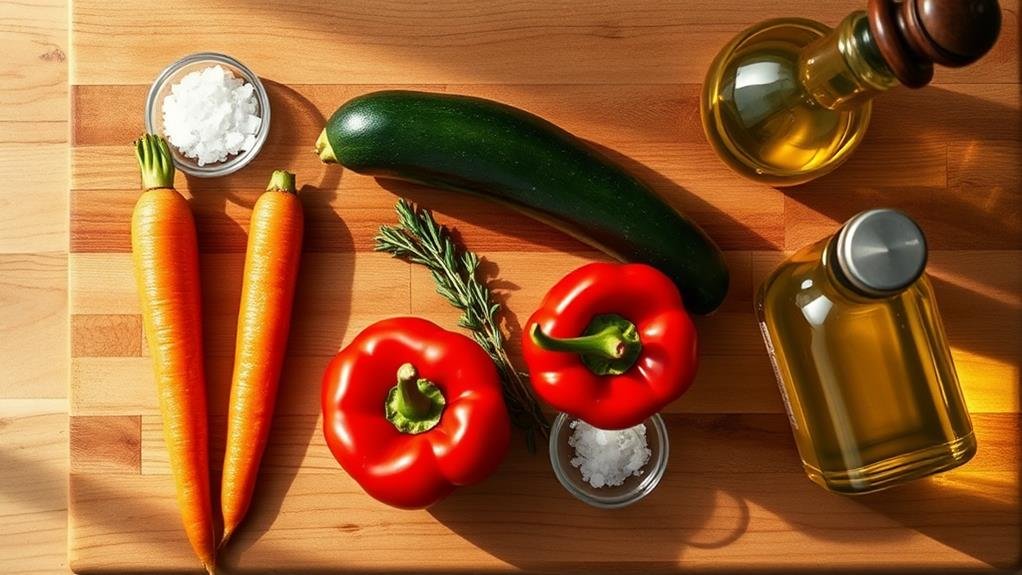
Let's walk through the essential steps to perfectly cook vegetables using the sous vide method.
We'll start by selecting fresh, seasonal produce and seasoning them before sealing in bags, then set our water bath to the precise temperature needed for each vegetable type.
After cooking according to our time chart for best tenderness, we'll finish with a quick sear to add color and texture to our perfectly cooked vegetables.
Step 1. Choose Fresh Seasonal Produce
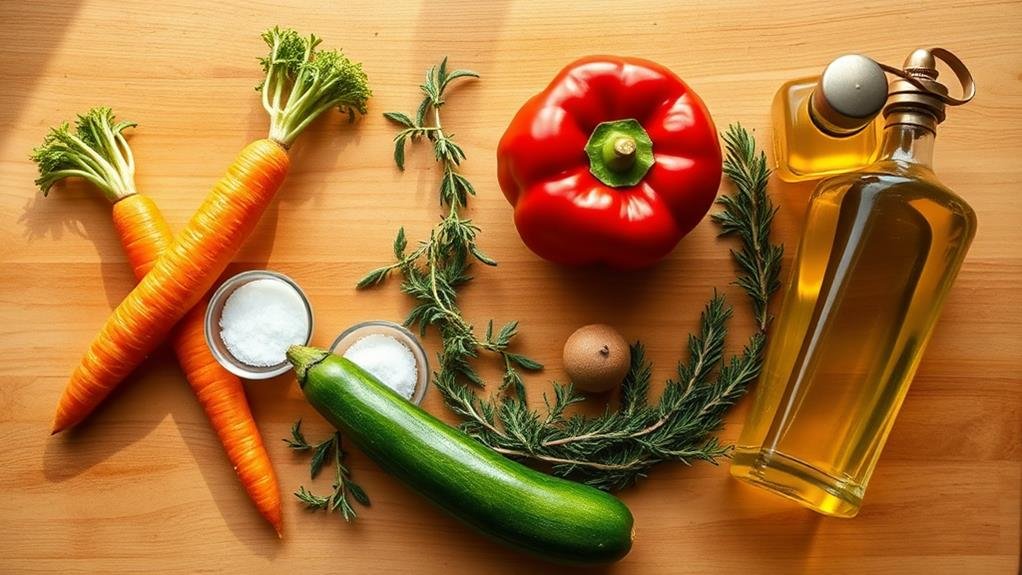
Choosing fresh, seasonal produce forms the foundation of exceptional sous vide vegetables. We'll want to pick vegetables at their peak ripeness, when they're brimming with natural flavors and nutrients. Let's search for firm, brightly colored produce without blemishes or soft spots, as these characteristics indicate freshness and quality.
In spring, we'll focus on tender asparagus, young carrots, and fresh peas. Summer brings us vibrant bell peppers, zucchini, and cherry tomatoes perfect for sous vide cooking. During fall, we'll select root vegetables like parsnips and sweet potatoes, while winter offers us hearty Brussels sprouts and butternut squash.
When shopping, we should gently squeeze vegetables to make sure they're firm and heavy for their size.
We'll want to take cooking times into account when selecting our produce. Dense vegetables like carrots will need longer cooking times than tender vegetables like asparagus. It's best to group vegetables with similar cooking times together or cut denser vegetables into smaller pieces to ensure even cooking. Remember, fresh produce will always yield better results than vegetables that have been stored for extended periods.
Step 2. Season and Bag Vegetables
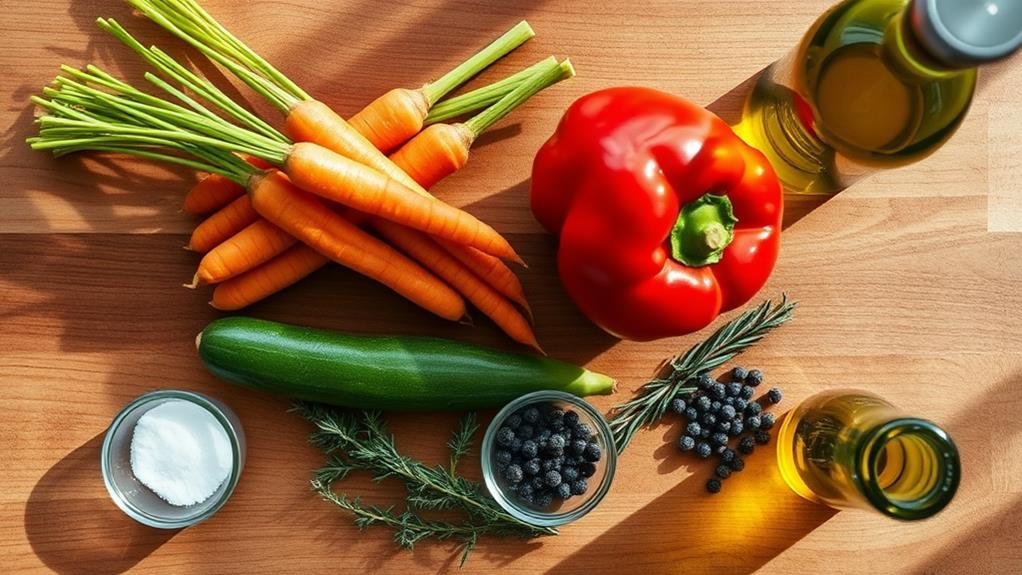
With our freshly harvested seasonal vegetables ready, the seasoning and bagging process marks the start of our sous vide preparation. Let's begin by tossing our vegetables in a large bowl with high-quality olive oil, making sure each piece is evenly coated. We'll then add salt, freshly ground black pepper, and our selected fresh herbs, ensuring the seasonings are distributed thoroughly.
For ideal sous vide vegetables, we'll follow these crucial steps:
- Place vegetables in a single layer within the bag for uniform cooking
- Remove as much air as possible using a vacuum sealer or water displacement method
- Double-check seals to prevent any water from entering during cooking
- Label bags with contents and cooking time if preparing multiple batches
- Keep vegetables of similar cooking times together in the same bag
After seasoning, we'll carefully transfer our vegetables to either vacuum-seal or resealable bags.
If using a zip-top bag, we'll use the water displacement method by slowly lowering the partially sealed bag into water, allowing the pressure to push out excess air before sealing completely. This technique ensures optimal contact between the vegetables and the heated water bath, leading to even cooking and maximum flavor development.
Step 3. Set Water Bath Temperature
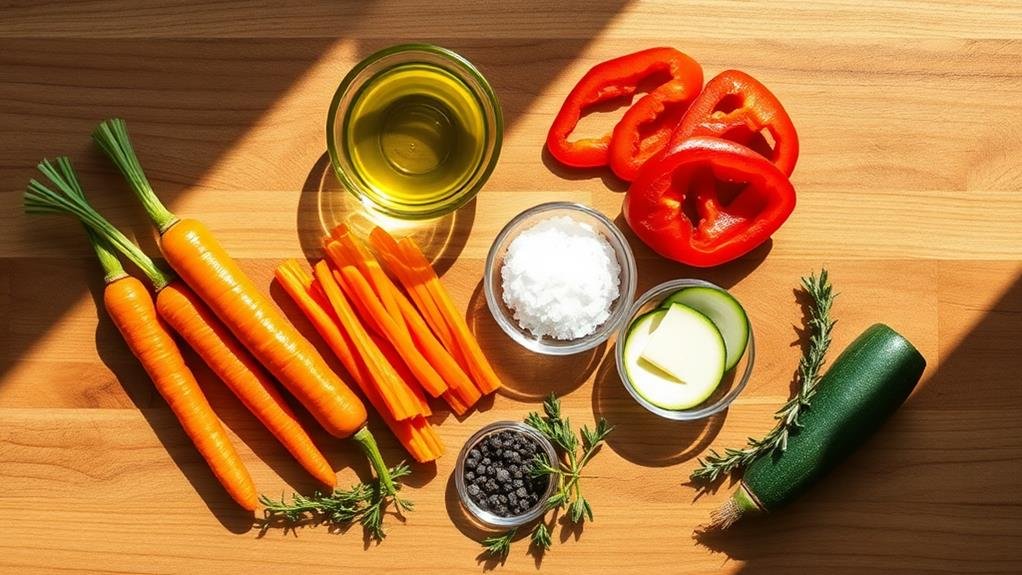
The sous vide cooker's precise temperature control stands as one of the most critical factors for perfectly cooked vegetables. We'll set our water bath to 185°F (85°C), which is the ideal temperature for most firm vegetables like carrots, bell peppers, and zucchini. This temperature guarantees we maintain the vegetables' structural integrity while achieving the perfect tender-crisp texture.
Before adding our vegetables, we'll need to fill our sous vide container with enough water to fully submerge our bagged vegetables while keeping the water level between the minimum and maximum fill lines.
Let's wait until our water bath reaches the target temperature - most precision cookers will signal when they're prepared. It's important that we don't rush this step, as starting with the wrong temperature can impact our cooking time and results.
While we're waiting, we can clip our container's edges with a few clothespins or use the cooker's built-in bag clips. These will assist in keeping our vegetable bags properly submerged during cooking. Remember, proper water circulation around the bags is vital for even cooking.
Step 4. Cook According to Time Chart
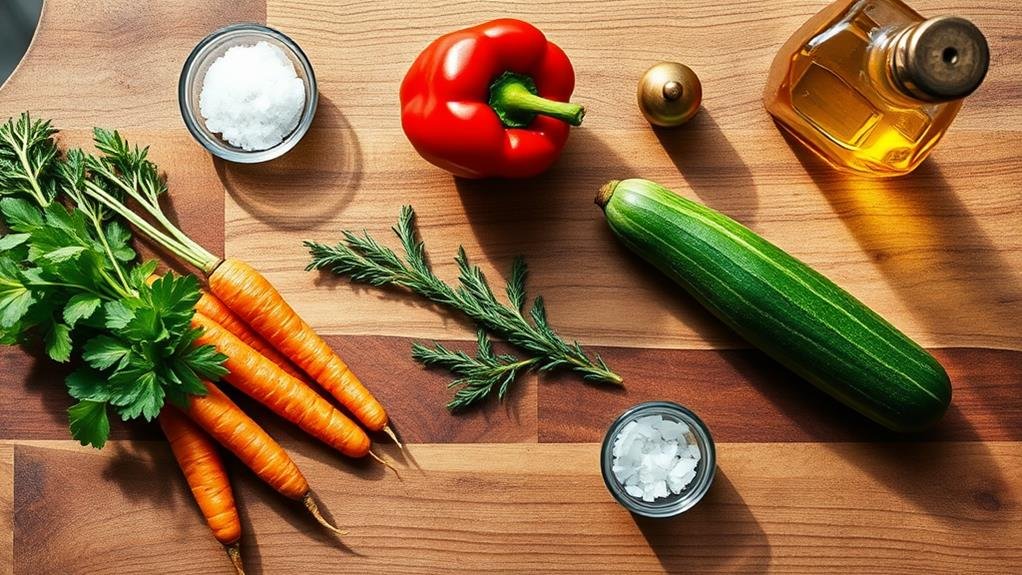
Now that our water bath has reached the perfect temperature, cooking times become our next focus for sous vide vegetable perfection. Let's follow a reliable time chart to guarantee consistent results every time we cook our vegetables. Denser vegetables naturally require longer cooking times, while tender ones cook more quickly.
We'll need to adjust our cooking times based on the specific vegetables we're preparing. Here's what we recommend for perfectly cooked vegetables:
- Root vegetables (carrots, parsnips, potatoes): 60-90 minutes
- Cruciferous vegetables (broccoli, cauliflower): 30-45 minutes
- Summer squash and zucchini: 15-30 minutes
- Bell peppers and asparagus: 8-15 minutes
- Leafy greens (spinach, chard): 5-10 minutes
Let's check our vegetables' doneness by gently squeezing the bag after the minimum cooking time. If they're not quite tender enough, we can continue cooking in five-minute intervals until they reach our desired texture. Remember, we can't overcook our vegetables at these temperatures, but extending the cooking time too long might affect their texture and vibrant colors.
Step 5. Finish With Light Searing
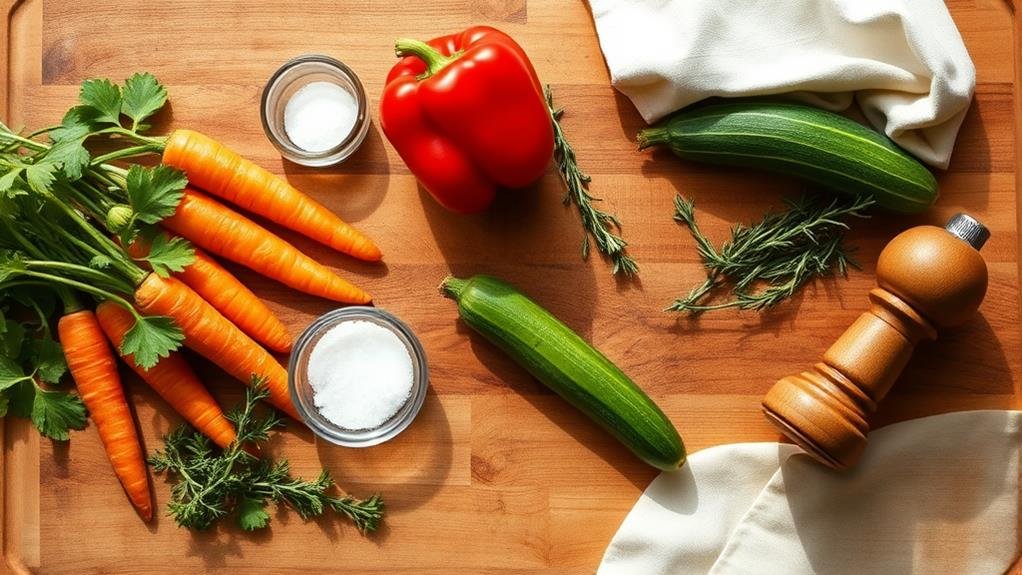
After your vegetables reach the perfect tenderness in the sous vide bath, let's add an irresistible finishing touch through a quick searing process.
We'll start by carefully removing the vegetables from their sealed bag and patting them dry with paper towels to remove excess moisture. This step is essential for achieving a proper sear.
Next, we'll heat a large skillet or grill pan over medium-high heat until it's nearly smoking. Add a small amount of high-heat oil, such as grapeseed or avocado oil.
Working in batches to avoid overcrowding, we'll place our vegetables in the hot pan. We want to sear them for just 30-45 seconds per side, creating a light caramelization that enhances both flavor and visual appeal.
As we sear, we'll resist the urge to move the vegetables too frequently - letting them develop that golden-brown crust is vital.
Once all pieces are seared, we can transfer them to a serving platter. If desired, we'll finish with a light sprinkle of flaky sea salt or a drizzle of good olive oil to amplify the flavors we've developed.
Conclusion
We've discovered that sous vide vegetables are a million times better than traditional methods, taking our home cooking to new heights. Let's embrace this game-changing technique that preserves nutrients, enhances flavors, and delivers restaurant-worthy results every time. With proper temperature control and a final sear, we're creating perfectly cooked vegetables that maintain their vibrant colors and delightful textures. It's time we revolutionize our vegetable preparation forever.
