Let's explore one of the most transformative cooking methods for beef short ribs that we've come across in modern cuisine. We'll show you how sous vide techniques can turn this traditionally challenging cut of meat into something extraordinary, without the usual guesswork or constant monitoring. While braising has long been the go-to method, sous vide offers us precise temperature control and consistently perfect results that even top restaurants can't always achieve. There's a reason why professional chefs have embraced this technique, and we're about to share the secrets that make these ribs impossibly tender and full of flavor.
History
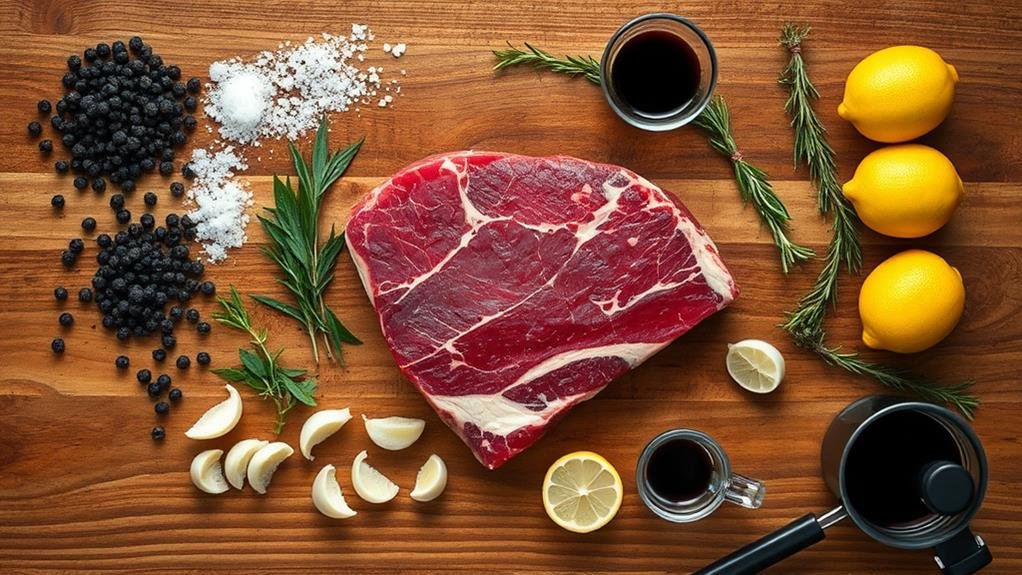
The history of sous vide beef short ribs dates back to the late 1960s when French and American engineers first developed sous vide cooking techniques. We can trace its origins to French chef Georges Pralus, who discovered that cooking foie gras in vacuum-sealed bags preserved its original appearance and dramatically reduced product loss. This revelation soon led to experimenting with other meats, including beef short ribs. The process of vacuum sealing not only enhances cooking performance by ensuring even heat distribution, but also locks in natural flavors and aromas, making it ideal for cuts like short ribs that benefit from long cooking times enhanced cooking performance.
By the 1970s, we'd seen sous vide make its way into high-end restaurants, where chefs realized they could achieve consistently perfect results with tough cuts like short ribs. The method solved a common problem: how to break down the meat's tough connective tissues while maintaining moisture and flavor. Traditional braising often led to overcooked exteriors before the interior reached ideal tenderness.
The technique remained primarily in professional kitchens until the early 2000s, when affordable immersion circulators hit the consumer market. This democratization of sous vide cooking transformed how we prepare beef short ribs at home, allowing anyone to achieve restaurant-quality results through precise temperature control and extended cooking times.
Recipe
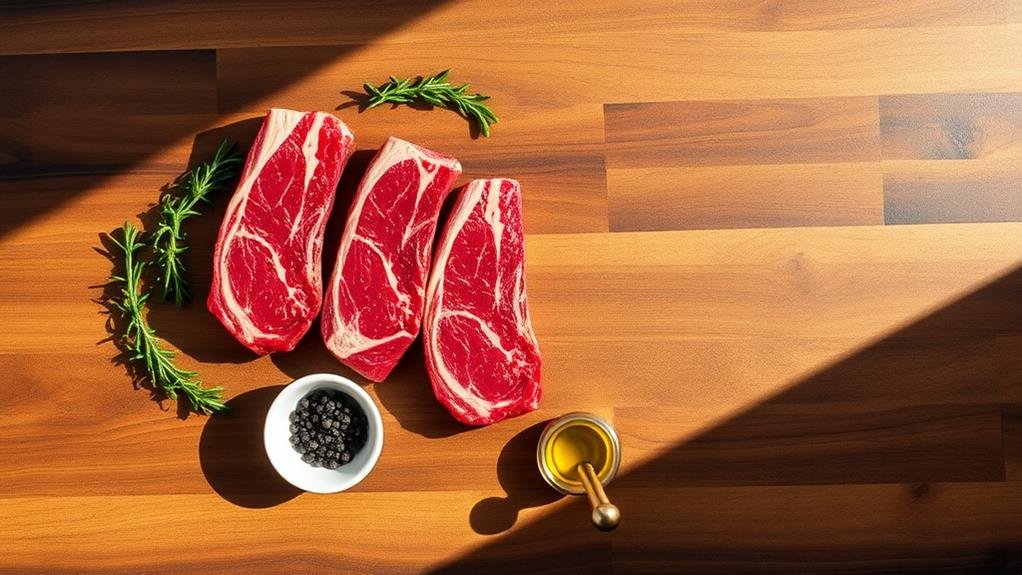
Sous vide beef short ribs represent the ideal fusion of traditional comfort food and modern cooking techniques. This method transforms tough cuts into tender, flavorful meat that maintains its natural juices and rich taste profile through precise temperature control and extended cooking times. By employing quicker marination times, you can enhance the overall flavor experience even before cooking, allowing the rib's natural qualities to shine through.
The beauty of this recipe lies in its simplicity, requiring only a handful of ingredients while delivering restaurant-quality results. The long cooking process breaks down the connective tissues in the meat while keeping it at the exact temperature needed for best doneness, resulting in perfectly cooked short ribs every time.
- 4 beef short ribs (about 3-4 inches each)
- 2 teaspoons kosher salt
- 1 teaspoon freshly ground black pepper
- 2 sprigs fresh rosemary
- 2 tablespoons olive oil
Season the short ribs generously with salt and pepper on all sides. Place the seasoned ribs in a vacuum-sealed bag or zip-lock bag with rosemary sprigs and 1 tablespoon of olive oil. Seal the bag using either a vacuum sealer or water displacement method. Set sous vide water bath to 131°F (55°C) for medium-rare and cook for 48 hours. After cooking, remove ribs from the bag and pat dry thoroughly with paper towels. Heat remaining olive oil in a cast-iron skillet over high heat and sear the ribs for 1-2 minutes per side until browned and crispy. Let rest for 5 minutes before serving.
For best results, choose well-marbled short ribs with consistent sizing to guarantee even cooking. If using a zip-lock bag, clip the top to the side of your container to prevent it from sinking into the water bath. The internal temperature of your water bath is vital, so consider using an external thermometer to verify accuracy. While 48 hours might seem long, resist the urge to shorten the cooking time as this duration is necessary for breaking down the tough muscle fibers and achieving the desired tenderness.
Step By Step
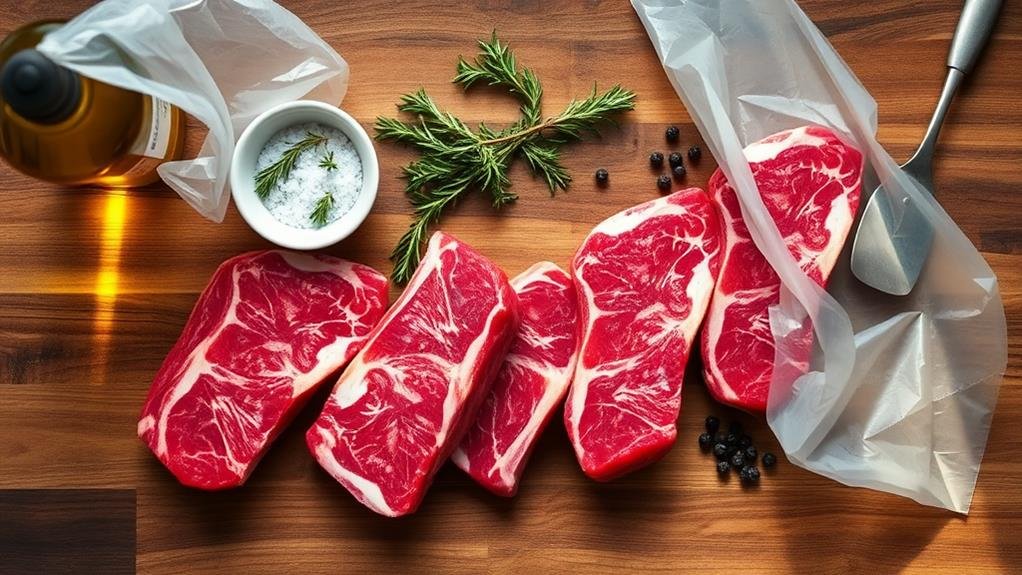
Let's walk through the essential steps to create perfectly tender sous vide short ribs that'll melt in your mouth.
We'll start by seasoning our ribs generously and vacuum sealing them with rosemary and olive oil, then setting our water bath to 131°F before submerging our sealed bag for a 48-hour cook.
Once the long cook is complete, we'll finish by patting the ribs dry and searing them in a blazing hot pan for that perfect crust.
Step 1. Season Raw Meat Generously
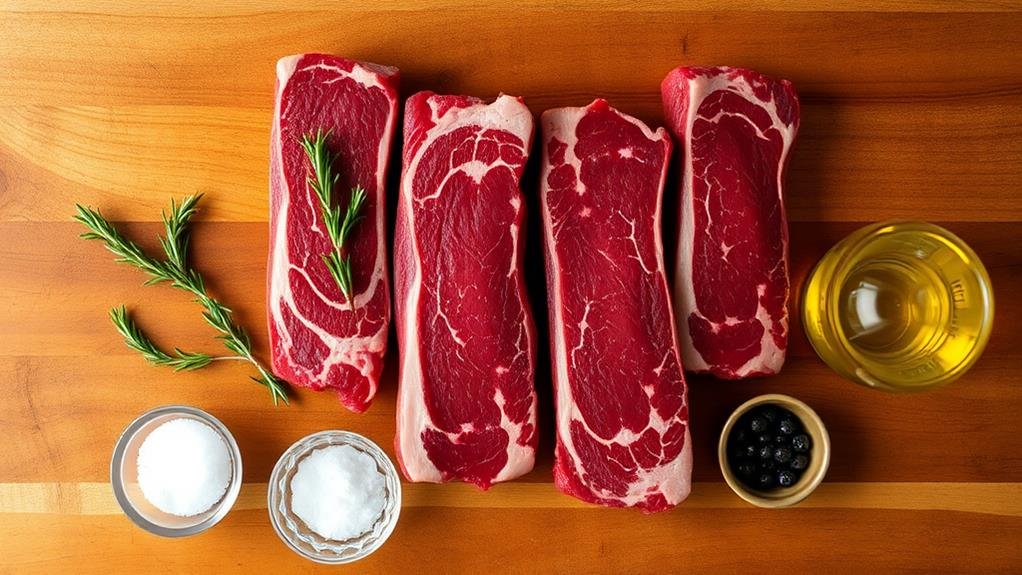
Before diving in, proper flavoring sets the groundwork for exceptionally tasty sous vide short ribs. Let's start by patting our ribs completely dry with paper towels – this guarantees the seasoning adheres correctly to the meat's surface. We'll need to be generous with our salt and black pepper, as the extended cooking process will help these seasonings penetrate deeply into the meat.
When flavoring, we'll want to focus on these key steps:
- Apply an even, thick layer of kosher salt across all surfaces, including the sides
- Follow with freshly ground black pepper in the same thorough manner
- Gently press the seasonings into the meat with your hands
- Let the seasoned meat rest at room temperature for 30 minutes before bagging
We're not just seasoning the surface – we're establishing a base that will elevate the meat's natural flavors during the 48-hour cooking process. Don't worry about over-salting; the sous vide method allows the seasonings to distribute evenly throughout the cooking time. Remember, we can always adjust the final seasoning after cooking, but starting with a well-flavored piece of meat is essential for the best results.
Step 2. Vacuum Seal Ingredients Together
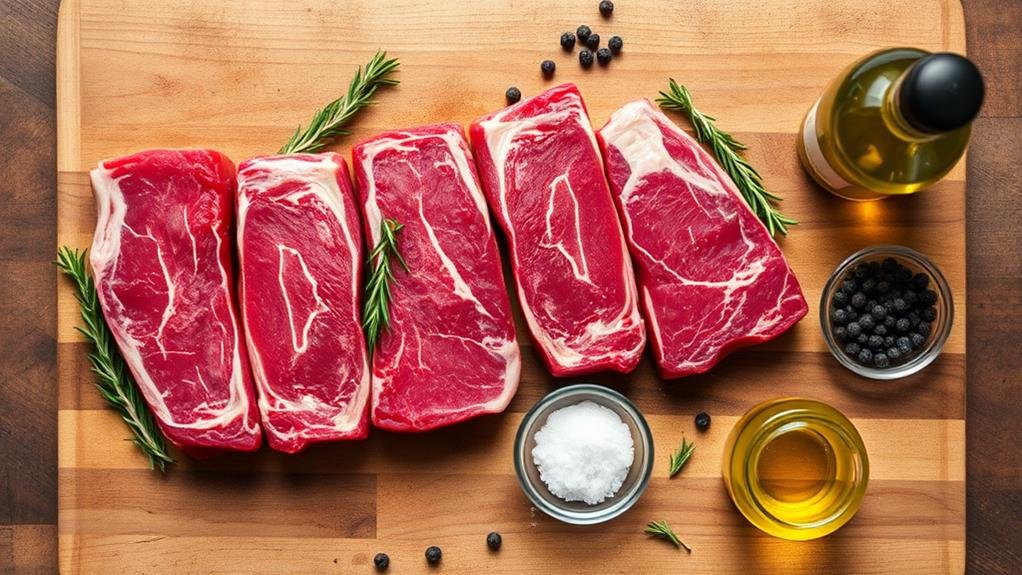
With our experienced short ribs ready, we'll now move on to properly sealing them for their lengthy, flavor-building bath. Let's begin by laying out our vacuum-sealing bags and placing each seasoned rib inside, making sure they're arranged in a single layer without overcrowding. We'll add a sprig of fresh rosemary and a light drizzle of olive oil to each bag, positioning them so they make direct contact with the meat.
If we're using a vacuum sealer, we'll place the open end of the bag into the machine and activate it to remove all air. For those using the water displacement method with zip-lock bags, we'll submerge the bag slowly into water while keeping the seal above the waterline, letting the water pressure push out the air before sealing. It's important we remove as much air as possible to prevent the bags from floating during cooking.
We'll check each sealed bag by gently pressing to make sure there are no air pockets trapped around the meat. If we notice any, we'll reseal the bag. Remember, a proper seal is vital for even cooking and maximum flavor development.
Step 3. Set Water Bath Temperature
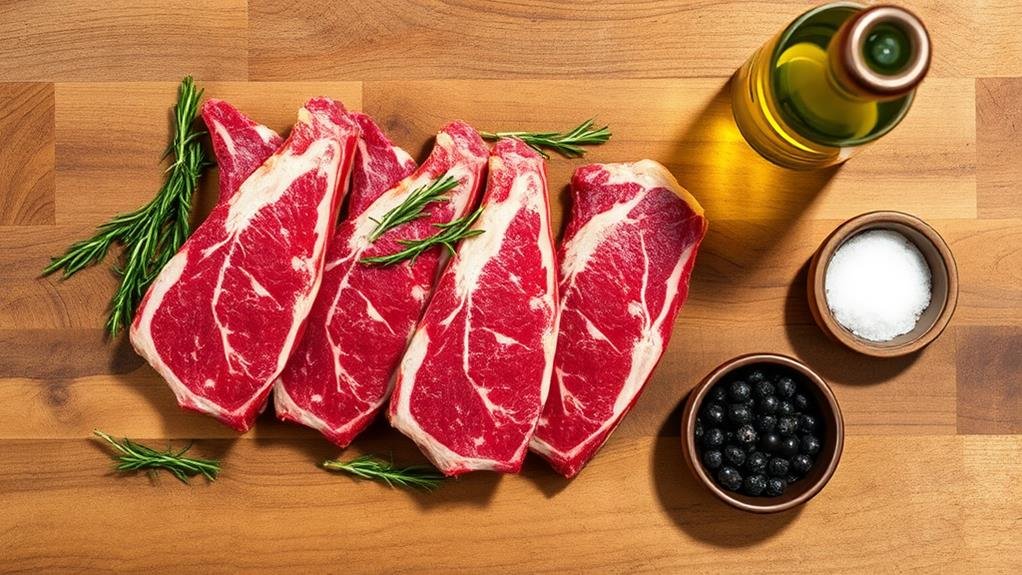
Setting the perfect temperature is necessary for achieving our desired level of doneness in sous vide short ribs. We'll set our immersion circulator to maintain a precise temperature throughout the 48-hour cooking process. For tender, juicy results, we're aiming for specific temperatures based on our preferred doneness level.
Let's explore the most common temperature settings for sous vide short ribs:
- 131°F (55°C) – Medium-rare: Our recommended temperature, producing a pink center with ideal tenderness
- 140°F (60°C) – Medium: Slightly firmer texture with less pink, but still tender
- 149°F (65°C) – Medium-well: Traditional braised texture, fully cooked with no pink
- 165°F (74°C) – Well-done: Falls off the bone, similar to traditional braising
Once we've selected our temperature, we'll fill our water bath with enough water to fully submerge our bagged short ribs. We'll attach our immersion circulator to the container's side and turn it on, allowing it to heat the water to our target temperature before adding our meat. It's essential that we don't add our ribs until the water has reached the desired temperature to guarantee consistent cooking throughout the process.
Step 4. Submerge Bag for 48 Hours
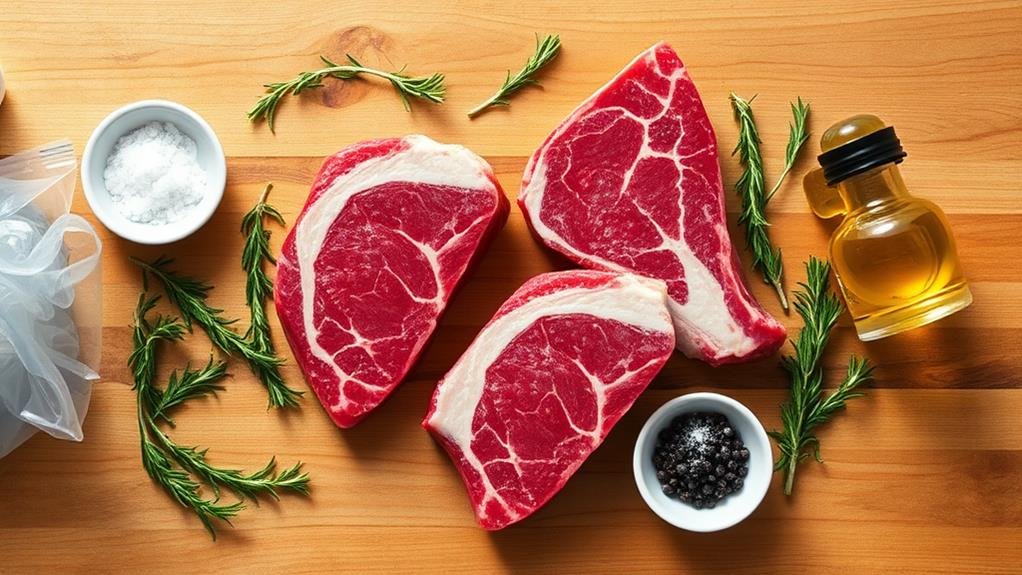
Now that our water bath has reached the perfect temperature, we'll begin the 48-hour cooking process that transforms our short ribs into tender, flavorful meat.
Let's carefully lower our sealed bag into the water bath, ensuring it's fully immersed. If you notice any floating, use a sous vide weight or kitchen spoon to keep the bag down.
During the next 48 hours, we'll want to check the water level periodically, especially during the first few hours. Add more hot water if needed to sustain the proper level, as some evaporation will occur.
While it's not necessary to stir or flip the bag, we should make sure our circulator continues running smoothly throughout the cooking process.
Don't worry if the meat's color changes to a paler shade during cooking – this is normal. The extended cooking time allows the collagen in the short ribs to break down completely, resulting in that sought-after tender texture.
If you need to delay serving after the 48-hour mark, you can safely hold the ribs in the bath for up to 4 additional hours without affecting quality. Just remember to maintain the same temperature throughout the entire process.
Step 5. Sear and Serve Immediately
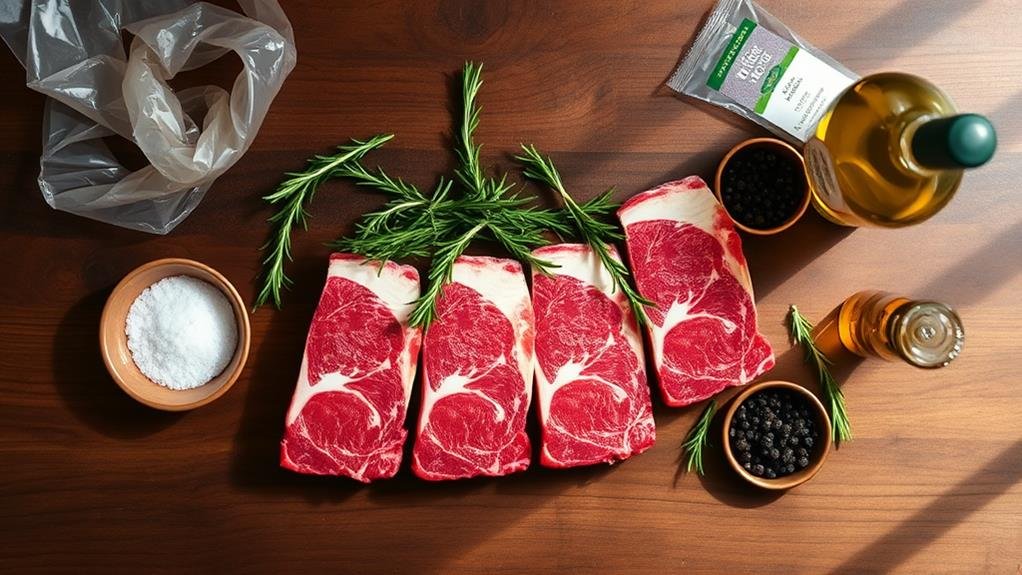
After 48 hours of sous vide cooking, removing and searing the short ribs properly becomes vital for that perfect finish. We'll want to carefully remove the ribs from their sealed bag and pat them completely dry with paper towels. Any excess moisture will prevent proper searing and could lead to steaming instead of achieving that desirable crust.
Let's heat a cast-iron skillet or heavy-bottomed pan until it's smoking hot. Add a thin layer of oil with a high smoke point, then place our dried short ribs in the pan. We'll need to sear each side for about 2 minutes until we achieve a deep brown crust. During this process, let's pay attention to these key details:
- Keep the heat consistently high throughout the searing process
- Don't overcrowd the pan – work in batches if necessary
- Resist the urge to move the meat around; let it develop a crust
- Use tongs to sear the edges briefly for complete caramelization
Once we've achieved that perfect sear, we'll serve our short ribs immediately. The contrast between the crispy exterior and the tender, perfectly cooked interior makes this dish absolutely irresistible.
Conclusion
We've mastered the magnificent method of preparing perfectly tender, precisely cooked sous vide beef short ribs. Through this time-tested technique, we're transforming tough cuts into succulent, savory sensations that'll make any meal memorable. Whether we're cooking for casual comfort or divine dining, these richly rendered ribs showcase the beauty of blending traditional taste with modern mastery. Let's savor every sensational bite of this fool-proof feast.
