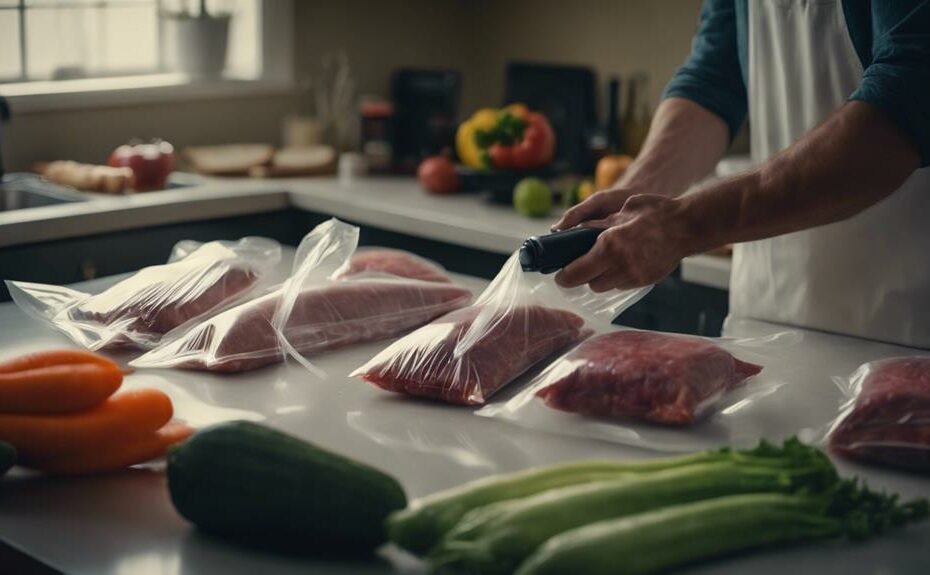
Vacuum sealing leftovers is a smart way to make your food last longer and keep it tasting great. To do this effectively, make sure to use BPA-free, food-grade bags that work with your sealer. Label each bag with the name of the dish and the date so you can easily keep track. Before sealing, divide your leftovers into individual portions to control serving sizes and reduce waste. For delicate items like berries, it's best to pre-freeze them to maintain their shape and texture. Keep moist foods dry by patting them before sealing, and use liquid trays to prevent any spills. For vegetables, blanching them before sealing will help retain their color and nutrients. By experimenting and learning more, you'll discover the best ways to vacuum seal different types of foods for optimal results.
Benefits of Vacuum Sealing
Have you ever wondered why vacuum sealing leftovers is so effective for preserving their freshness and taste? The secret lies in the benefits of vacuum sealing. By removing air from the storage bags, you greatly extend the shelf life of your leftovers, sometimes up to five times longer than traditional storage methods. This process keeps your food in an ideal state, preserving its flavors, nutrients, and moisture.
One of the primary benefits of vacuum sealing is its ability to prevent freezer burn. Without air, your leftovers won't suffer from the icy crystals that form on improperly stored food. This means your meals will taste just as delicious as when they were first prepared. Vacuum sealing not only enhances the longevity of your food but also reduces waste. By keeping your leftovers fresh for a longer period, you're less likely to throw away spoiled food, which saves you money and helps the environment.
Additionally, vacuum sealing makes reheating convenient and quick. You can store and reheat your meals with ease, ensuring a hassle-free dining experience. Embrace vacuum sealing, and you'll enjoy fresher, tastier leftovers with minimal effort.
Choosing the Right Bags
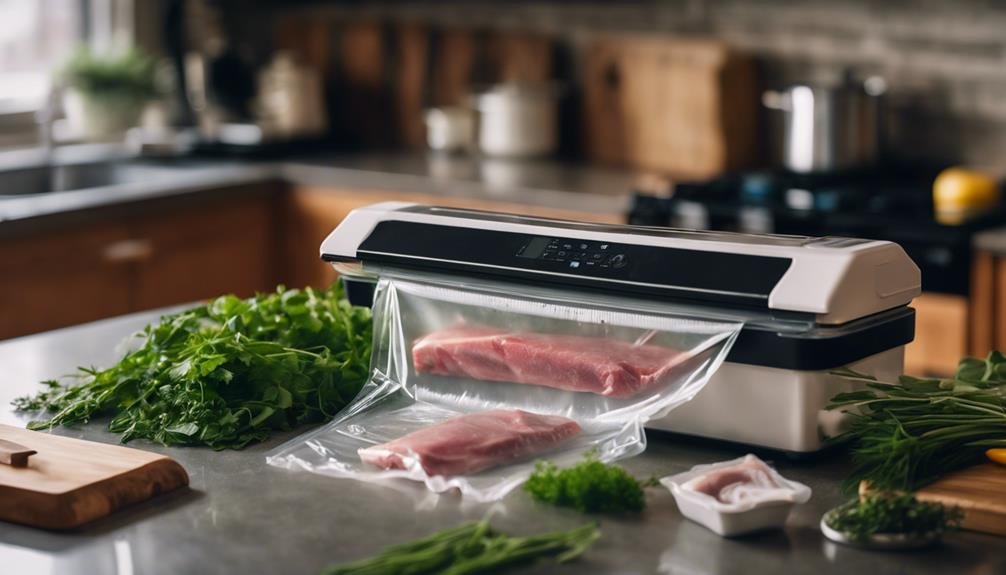
When selecting the appropriate bags for vacuum sealing, make sure they're compatible with your specific vacuum sealer model for a proper seal. Always check the manufacturer's guidelines to guarantee the vacuum seal bags you choose will work seamlessly with your device. This compatibility is essential for achieving an airtight seal that keeps your leftovers fresh.
Opt for BPA-free and food-grade vacuum seal bags. These bags are safe for storing food and won't leach harmful chemicals into your meals. Durability is another vital factor. Choose bags that are puncture-resistant to prevent leaks and maintain the freshness of your leftovers. Look for vacuum seal bags that are thick and sturdy to withstand the rigors of freezing, boiling, or microwaving.
Consider the portion sizes you'll be storing. Vacuum seal bags come in various sizes, making it easy to find the perfect fit for different types of leftovers. Whether you're sealing a small portion of vegetables or a large piece of meat, having the right size bag ensures an efficient and secure seal.
Lastly, explore vacuum seal bags with special features like zipper closures. These make resealing leftovers easy after you've accessed a portion, helping to maintain freshness until the last bite.
Labeling and Dating

Once you've chosen the right bags, labeling and dating your vacuum-sealed leftovers is vital to keeping track of their freshness. It's imperative to write down the dish name and the date of sealing on each bag. This simple step helps you avoid confusion later and guarantees that you consume your leftovers before they spoil.
Proper labeling not only tracks the freshness of your meals but also plays an important role in organization. By clearly identifying each bag, you can easily find what you're looking for, making meal planning and preparation much more efficient. This way, you can quickly spot the oldest items in your fridge or freezer and use them first, preventing food waste.
Avoid vague labeling like 'soup' or 'casserole.' Instead, be specific: write 'Chicken Soup 10/12/23' or 'Beef Casserole 10/15/23.' Clear labeling reduces the risk of consuming expired or spoiled leftovers, keeping your meals safe and delicious.
Pre-Freezing Delicate Items
To keep delicate items like berries and sliced fruits from getting crushed, pre-freeze them before vacuum sealing. This step is crucial because it guarantees that fragile foods like raspberries, blueberries, and sliced peaches maintain their shape and texture. Simply spread the items in a single layer on a baking sheet and place them in the freezer for a few hours until they are firm.
By pre-freezing delicate items, you also reduce the risk of excessive moisture accumulation during the vacuum sealing process. Moisture can cause freezer burn, which negatively impacts the quality and taste of your food. Pre-freezing helps lock in freshness and preserves the food's original state, making it look and taste better when you decide to use it later.
This technique is especially useful for those who want to optimize the overall quality and longevity of their food. Pre-freezing delicate items is a simple yet effective step that ensures your berries and sliced fruits remain intact and ready to enjoy anytime. Incorporate this method into your vacuum sealing routine, and you'll notice a significant improvement in the preservation of delicate foods.
Portioning Leftovers
Dividing your leftovers into individual portions before vacuum sealing can make reheating much simpler and more convenient. When you portion leftovers, you guarantee that each serving is just the right size for one meal. This practice helps you control serving sizes, which is especially useful if you're monitoring your diet or feeding family members with different appetites.
Using smaller vacuum seal bags or containers for these individual portions is key. Not only does this make it easier to grab a quick meal, but it also reduces food waste. When leftovers are stored in large batches, you might find yourself reheating more than you need, leading to wasted food. By portioning leftovers into single servings, you only take out what you'll eat, keeping the rest fresh for later.
For better organization, label each portioned bag with the dish name and date. This way, you can easily identify what's inside and how long it's been stored, reducing the risk of overlooked and spoiled food. Proper portioning also makes your fridge or freezer more organized, so you can find what you need without digging through a cluttered mess.
Sealing Fruits and Vegetables
Preserving the freshness and quality of your produce, vacuum sealing fruits and vegetables is an effective method to extend their shelf life. When you vacuum seal, you remove the air that can cause spoilage, preserving flavor, texture, and nutrients for longer periods. Here are some key points to keep in mind:
- Pre-freeze berries: To prevent crushing and maintain their shape, pre-freeze fruits like berries before vacuum sealing.
- Essential sealed produce: Once vacuum sealed, fruits and vegetables can last in the freezer for extended periods without compromising quality.
- Avoid spoilage: Vacuum sealing dry goods like beans, nuts, and milled products helps maintain freshness and prevents spoilage.
- Maintain nutrients: By sealing your fruits and vegetables, you can retain their essential nutrients, ensuring your meals remain healthy.
The process is straightforward. Clean and dry your produce thoroughly before sealing. For fruits, pre-freezing is an important step to avoid squashing them during the vacuum process. For vegetables, make sure they are dry to prevent ice crystals from forming. Once sealed, store your vacuum-sealed bags in the freezer to extend shelf life and keep your produce in prime condition. By following these simple steps, you'll extend the shelf life of your fruits and vegetables efficiently.
Blanching Vegetables

Blanching vegetables is a key step in preparing them for vacuum sealing, guaranteeing they maintain their flavor, color, and texture. By briefly cooking your vegetables in boiling water or steam, you're able to deactivate enzymes that would otherwise cause them to deteriorate. This initial cooking process is vital for preserving their quality over time.
Once you've blanched your vegetables, quickly plunge them into ice water. This immediate cooling stops the cooking process, locking in the vegetables' nutritional value and crispness. Skipping this step can cause your vegetables to continue cooking, resulting in mushy, less nutritious food.
The proper blanching times are essential for effective preservation. These times vary depending on the type of vegetable. For instance, leafy greens might need just a minute or two, while denser vegetables like carrots may require up to five minutes. It's important to follow recommended blanching times to ensure that each vegetable retains its best qualities.
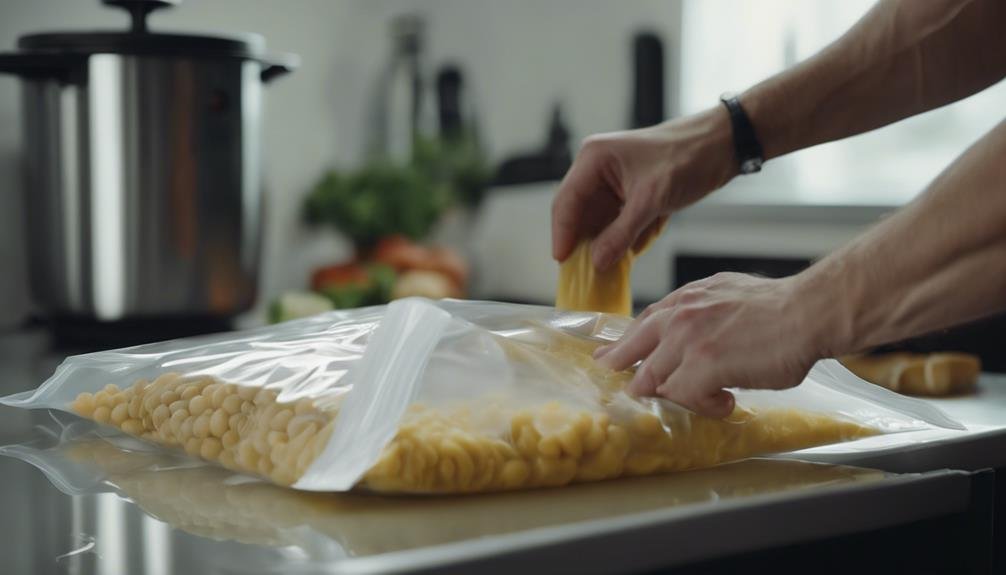
Sealing Dry Goods
Vacuum sealing dry goods like rice, flour, and coffee is an effective way to extend their shelf life by preventing exposure to air and moisture. When you use a vacuum sealer, you can keep these foods fresh for up to two years or more. This method is great for maintaining the flavor and quality of your food.
To get started, you'll need vacuum seal bags designed specifically for dry goods. These bags guarantee a tight seal, offering the best protection against external elements. Here are some tips to make the process easier and more efficient:
- Portion Control: Seal dry goods in smaller portions to reduce the risk of spoilage and make them easier to use.
- Labeling: Always label your vacuum-sealed bags with the date to keep track of freshness.
- Avoid Overfilling: Leave some space at the top of the bags to secure a tight seal.
- Storage: Store sealed bags in a cool, dark place to maximize their shelf life.
Handling Liquids and Moist Foods
When sealing liquids and moist foods, it is imperative to use vacuum seal bags designed with liquid trays or channels to prevent spills and leaks. For soups or sauces, this feature is a lifesaver. Before you start sealing liquid-based leftovers like stews or casseroles, freeze them first. This minimizes moisture absorption and makes the sealing process much smoother.
For moist foods such as cooked pasta or steamed vegetables, pat them dry before sealing. This step is vital to maintain their freshness and prevent mold growth. Don't forget to leave extra space at the top of the bag. This allows for expansion and helps you avoid any potential leaks during the sealing process.
If you're working with liquids or moist foods, consider using a specialized vacuum sealer with a pulse function. This feature gives you better control over the sealing process, ensuring you don't crush delicate items or cause unwanted spills. The pulse function lets you stop and start the vacuuming, making it easier to handle tricky foods.
Cooking With Vacuum Sealed Foods
After properly sealing your leftovers, you can effortlessly reheat them without losing flavor or freshness. Vacuum sealing not only extends their shelf life but also preserves the integrity of your meals. Here are some effective methods for cooking with vacuum-sealed foods:
- Microwave: Place the vacuum bag in a microwave-safe dish, puncture a few holes in the bag, and heat your meal. This method is quick and maintains moisture.
- Oven: Preheat the oven, then place the vacuum-sealed food in an oven-safe dish. Cook at a lower temperature to prevent overcooking.
- Sous Vide: Submerge the vacuum-sealed bag in a water bath at a controlled temperature. This technique ensures even heating and perfect texture.
- Boiling Water: For a simple reheat, place the vacuum bag in boiling water. This method is great for soups and stews.
Conclusion
You might think vacuum sealing leftovers is too much hassle, but imagine opening your freezer to perfectly preserved meals, ready to eat. You'll save money, reduce waste, and enjoy fresher food. With a few simple steps—choosing the right bags, labeling, and pre-freezing—you'll streamline your kitchen routine. Give it a try; you'll wonder how you ever managed without it. Start vacuum sealing today and see the delicious difference for yourself!