If you’re experiencing issues with your Foodsaver vacuum sealer not sealing properly, don’t worry – you’re not alone. Vacuum sealing machines can encounter problems from time to time, but there are several ways to troubleshoot the issue and ensure better sealing. In this article, we’ll go over common vacuum sealer problems and provide tips for fixing them.
But first, let’s explore some reasons why you might be experiencing sealing issues. It could be due to improper bag placement, bag wrinkles or folds, a dirty seal bar or gasket, or even using low-quality bags. By identifying the cause, you can take the steps necessary to fix the issue and ensure your foods stay fresh for longer.
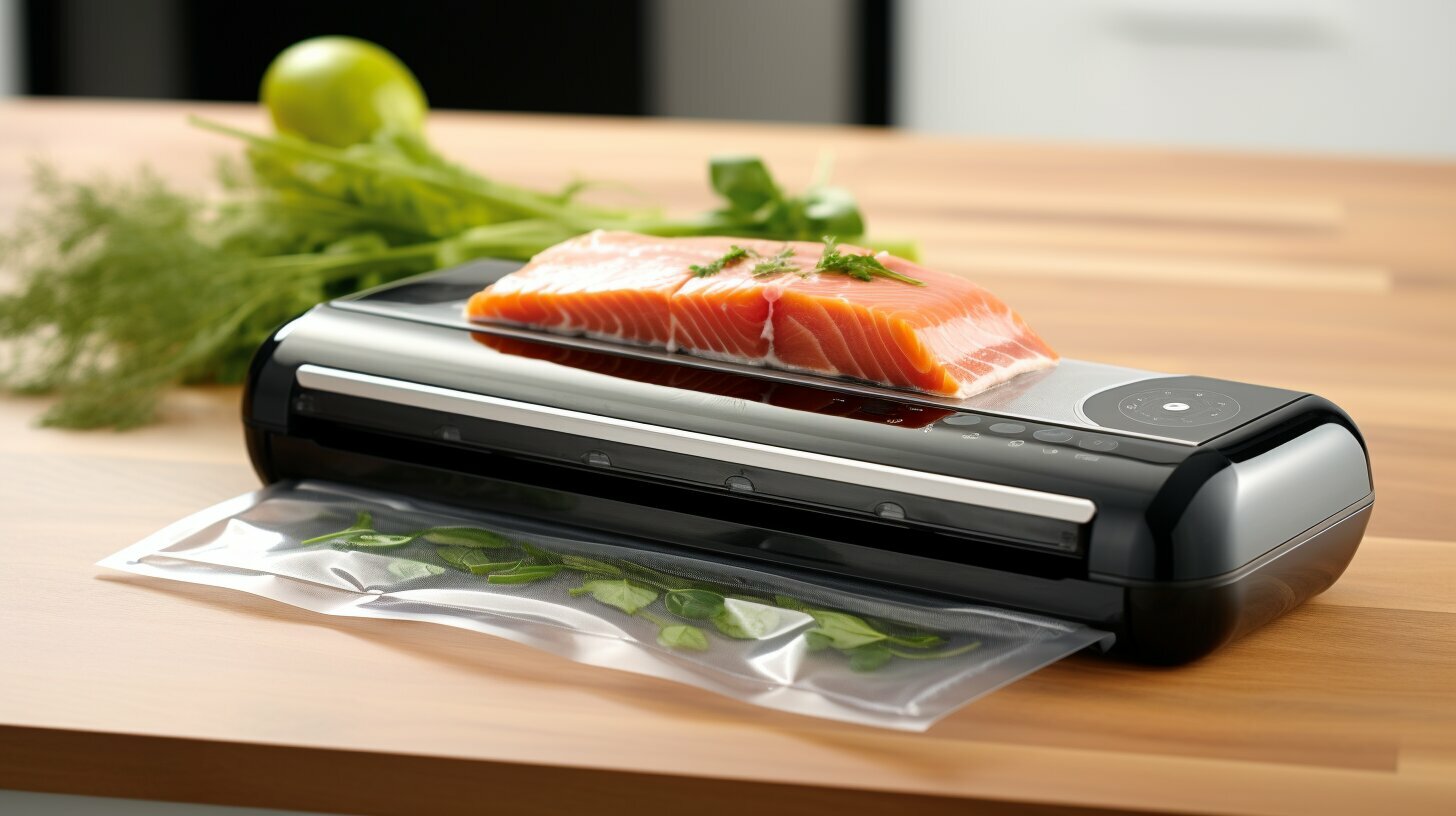
Common Vacuum Sealer Problems
While vacuum sealers are an incredibly useful appliance in any kitchen, they can sometimes present with issues that may require troubleshooting. Some of the most common vacuum sealer problems include:
| Problem: | Possible Solution: |
|---|---|
| The vacuum sealer is not sealing properly. | Check for proper bag placement, clean and maintain the vacuum sealer, examine the seal bar and gasket, adjust the sealing time and pressure settings, ensure proper vacuuming, use high-quality bags, and test the sealed bags. If none of these steps work, contact customer support. |
| The vacuum sealer is not working at all. | Check for power source, ensure proper cord placement, clean and maintain the vacuum sealer, examine the seal bar and gasket, adjust the sealing time and pressure settings, ensure proper vacuuming, use high-quality bags, and test the sealed bags. If none of these steps work, contact customer support. |
| The vacuum sealer is making too much noise. | Clean and maintain the vacuum sealer, examine the seal bar and gasket, and ensure proper vacuuming. |
| The vacuum sealer is not vacuuming properly. | Ensure proper bag placement, clean and maintain the vacuum sealer, examine the seal bar and gasket, and adjust the sealing time and pressure settings. |
| The vacuum sealer is overheating. | Allow the vacuum sealer to cool down before using it again, clean and maintain the vacuum sealer, and examine the seal bar and gasket. |
If you encounter any of these common issues with your vacuum sealer, don’t worry! The solutions are often simple and easily implemented by following the steps outlined in the next sections.
Check for Proper Bag Placement
One of the most common reasons for a Foodsaver vacuum sealer to not properly seal a bag is due to the improper placement of the bag. When placing the bag into the sealer, ensure that it is placed in the sealing area properly to avoid any air leaking into the bag during the sealing process. It is important to note that the sealing area may differ depending on the type of sealer being used.
If you are having trouble with the sealer not properly sealing the bag, remove the bag and inspect it to ensure that it was placed in the sealing area correctly. Make sure that the open end of the bag is flat and free of any wrinkles or folds. Additionally, ensure that the bag is not overfilled, as this can also prevent proper sealing.
If you continue to experience issues with bag placement, consult the user manual or contact the manufacturer for assistance.
Clean and Maintain the Vacuum Sealer
Regular maintenance of your Foodsaver vacuum sealer is essential to ensure it functions correctly and seals bags properly. Here are some tips for cleaning and maintaining your sealer:
| Step | Instructions |
|---|---|
| Step 1 | Always unplug the sealer before cleaning it. |
| Step 2 | Use a damp cloth or sponge to wipe the sealer’s exterior and interior, removing any dirt or grease build-up. Avoid using abrasive cleaners as they can scratch the sealer’s surface. |
| Step 3 | Clean the seal bar and gasket using a soft-bristled brush or cloth. Make sure to remove any food particles or debris that may have accumulated on the seal bar or gasket. |
| Step 4 | Check the vacuum channel for any clogs, and clear them if necessary. You can use a small brush or pipe cleaner to clear out any debris. |
| Step 5 | Replace the foam gasket if it shows signs of wear or damage. You can purchase replacement gaskets from Foodsaver or other online retailers. |
| Step 6 | After cleaning, let the sealer dry completely before plugging it back in and using it again. |
Note: It is essential to follow the manufacturer’s guidelines for cleaning and maintenance, as this may vary depending on the model and make of your sealer. Refer to the user manual for detailed instructions on cleaning and maintenance.
Common Issues with Foodsaver Vacuum Sealer Maintenance
Some common issues that you may encounter while maintaining your Foodsaver vacuum sealer include:
- The seal bar falling out of place
- The gasket becoming worn or damaged
- The sealer not turning on or off
If you experience any of these issues, refer to the user manual for troubleshooting tips. If the problem persists, contact Foodsaver customer support for assistance.
Check for Bag Wrinkles or Folds
One of the most common causes of a vacuum sealer not sealing bags properly is wrinkled or folded bags. When the bag has wrinkles or folds, it becomes difficult for the vacuum sealer to create an airtight seal, resulting in air leaks and reduced vacuum pressure.
To fix this problem, check the bag for any wrinkles or folds before inserting it into the vacuum sealer. Smooth out the bag by gently pressing it against a flat surface to remove any wrinkles or folds. This will ensure that the vacuum sealer can create a perfect seal on the bag.
If you notice that the bag has wrinkles or folds after it has been inserted into the vacuum sealer, you can try to adjust the bag manually to remove any creases. Alternatively, you can remove the bag from the vacuum sealer and start again with a new bag to avoid any sealing issues.
Examine the Seal Bar and Gasket
If your Foodsaver Vacuum Sealer is still not sealing properly even after checking the bag placement, cleaning and maintaining the machine, checking for bag wrinkles or folds, and adjusting the sealing time and pressure settings, it may be time to examine the seal bar and gasket.
The seal bar is the part of the machine that creates the seal on the bag. Over time, it may become worn or damaged, preventing it from creating a proper seal. The gasket is the rubber piece that surrounds the seal bar and helps create an airtight seal. If the gasket is dirty or damaged, it may also prevent the machine from sealing properly.
| Steps to Examine the Seal Bar and Gasket: |
|---|
| 1. Turn off and unplug the Foodsaver Vacuum Sealer. |
| 2. Open the machine and remove the drip tray. |
| 3. Locate the seal bar and examine it for any signs of wear or damage, such as cracks or discoloration. |
| 4. Check the gasket for any damage or debris. Use a soft, damp cloth to clean it if necessary. |
| 5. If the seal bar or gasket is damaged, contact Foodsaver Customer Support for repair or replacement options. |
Regularly examining the seal bar and gasket can help prevent sealing issues and ensure your Foodsaver Vacuum Sealer is working properly.
Adjust the Sealing Time and Pressure Settings
If you’re still experiencing sealing problems with your Foodsaver vacuum sealer, it may be time to adjust the sealing time and pressure settings. Different foods and bags require different sealing times and pressures, so it’s important to adjust these settings accordingly.
Consult your user manual for instructions on how to adjust the sealing time and pressure settings on your specific model. In general, you can usually adjust these settings using the control panel or buttons on the vacuum sealer.
Keep in mind that if you increase the sealing time and pressure too much, you could damage the bag or food. It’s always a good idea to test the settings on a small piece of bag before vacuum sealing your food.
Ensure Proper Vacuuming
Proper vacuuming is an essential step to ensure that your Foodsaver vacuum sealer achieves the best results possible. In some cases, the machine may fail to seal properly due to inadequate vacuuming. Here are some tips to help you ensure proper vacuuming:
- Check that the bag is correctly placed: Make sure that the bag is correctly positioned to achieve the best vacuuming results. It should be placed in the vacuum channel and aligned with the vacuum slot for proper suction.
- Check for wrinkles or folds in the bag: Ensure that the bag is flat and has no wrinkles or folds that could hinder proper vacuuming. This is particularly important for bags that have been reused.
- Ensure that the bag is sealed properly: Before vacuuming, make sure that the bag is sealed correctly. Any gaps or holes in the seal can cause air to escape and hinder the vacuuming process.
- Use the pulse vacuum feature: The pulse vacuum feature is useful for delicate foods that require less vacuuming. It allows you to control the amount of vacuuming applied to the bag and ensures that the food does not get crushed.
By following these steps, you can ensure that your Foodsaver vacuum sealer achieves optimum vacuuming and sealing results, thus preventing sealing problems in the future.
Use High-Quality Bags
One of the most common reasons for a Foodsaver vacuum sealer not sealing properly is the use of low-quality bags. To ensure a proper seal, always use high-quality bags that are designed for vacuum sealing.
Cheap bags are more likely to have wrinkles or folds that can prevent a tight seal, and they may not have the same air-tight properties as high-quality bags. Investing in quality bags will save you time and money in the long run, as you won’t have to constantly reseal or replace improperly sealed bags.
Pro tip: Look for bags with multiple layers of material, which will provide added protection against freezer burn and keep your food fresher for longer.
Test the Sealed Bags
After troubleshooting the Foodsaver vacuum sealer, it is essential to test the bags to check if they are sealed properly. Testing the bags ensures food remains fresh for a more extended period. Below are steps to test the bags:
- Fill a sink or a bowl with water.
- Put the sealed bag in the water. Ensure the bag is fully submerged.
- Observe if any air bubbles come out of the bag. If there are air bubbles, it indicates a problem with the seal.
- Check for any leaks or openings in the bag by squeezing it. If the bag is sealed correctly, it should not allow water to penetrate through.
- If the bag has any leaks or openings, discard it and seal the food in a new bag.
It is essential to test every bag before storing food in it. This practice ensures that the vacuum sealer properly seals all bags and prevents food spoilage.
Contact Foodsaver Customer Support
If none of the troubleshooting tips helped resolve your Foodsaver Vacuum Sealer sealing issues, it is best to contact the manufacturer’s customer support team for further assistance.
You can reach Foodsaver customer support through their website, email, or phone. They have a dedicated team of professionals who can help you troubleshoot the problem and guide you through the repair process if necessary.
Before contacting customer support, make sure to have all necessary information regarding your Foodsaver Vacuum Sealer, including the model number and a description of the issue you are facing.
With the help of Foodsaver customer support, you can quickly get back to using your vacuum sealer to preserve your food and prevent waste.
Frequently Asked Questions about Foodsaver Vacuum Sealer Sealing Issues
Below are some commonly asked questions about Foodsaver vacuum sealer sealing issues:
1. Why is my Foodsaver vacuum sealer not working?
If your Foodsaver vacuum sealer is not working, it could be due to a variety of reasons, such as improper bag placement, a dirty seal bar or gasket, or incorrect vacuuming settings. Check out the troubleshooting tips in this article to help identify and fix the issue.
2. Why is my Foodsaver vacuum sealer not sealing properly?
There are several reasons why your Foodsaver vacuum sealer may not be sealing properly, including bag wrinkles or folds, a damaged seal bar or gasket, or incorrect vacuuming settings. Follow the steps in this article to help troubleshoot and resolve the issue.
3. Can I use regular plastic bags with my Foodsaver vacuum sealer?
No, it is not recommended to use regular plastic bags with a Foodsaver vacuum sealer as they are not designed for vacuum sealing and may not hold up under the vacuum pressure. It is best to use high-quality bags specifically designed for vacuum sealing.
4. How often should I clean and maintain my Foodsaver vacuum sealer?
It is recommended to clean and maintain your Foodsaver vacuum sealer after every use. This includes wiping down the seal bar and gasket, checking for any debris or food particles, and ensuring the machine is stored properly. Refer to the “Clean and Maintain the Vacuum Sealer” section of this article for more detailed instructions.
5. What should I do if I cannot resolve the sealing issue on my own?
If you have followed the troubleshooting tips in this article and still cannot resolve the sealing issue with your Foodsaver vacuum sealer, it may be necessary to contact Foodsaver customer support for further assistance. Visit their website or contact their customer support team for more information.