Like Columbus venturing into uncharted waters, I’ve been experimenting with sous vide cooking at home and have questions about its safety. Is cooking food in plastic bags at lower temperatures really safe, or am I inviting foodborne illness to dinner? After several successful attempts with steak and chicken, I’m still cautious about temperature guidelines and bacterial growth. If you’ve wondered whether this trendy cooking method deserves a permanent spot in your kitchen, you might find my discoveries surprising.
What Is Sous Vide and Why Is It Safe for Home Cooking?
How did sous vide cooking become such a game-changer in home kitchens?
I think it’s because it makes precision cooking accessible to everyone, basically, not just professional chefs.
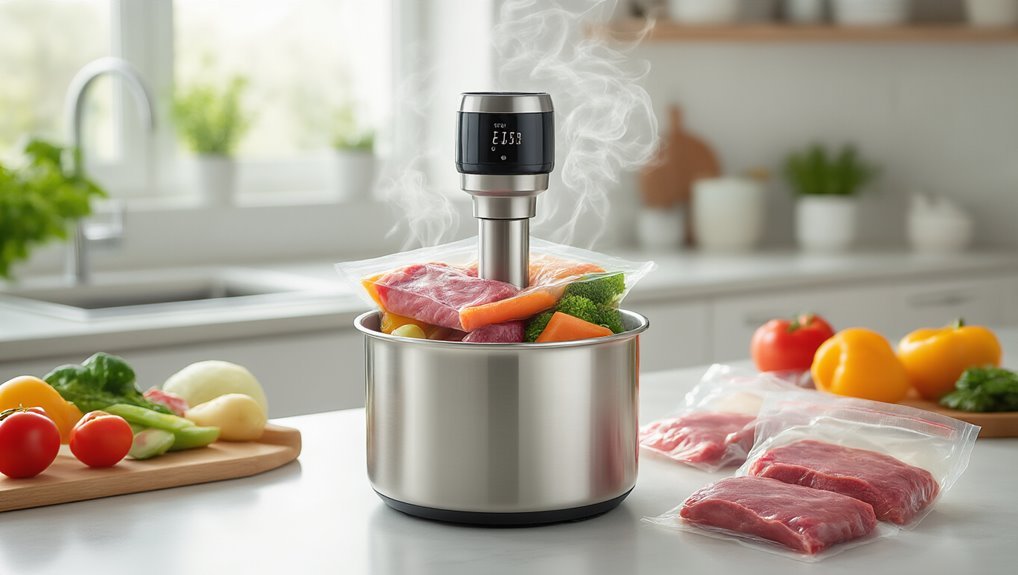
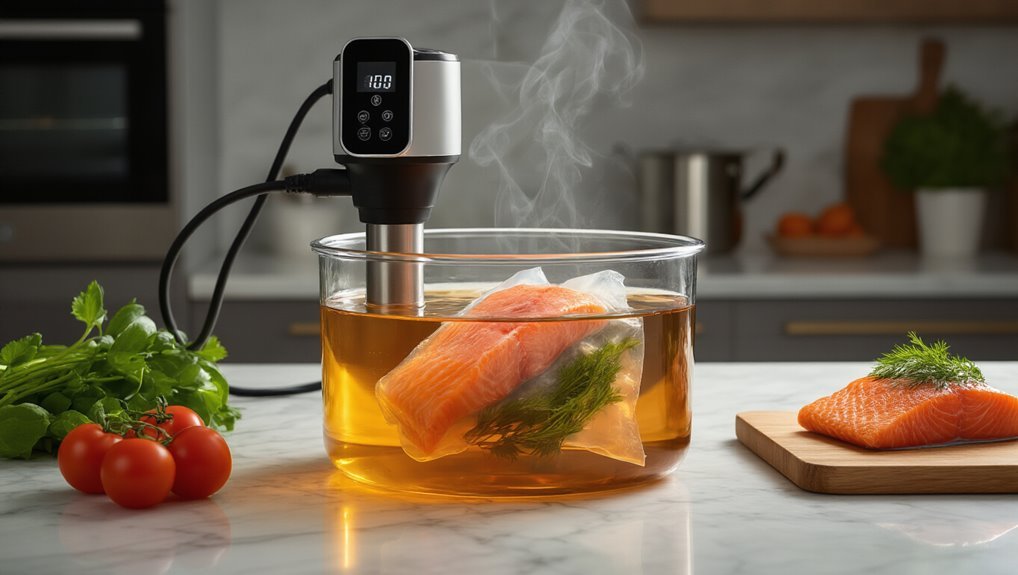
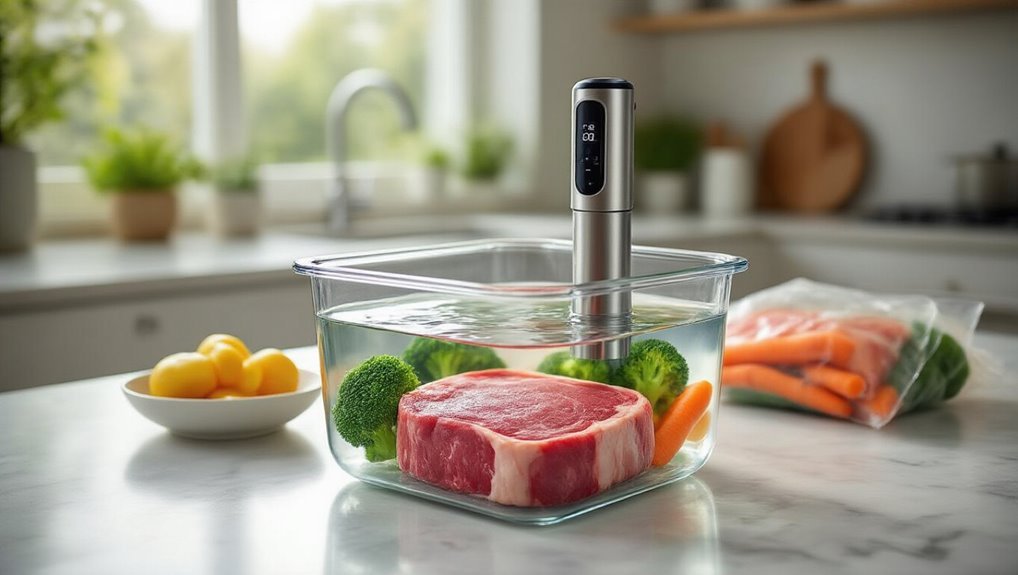
Basically, sous vide involves sealing food in food-grade plastic bags and cooking it in a precisely controlled water bath between 65-95°C (149-203°F).
Despite some myth debunking needed, sous vide is actually quite safe when done properly.
The controlled temperatures actually pasteurize food over time—for example, at 136°F, food becomes safe after about 69 minutes.
This precision in temperature control also enhances heat transfer efficiency precise temperature control.
Equipment costs have dropped dramatically too.
You really only need an immersion circulator that clips to any pot you already own.
I’ve found that using proper BPA-free bags and following time/temperature guidelines makes this one of the safest cooking methods around.
No more overcooked meat!
How to Choose Food-Safe Bags and Equipment for Sous Vide
Now that we’ve established sous vide as a safe cooking method, let’s talk about what actually touches your food—the bags and equipment you’ll use.
For peace of mind, choose BPA-free options like FDA-approved bags that are PVC-free and safe for fatty foods.
I can’t stress enough how important bag material is when cooking sous vide.
Always choose food-grade, BPA-free options like PA/PE composite bags or high-quality zipper-locks.
Cheaper PVC wraps? They’re a definite no-go, especially with fatty foods where chemicals can leach into your meal.
For equipment, I typically pair my immersion circulator with a deep pot.
Whatever setup you choose, make sure it maintains precise temperature control—that’s really the whole point of sous vide, right?
And don’t forget about seal quality!
A proper seal prevents water from getting in and, more importantly, minimizes any risk of anaerobic bacteria.
Trust me, a leaky bag ruins more than just dinner.
Safe Temperature and Time Guidelines for Sous Vide Cooking
I’m really picky about temperature control when I cook sous vide because staying outside that 4-60°C danger zone isn’t just a suggestion—it’s critical for food safety.
This approach reflects foundational pasteurization science, linking time and temperature to safe outcomes.
For most proteins, I aim between 55-90°C, though if I’m cooking below 54.5°C, I make sure to properly sear the exterior or follow pasteurization guidelines to kill surface bacteria.
When cooking chicken at lower temps like 58°C, I’ll watch the clock carefully, knowing that I need about 69 minutes at that temperature to reach proper pasteurization—it’s all about balancing that temperature-time relationship to guarantee what I’m serving is safe.
Pasteurization Principles
Pasteurization principles form the backbone of safe sous vide cooking, and understanding them can help you avoid foodborne illness while enjoying this cooking method.
I’ve found that thermal death of bacteria isn’t instantaneous—it’s actually a gradual process requiring specific time-temperature combinations.
When you’re cooking sous vide at lower temperatures (like 58°C), you’ll need about 69 minutes to achieve pathogen reduction, while higher temps work faster.
I think what’s really important to remember is that once food is properly pasteurized, your safety clock basically resets.
However—and this is vital—pasteurization won’t neutralize toxins that formed before cooking.
That’s why I always recommend starting with fresh ingredients and maintaining proper sealing throughout the process to prevent post-pasteurization contamination.
Temperature-Time Safety Chart
Understanding these pasteurization principles leads us to the practical heart of sous vide cooking: a reliable temperature-time safety chart.
I’ve found that chart accuracy is critical when ensuring food safety in the danger zone (40-140°F).
For chicken, you’ll need about 140°F for 1-4 hours, but I generally stick to the higher end for peace of mind.
The sweet spot at 136°F requires a full 69 minutes—no shortcuts there!
When designing your cooking schedule, pay attention to interval sizing.
Each degree makes a difference!
At temperatures below 130°F, you’ll absolutely need to sear first, then chill rapidly afterward.
I think of these charts as my sous vide insurance policy—they’re not just guidelines, they’re the difference between a delicious meal and, well, potential food poisoning.
Danger Zone Considerations
Why do we need to pay such close attention to the “danger zone” in sous vide cooking? Well, it’s simple: bacteria love temperatures between 40°F and 140°F, which happens to overlap with many sous vide cooking temperatures.
I’m always careful about pathogen growth when cooking sous vide.
If you’re cooking below 130°F, you should definitely sear the meat first to kill surface bacteria. Honestly, I think exposure time is just as important as temperature—at 136°F, you’ll need about 69 minutes to achieve pasteurization.
What I’ve learned from experience is that sous vide is perfectly safe when you follow proper guidelines.
The beauty of this method—er, what makes it so reliable—is that you can achieve food safety through various time-temperature combinations. Just remember: higher temps need less time!
Are Sous Vide’s Low Cooking Temperatures Really Safe?
I know many home cooks worry about sous vide’s lower cooking temperatures, but there’s actually solid science behind why it’s safe.
When you maintain specific time-temperature combinations (like holding chicken at 136°F for 69 minutes), you’re effectively pasteurizing the food and eliminating harmful bacteria just as thoroughly as with higher-heat methods.
That said, you’ll still need to follow proper procedures – including rapid cooling if not eating immediately and searing the outside of meats cooked below 130°F – to stay completely food-safe at home.
Temperature-Time Safety Relationship
How often have you wondered if sous vide’s seemingly low cooking temperatures are actually safe? I certainly did when I first started. The key lies in understanding the relationship between temperature and dwell time. Unlike traditional cooking, sous vide relies on maintaining precise temperatures for specific durations to achieve thermal death of pathogens.
| Temperature | Safe Time | Best For |
|---|---|---|
| 58°C (136°F) | 69 minutes | Medium-rare beef |
| 60°C (140°F) | 35 minutes | Fish, medium beef |
| 63°C (145°F) | 10 minutes | Poultry, eggs |
| 71°C (160°F) | Instant | Ground meats |
Pasteurization And Bacteria
Now that we grasp the time-temperature chart, let’s tackle the big elephant in the room: pasteurization.
I’m often asked, “Aren’t these temperatures too low to be safe?” The truth is, sous vide safety isn’t about hitting high temps—it’s about time at temperature.
When we cook at 136°F for 69 minutes, we’re achieving a 99.99997% reduction in bacteria. That’s crazy effective!
What you really need to watch for are bacterial spores that can survive pasteurization. If food cools too slowly or sits in the danger zone (40-140°F) for over 4 hours, we risk anaerobic growth—bacteria multiplying without oxygen. This is particularly important with poultry and ground meats, where bacteria might be throughout the food, not just on the surface.
Proper Cooling Procedures
While many home cooks worry about sous vide’s relatively low temperatures, proper cooling procedures are actually the key to ensuring your meals stay safe.
After cooking, I always plunge my sealed bags into an ice-water bath immediately – no shortcuts here!
Air cooling simply isn’t fast enough, and evaporative cooling doesn’t work through the bag.
You’ve got a narrow window to get food below 5°C (41°F) within two hours, especially if it’s pasteurized.
In my experience, lingering in that 4°C–60°C danger zone is where trouble starts.
I think of it like hitting the pause button on bacterial growth – the faster you chill, the safer your food.
Can’t cool it quickly enough? Don’t risk it – either eat it right away or, well, better safe than sorry!
Preventing Bacterial Growth: Safety Practices for Sous Vide
I always maintain water bath temperatures above 54.5°C to overcome spore resistance, which is essential when you’re cooking for extended periods.
If I’m cooking below this temperature, I’ll sear meat first to kill surface bacteria.
For biofilm control and overall safety, I’m strict about using food-safe, BPA-free bags with proper sealing.
Raw garlic is something I avoid entirely due to botulism risks—I either pre-cook it or use alternatives.
After cooking, I don’t dawdle with cooling.
Foods go straight into an ice bath until cold, then immediately into the refrigerator.
Following these time-temperature combinations has kept my sous vide cooking both delicious and, more importantly, safe.
Remember that anaerobic bacteria like Clostridium botulinum can grow in vacuum-sealed environments if storage conditions are not controlled, so always keep refrigerated items below 41°F and label properly food safety guidelines.
Sous Vide Safety for High-Risk Foods: Chicken, Fish, and Eggs
I also ensure the bags are food-grade bags to mitigate plastic safety concerns.
Is Cooking in Plastic Safe? The Truth About Bags and BPA
The truth about bag safety? You’ll want to stick with food-grade bags specifically designed for sous vide. These are BPA-free and phthalate-free, which means they won’t leach harmful chemicals into your food—especially important when cooking fatty items. I think the concerns about plastic are valid, but when you’re using proper sous vide bags at controlled temperatures, you’re cooking on the safe side.
Choosing BPA-free bags helps minimize chemical exposure and aligns with safer long-term storage practices.
Water Displacement vs. Vacuum Sealing: Safety Differences
Although many home cooks use the terms interchangeably, the method you choose for removing air from your sous vide bags can impact both your food quality and safety.
When it comes to air removal, vacuum sealing creates a more complete seal, practically eliminating oxygen that can lead to spoilage.
I’ve found that water displacement works well too, though it typically leaves small air pockets that might affect bag integrity during longer cooks.
Understanding the role of anaerobic bacteria in vacuum-sealed foods helps explain why careful sealing and refrigeration are essential.
- Vacuum sealing extends refrigerated storage life but requires vigilance against anaerobic bacteria
- Water displacement is simpler but may reduce shelf life due to incomplete air removal
- Both methods demand food-grade bags free from BPA and phthalates
- Proper temperature control remains essential regardless of sealing method to guarantee pathogen elimination
How to Safely Cool, Store and Reheat Sous Vide Foods
After you’ve finished cooking, you’ll need to cool your sous vide foods quickly – I always use an ice bath to bring temperatures below 5°C within two hours.
To extend shelf life and maintain flavor, incorporate oxygen absorbers to remove residual oxygen and reduce the risk of freezer burn.
I’ve learned that proper storage is essential; vacuum-sealed items stay safe in the fridge for about 72 hours, though some may last longer if kept around 1°C.
When it’s time to reheat, simply bring the food back to its original cooking temperature, making sure it heats evenly throughout.
Rapid Cooling Methods
Once you’ve finished cooking your delicious sous vide meal, proper cooling becomes just as important as the cooking process itself.
I’ve found that rapid cooling is vital for food safety and quality preservation.
While commercial kitchens might use fancy cryogenic cooling systems, at home I simply plunge my sealed bags into an ice bath with plenty of ice.
It’s basically flash freezing without the expensive equipment!
Here’s my go-to cooling process:
- Fill a large container with ice and cold water (about 50/50 ratio)
- Submerge your sealed sous vide bags completely, ensuring water contact on all sides
- Stir occasionally to maintain even cooling around the bags
- Transfer to refrigerator or freezer once the center temperature drops below 41°F
Safe Storage Guidelines
Proper storage of your sous vide creations is just as essential as the cooking process itself. After pasteurization, you’ll need to chill that sealed bag in an ice bath quickly—getting it to 41°F or below within 2 hours is critical. I can’t stress enough how important this rapid cooling step is!
Once chilled, refrigerate your food at or below 41°F and use it within 72 hours.
In my experience, labeling leftovers with dates is absolutely worth the extra minute—it’s saved me from questionable dinner situations more than once!
For inventory rotation, I always follow the “first in, first out” rule.
If you’re super careful with sealing and keep your fridge really cold (around 34°F), some foods can last up to 30 days, though I’m usually too excited to wait that long!
Sous Vide vs. Traditional Cooking: Comparing Food Safety Risks
Comparing sous vide with traditional cooking methods reveals fascinating contrasts in food safety approaches.
I’ve found that the risk comparison between these techniques comes down to how they manage bacterial growth.
While traditional cooking uses high heat for a short time, sous vide takes the opposite approach with lower temps for longer periods.
It’s actually pretty clever how each method tackles food safety differently.
In sous vide, a controlled pasteurization process is achieved through precise temperature control, which traditional methods can’t easily match.
- Sous vide creates a controlled pasteurization process, whereas traditional methods rely on quick heat to kill bacteria
- The danger zone is navigated differently – sous vide lingers there safely with precise timing, traditional cooking races through it
- Surface bacteria management requires different steps depending on your method choice
- Cooling practices are essential in sous vide but often less structured in traditional cooking
Frequently Asked Questions
What Are the Risks of Sous Vide?
Playing with fire, I’d say sous vide risks include bacterial growth in the danger zone without proper temperature stability, contamination risk from pathogens in vacuum-sealed environments, and botulism from raw garlic.
Does Plastic Leach Into Food With Sous Vide?
I’ll tell you straight – some leaching plastics can transfer into food during sous vide, but using food-grade polyethylene bags minimizes this risk substantially, especially at typical sous vide temperatures.
How Do You Prevent Botulism in Sous Vide?
I prevent botulism in sous vide by ensuring proper temperature control (above 130°F), pre-cooking garlic ingredients, using correct vacuum sealing techniques, and rapidly chilling food after cooking to inhibit bacterial growth.
What Foodborne Illness Can You Get From Sous Vide?
An ounce of prevention is worth a pound of cure. You can get salmonellosis, E. coli infection, campylobacteriosis, botulism, or B. cereus poisoning if pathogen overview is neglected and survival rates aren’t considered during sous vide cooking.