That vacuum sealer collecting dust in your kitchen cabinet needs regular maintenance – just like any workhorse appliance. We’ve seen too many perfectly good units fail from neglect when simple upkeep could’ve prevented it. Let’s cut through the fluff and get straight to what matters: proper cleaning, timely part replacements, and smart storage practices that’ll keep your sealer running smoothly. Trust us, you’ll want to know these maintenance secrets before your next batch of bulk groceries needs preserving.
Essential Daily Cleaning Steps
While maintaining your food sealer might seem like a chore, daily cleaning is non-negotiable for peak performance.
Let’s tackle this head-on. We’ll start by wiping down those sealing jaws with a soft cloth and non-abrasive cleaner – it’s essential for proper sealing.
Next, we’re checking the vacuum chamber for debris or stray packaging bits that could jam up your machine.
Don’t forget to give the exterior a quick once-over with mild detergent. Trust us, vacuum sealers need this daily attention.
Finally, inspect that seal gasket and power cord – damaged components mean compromised performance. Regular routine cleaning is key to ensuring efficient sealing and prolonging the lifespan of your vacuum sealer.
Monthly Deep Cleaning Protocol
Although daily cleaning keeps your vacuum sealer running, monthly deep cleaning‘s what prevents total system failure.
Let’s tackle this vital maintenance step to guarantee peak vacuum sealing performance and longevity.
- Disassemble and deep clean interior components – get those sneaky food particles out
- Replace worn parts like sealing jaws and heating elements before they fail
- Calibrate temperature and pressure settings for ideal sealing
- Review your machine’s manual for model-specific maintenance requirements
- Inspect for potential issues and address them immediately – prevention beats repairs
Additionally, ensure your vacuum hose is in good condition to avoid air leaks that can compromise sealing effectiveness.
Remember: monthly maintenance isn’t optional. It’s your defense against expensive breakdowns and seal failures.
Inspecting and Replacing Parts
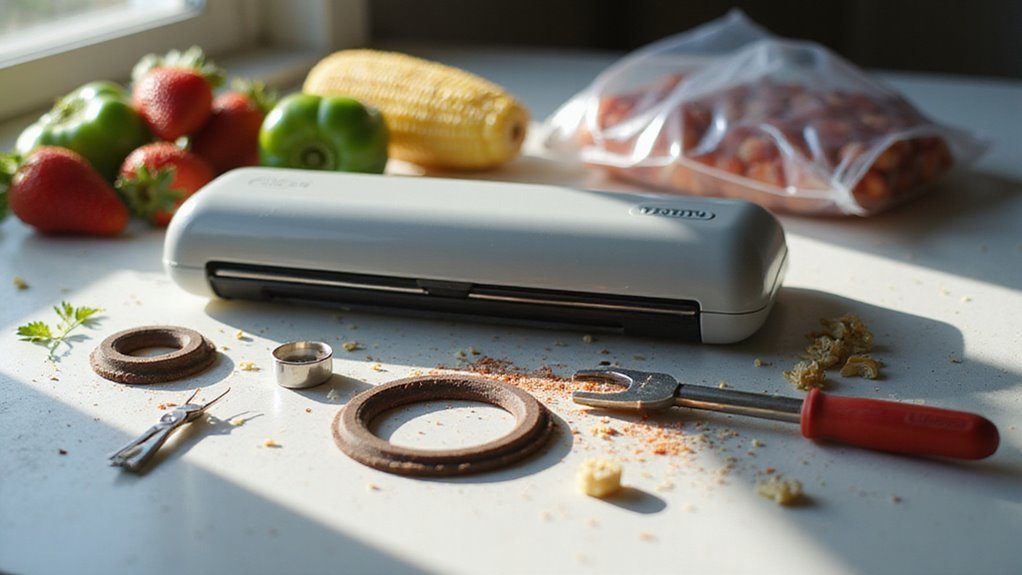
Anyone can spot a failing vacuum sealer part – if they know what to look for. Let’s tackle inspecting and replacing parts with these troubleshooting tips. We’ll focus on the critical components that demand regular attention.
| Component | Warning Signs | Action Required |
|---|---|---|
| Sealing Jaws | Uneven seals | Replace if worn |
| Vacuum Pump | Weak suction | Service/replace |
| Seal Gaskets | Visible cracks | Install new ones |
| Heating Elements | Inconsistent heat | Replace unit |
Track these replacements in a maintenance log. Trust us – you’ll thank yourself later when you’re not scrambling to remember when you last changed that failing gasket. Regular checks on the vacuum sealer can prevent many issues, including incomplete seals.
Proper Storage and Handling
Just where you store and handle your vacuum sealer can make or break its performance.
Like other Sunbeam Products, your food sealer needs proper care to maintain peak efficiency.
- Place the unit on a stable, flat surface during operation – no exceptions
- Store in a cool, dry spot away from direct sunlight to prevent mechanical damage
- Handle bags with care, keeping sharp objects far from sealing pouches
- Clean the seal bar and vacuum chamber after every use
- Follow manufacturer’s temperature and humidity guidelines religiously
Your sealer’s longevity depends on these storage practices. Regular maintenance and proper care can significantly extend the lifespan of your vacuum sealer.
Master them, and you’ll maximize your investment’s lifespan.
Preventive Care Tips and Best Practices
When you’ve invested in a quality food sealer, preventive maintenance isn’t optional – it’s essential for peak performance.
We recommend starting with the basics: wipe down sealing jaws with a soft cloth and non-abrasive cleaner after each use.
Don’t skip weekly lubrication of moving parts using food-grade products.
Check your seal gasket monthly – a worn gasket means wasted vacuum power.
While you’re at it, calibrate temperature and pressure settings.
Deep clean those hidden nooks monthly; accumulated debris is your sealer’s worst enemy.
Additionally, regular checks and adjustments help prevent major issues that could disrupt your sealing process.
Trust us, these simple steps will keep your machine running like new.
Frequently Asked Questions
How to Clean Foodsaver Sealer?
Let’s keep our sealer clean! First unplug and cool down, then wipe surfaces with mild solution. Don’t forget to clean sealing jaws, drip tray, and vacuum chamber regularly.
How Often Should You Replace the Gaskets of Your Foodsaver Vacuum Sealing System?
Like clockwork, we’ll want to check our FoodSaver gaskets every 3-6 months, replacing them when they show wear. For ideal gasket longevity, plan on new ones every 1-2 years depending on use.
Why Is My Foodsaver Not Sealing Properly?
Let’s check your sealing techniques: guarantee clean jaws, position bags correctly, verify sealing strip condition, close lid fully, and confirm vacuum pump functionality. These factors affect proper sealing performance.
Is It Better to Dry or Moist Foodsaver Vacuum Sealer?
We recommend both, as they serve different purposes: dry sealers excel with solid foods, while moist sealers’ advantages include handling juicy items and preventing liquid contamination, giving you complete food preservation flexibility.