Let’s face it – a neglected vacuum sealer is about as useful as a chocolate teapot. We’re going to tackle maintenance and storage head-on because your investment deserves better than becoming a fancy paperweight. From seal bar inspections to proper cleaning protocols, we’ve got the insider tricks that’ll keep your unit running like clockwork. Stick around – there’s more to maintaining these machines than most manufacturers let on, and we’re spilling all the trade secrets.
Essential Components and Regular Inspection
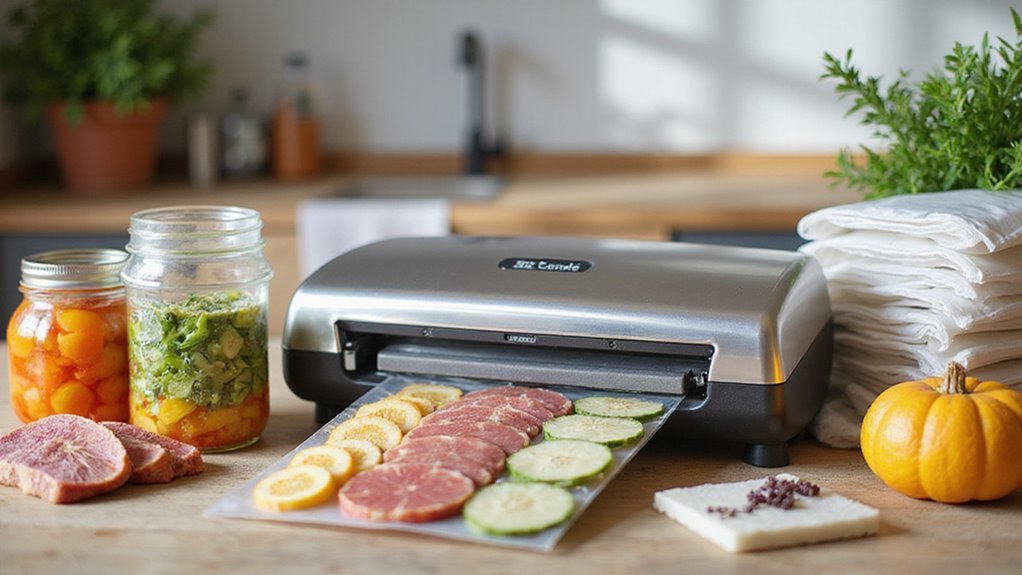
When it comes to keeping your vacuum sealer running like new, understanding its core components and maintenance needs is non-negotiable.
Let’s get straight to it: your vacuum sealing success hinges on two critical areas – the seal bar and vacuum chamber.
We’ve got to inspect that seal gasket regularly for wear and debris – no exceptions.
After each use, clean both components thoroughly. Trust us, those pesky food particles will sabotage your seals faster than you can say “freezer burn.”
And don’t forget the oil filter – it’s the unsung hero of smooth pump operation. Regular checks on the vacuum sealer can prevent many common vacuum sealer issues.
Proper Cleaning Methods for Long-Term Performance
Now that you’re familiar with your vacuum sealer’s essential parts, let’s tackle proper cleaning – it’s your ticket to flawless performance.
After each food storage session, wipe down the vacuum chamber and seal bar with a soft cloth to prevent debris buildup. Don’t skip the seal gasket – give it a quick clean with mild soap and water.
Keep that exterior spotless, folks. Dust and dirt are your vacuum sealer’s enemies.
Check the oil filter regularly – it’s vital for smooth operation. And remember: no harsh chemicals or abrasive materials. Regular maintenance practices, including daily cleaning routines, can significantly extend the life of your machine.
Let’s stick to manufacturer guidelines. Your machine will thank you with years of reliable service.
Storage Guidelines to Prevent Damage
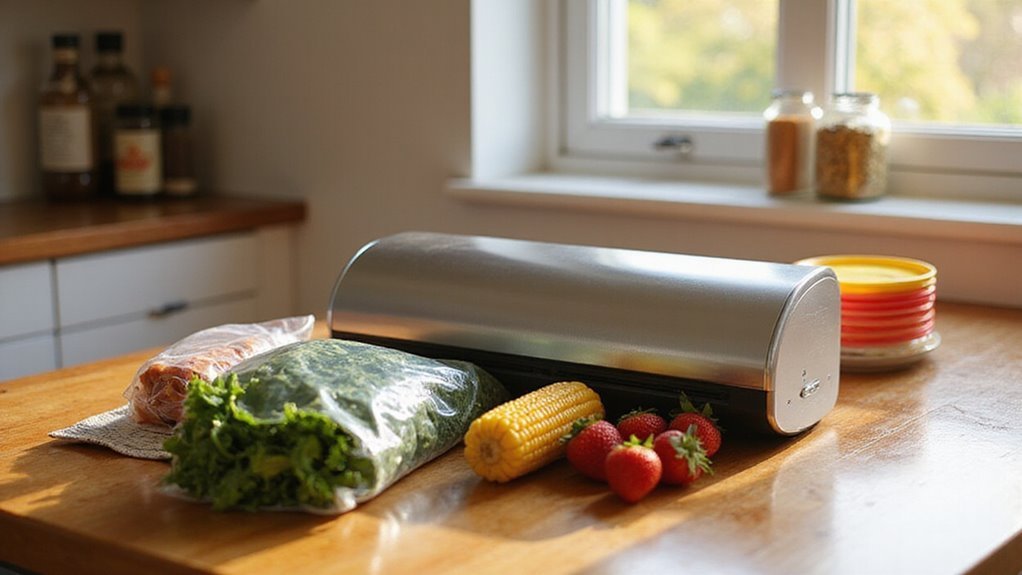
Since your vacuum sealer’s longevity depends on proper storage, let’s get serious about protecting your investment.
Store your unit in a clean, dry spot away from sunlight – UV rays and humidity are silent killers of vacuum sealers.
We’re talking ideal temperature conditions here – no extreme heat or cold.
For long time storage, drain and replace that oil. It’s like giving your sealer a spa day.
Keep it covered (dust is the enemy) and well-ventilated.
Think of it as creating a comfort zone for your machine. Proper storage practices can help ensure your vacuum sealer maintains its effectiveness.
Trust us, these steps make the difference between a sealer that lasts and one that doesn’t.
Common Error Messages and Quick Fixes
Those pesky error messages on your vacuum sealer aren’t trying to ruin your day – they’re actually helping you avoid bigger problems.
When you see E02 or E03, your seal bar’s overheating. Don’t panic – just unplug for 60 seconds and you’re back in business.
We’ve found that most sealing process hiccups come down to debris or incompatible bags.
Keep your vacuum chamber clean, check those gaskets regularly, and make sure you’re using the right bags. Regular maintenance is your secret weapon here, as it prevents vacuum sealer problems that could arise from neglect.
Think of these error messages as your machine’s way of saying “Hey, let’s fix this before it becomes a real headache.”
Maximizing Seal Life Through Maintenance
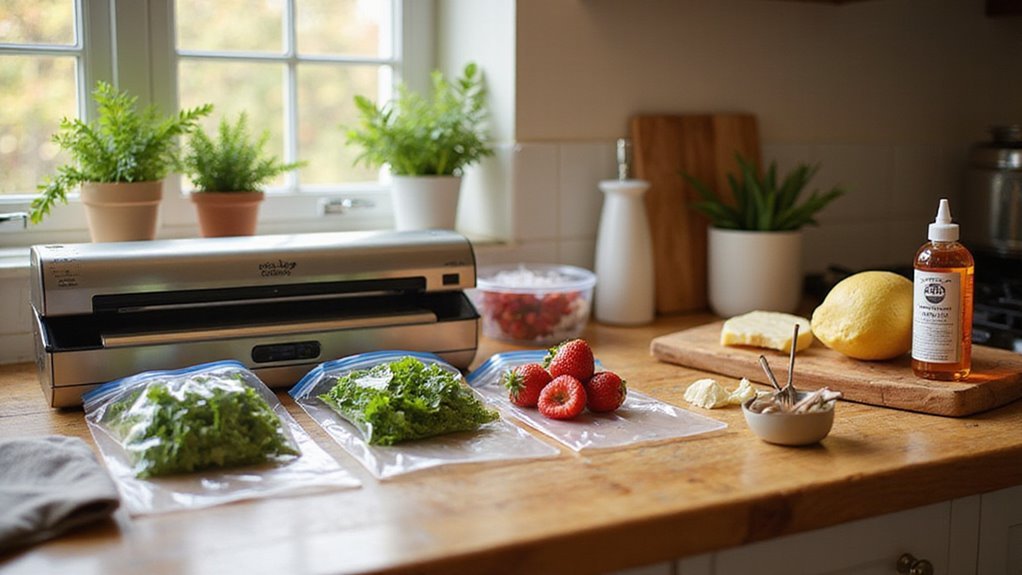
While vacuum sealers are built to last, they’ll only perform at their peak with consistent care.
We’ve got to clean that vacuum chamber and seal bar after every use – those pesky food particles can wreck your seals. Don’t ignore worn gaskets either; replace them fast when they show wear.
Your sealer’s heart is its vacuum pump. Keep it well-oiled and that filter clean per manufacturer specs. Regularly check for loss of suction power to ensure optimal performance.
And let’s be smart about storage – keep your sealer cool and dry, away from sun damage.
It’s simple: follow the manual’s maintenance schedule, and you’ll extend your sealer’s life substantially.
Best Practices for Daily Operation
To get the most from your vacuum sealer each day, you’ll need to follow some non-negotiable basics.
Let’s explore the practices that’ll keep your machine running like a champ and your food vacuum sealed perfectly every time.
- Use premium bags matched to your model – no bargain hunting here
- Clean that chamber and seal bar after every use – food particles are your enemy
- Leave 3-5 inches of headspace when filling bags – overstuffing leads to failure
- Store in a cool, dry spot away from sunlight when not in use
- Regularly clean your vacuum sealer to maintain machine hygiene and prevent food contamination.
Remember: A well-maintained sealer is a reliable sealer.
Signs Your Vacuum Sealer Needs Attention
Even the best maintenance routine won’t prevent every issue – your vacuum sealer will eventually show signs of trouble.
We’ll help you spot them early.
Watch for inconsistent suction during sealing – it’s usually debris in the chamber or a clogged filter crying for attention.
When bags start leaking after storage, you’re likely dealing with a faulty seal bar or damaged bags.
Strange noises? That’s your machine’s way of saying something’s mechanically wrong.
Keep an eye on vacuum performance over time.
If it’s declining, don’t wait – check those seals and gaskets.
Regular inspection of gaskets and sealing surfaces is crucial for maintaining optimal performance.
Quick attention to these warning signs prevents bigger headaches later.
Maintenance Schedule and Checklist
A well-maintained vacuum sealer performs like new for years, but you’ll need a rock-solid maintenance schedule to keep it running smoothly.
Let’s break down your essential maintenance tasks:
- After each use: Clean the vacuum chamber and seal bar thoroughly – food particles are your enemy.
- Monthly: Check the seal gasket for wear and damage, replacing immediately if compromised.
- Every 6 months: Oil that vacuum pump according to your manual’s specs.
- Ongoing: Store your unit in a cool, dry place and maintain a detailed maintenance log.
Additionally, thorough cleaning and sanitizing procedures ensure the highest food safety standards and help preserve the quality of your vacuum-sealed items.
Trust us, following this schedule religiously will save you from costly repairs and seal failures.
Frequently Asked Questions
Is Vacuum Sealing Good for Long Term Storage?
We’re big fans of vacuum sealing’s long-term benefits! Like putting food in a time capsule, it’s one of our most reliable food preservation methods, keeping our groceries fresh for years.
Can Bacteria Grow in a Vacuum Sealed Container?
Yes, we can still see bacteria growth in vacuum-sealed containers, particularly anaerobic bacteria. While vacuum sealing removes oxygen, some bacteria thrive without it, especially in moist, low-acid foods.
Is It Better to Dry or Moist Food Saver Vacuum Sealer?
Like choosing between silk and velvet, we recommend dry foods for vacuum sealing. While both have benefits, dry foods seal better and store longer, though moist foods can retain flavors when properly prepared.
How Do You Keep Moisture Out of a Vacuum Sealer?
Let’s keep moisture prevention simple: store your vacuum sealer in dry areas, clean after use, freeze liquids before sealing, and use desiccant packs during vacuum sealer storage.